DNS On-Premises
Configure the controls behind the admission model on the DNS On-Premises page of the Blocksi Admin Dashboard.
To open the page, click Organizations and Entities from the Main Menu, then click DNS On-Premises from its sub-menu. The DNS On-Premises screen appears. Each panel described in the following sections is reached by scrolling down this screen.
Devices admitted through the guest or one-time passcode (OTP) path and devices matched by a subnet are filtered by a DNS policy. A DNS policy is a time-based policy created on the Admin Dashboard under Content Filtering > Policies by selecting the DNS policy type. It sets a filtering schedule by day and hour, and applies the following filters during the scheduled times:
Web Filter - The web filter to apply.
Exception List - The exception list to apply.
YouTube - The YouTube restriction level to apply.
SafeSearch - Enforces SafeSearch when enabled.
Note
Create the DNS policies you need before assigning them to a guest policy or a subnet, so they are available to select in the drop-down lists on the DNS On-Premises page.
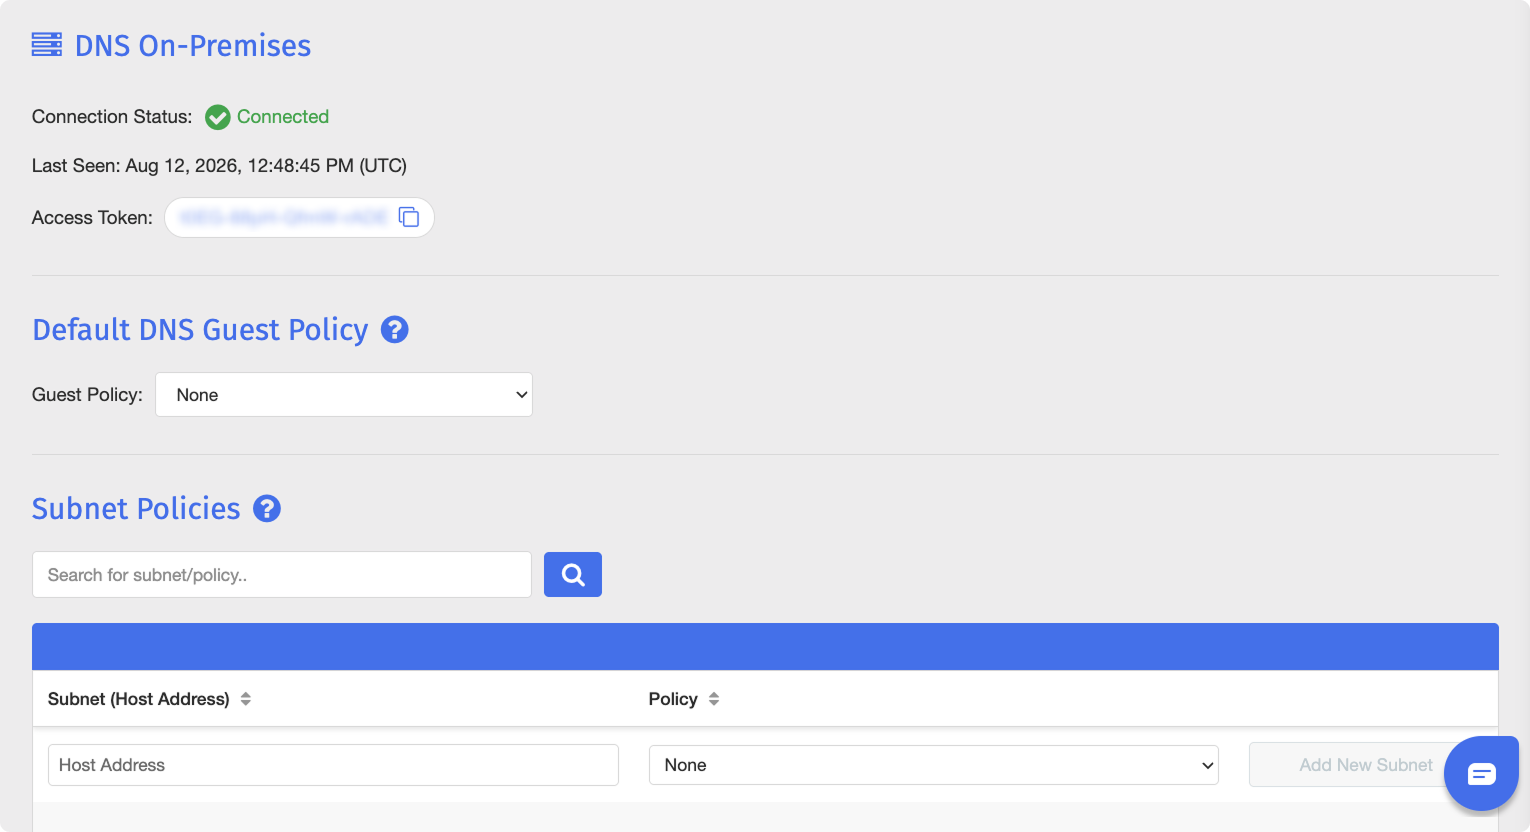
The appliance registers to Blocksi Manager using an Access Token and maintains a heartbeat. The DNS On-Premises page reports the Connection Status and Last Seen time, so you can confirm the appliance is online and synchronized with cloud-managed policy before relying on it for enforcement.
The Access Token is issued automatically when an administrator signs in to the appliance configuration page with their SSO account. You do not need to create or copy a token.
If Connection Status does not show Connected, sign in to the appliance configuration page and check its two Connection Status indicators:
Blocksi DB - A red indicator means the Company ID and Access Token are not recognized by Blocksi Manager.
DNS Resolver - A red indicator means the appliance cannot reach the internet. Confirm that the default gateway for the appliance's subnet is present and reachable.
Refer to Configuring the Appliance for more information.
Both the guest policy and subnet policies are selected from the DNS policies created on the Admin Dashboard under Content Filtering > Policies with the DNS policy type. If the policy you want is not listed, create it there first.
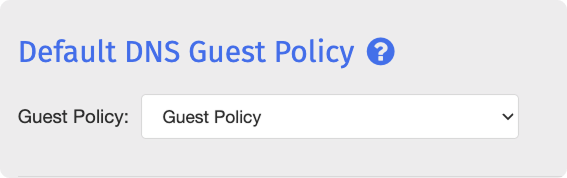
The Default DNS Guest Policy section sets the filtering policy applied to guests and visitors, such as a BYOD DNS policy. This is the policy bound to anyone admitted through the guest or OTP path of the device admission model.
Under Default DNS Guest Policy, select a policy from the Guest Policy drop-down list.
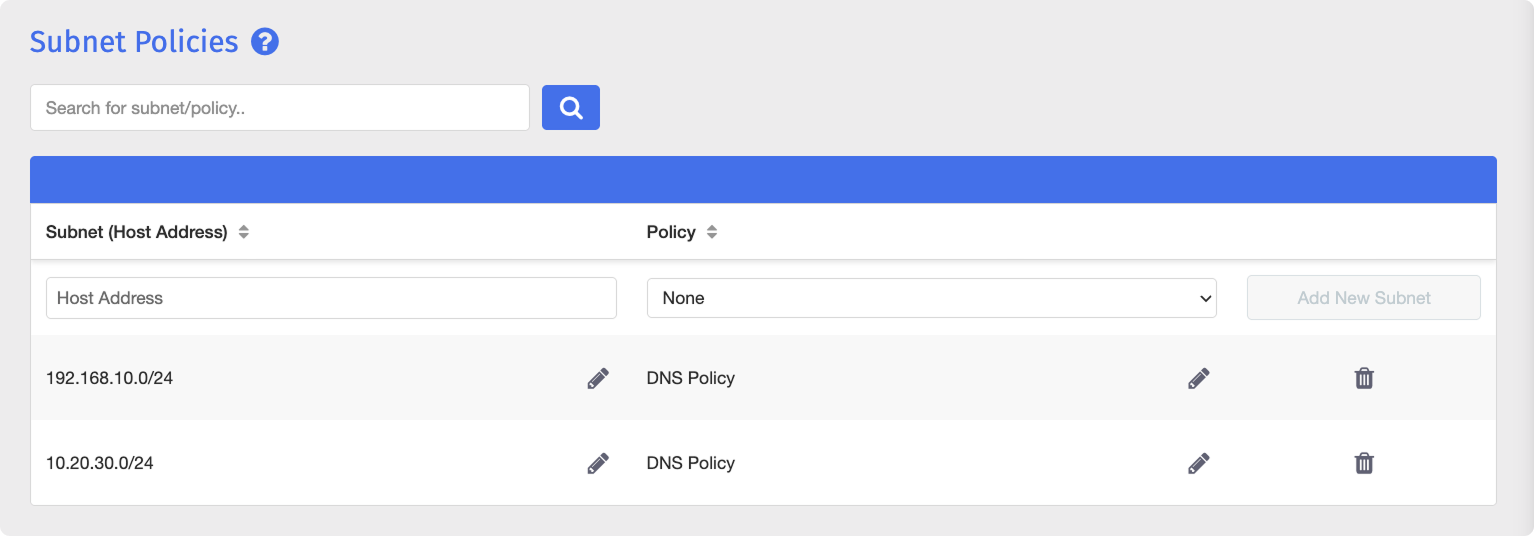
Assign DNS policies to specific subnets so that matching devices automatically receive the selected policy, overriding any user-based policies. Devices in a subnet that has an assigned policy skip the captive portal and are not prompted to authenticate.
Scroll down to Subnet Policies.
Enter a subnet address in the Host Address field.
Select a policy from the Policy drop-down list.
Click Add New Subnet.
Note
To edit an entry, click the  button next to the subnet or the policy. To remove an entry, click the
  button at the right of the row.
The appliance can host local DNS records. This lets the on-premises resolver answer authoritatively for internal hosts - split-horizon resolution - while still filtering external lookups.
To resolve custom internal domains through the appliance.
To resolve the SAML server domain when you use SAML Active Directory authentication. The Entry Point URL configured in SAML Active Directory Configuration must be resolvable through the appliance, so the AD FS domain name needs a record here with the IP address of the AD FS server. SAML sign-in fails if the record is missing.
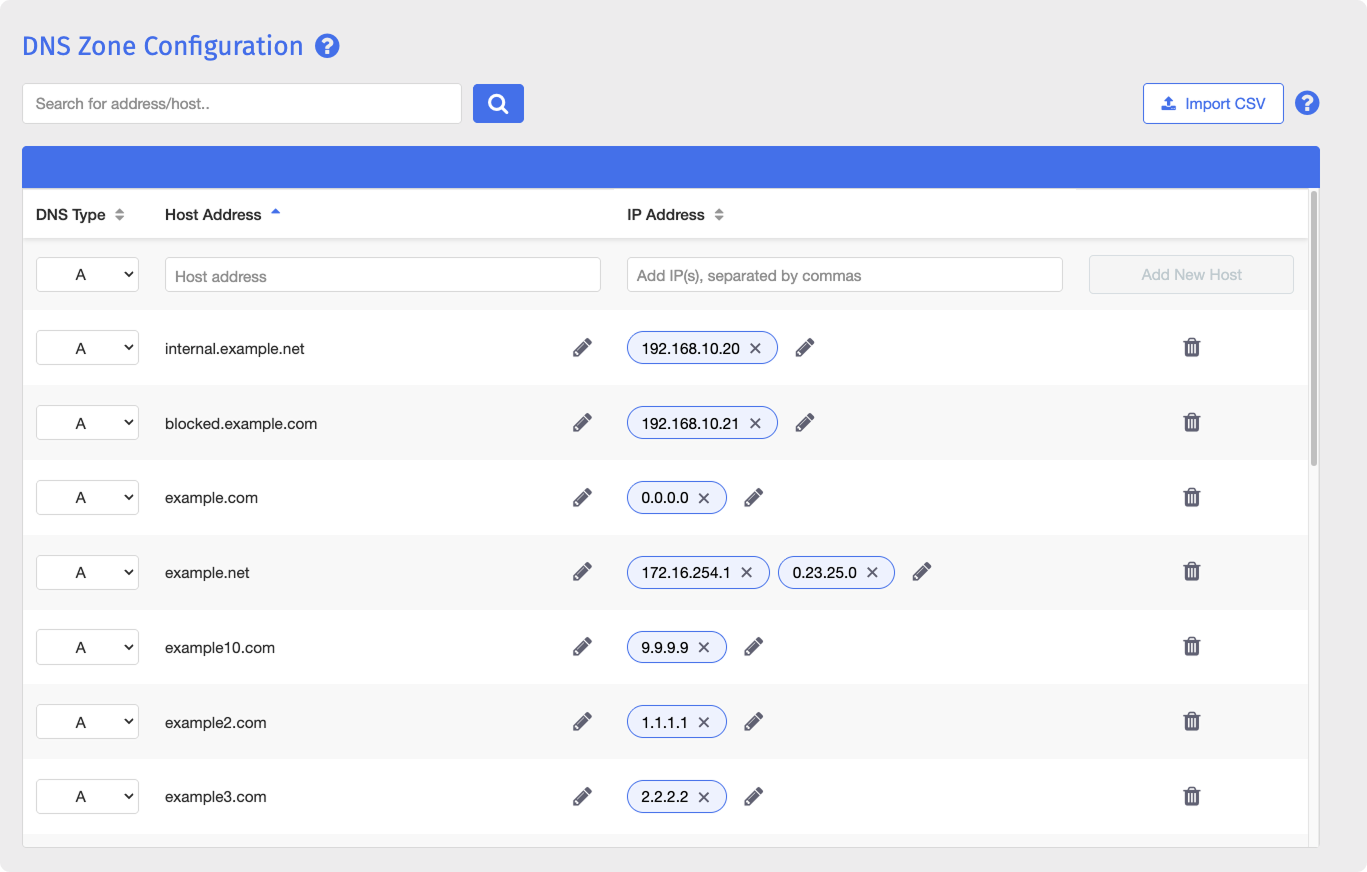
Scroll down to DNS Zone Configuration.
Select the record type from the DNS Type drop-down list. Only the A record type is available.
Enter the Host Address.
Enter one or more IP Address values, separated by commas.
Click Add New Host.
Note
To edit a record, click the button next to the host address or the IP address. To remove a record, click the button at the right of the row.
Tip
To bulk import DNS records, click the  button. Use one record per line, in the format
 type,host address,IP address - for example, A,address.com,192.168.1.1.
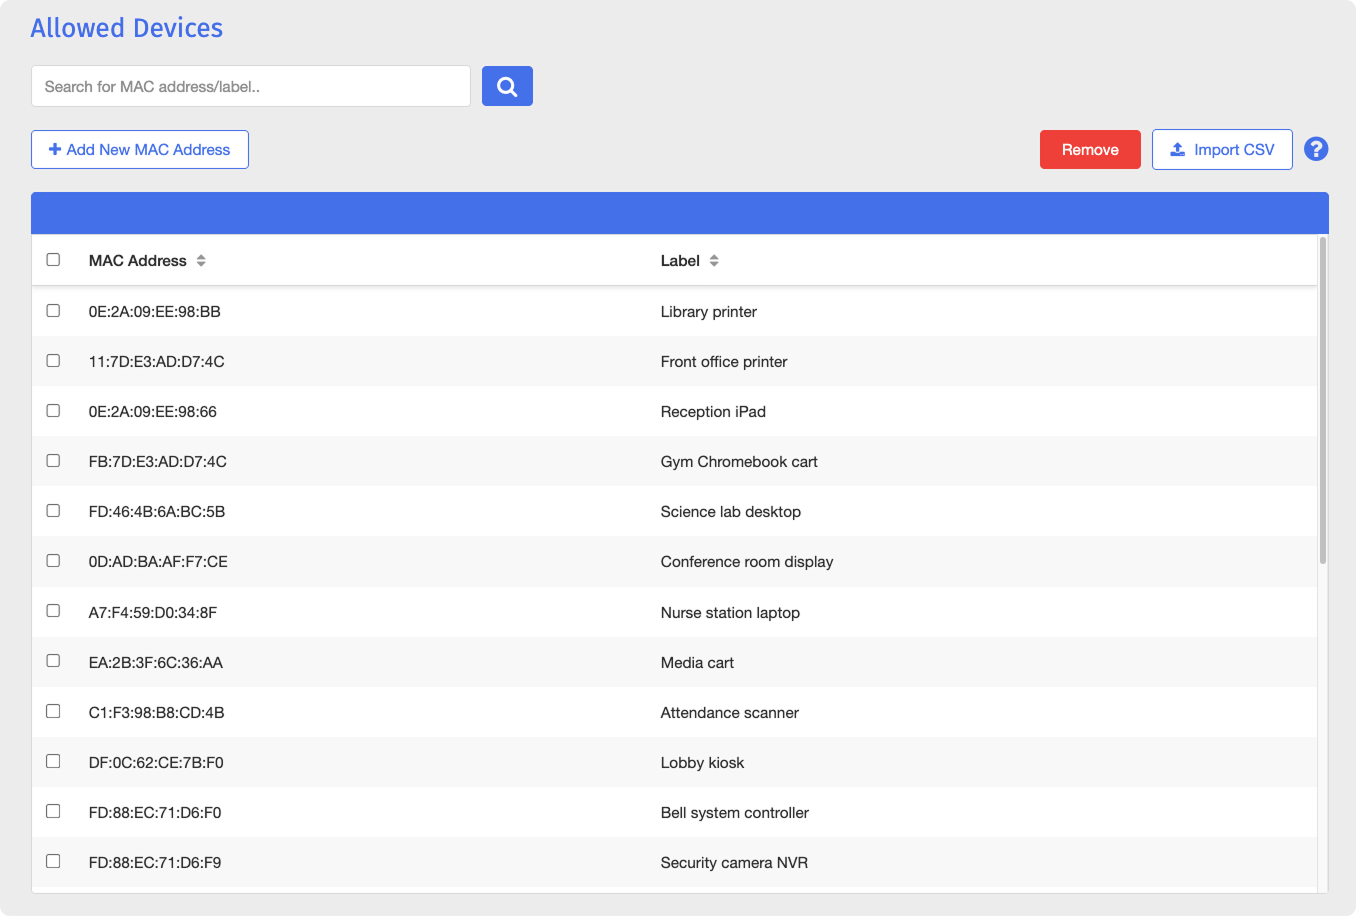
The Allowed Devices panel holds the MAC address whitelist. Each entry is a MAC address and a Label. Whitelisted devices bypass captive portal sign-in and are not filtered by Blocksi DNS.
Note
Whitelisted devices receive unfiltered internet access. Add only devices that do not require filtering.
Scroll down to Allowed Devices.
Click Add New MAC Address.
Enter the device's MAC address, using colons as separators - for example,
00:1B:44:11:3A:B7- and a Label that identifies it.Click Add MAC Address.
Note
To remove an entry, select it in the Allowed Devices table and click Remove. To bulk-load entries, click the button and use one device per line, in the format MAC address,label - for example, 00:1B:44:11:3A:B7,Library printer.
Users who are not admitted by the Blocksi agent, by the MAC address whitelist, or by a subnet policy authenticate through one of four integrations. Each integration is enabled and configured independently on the DNS On-Premises page, and each has its own on/off toggle and expandable settings panel.
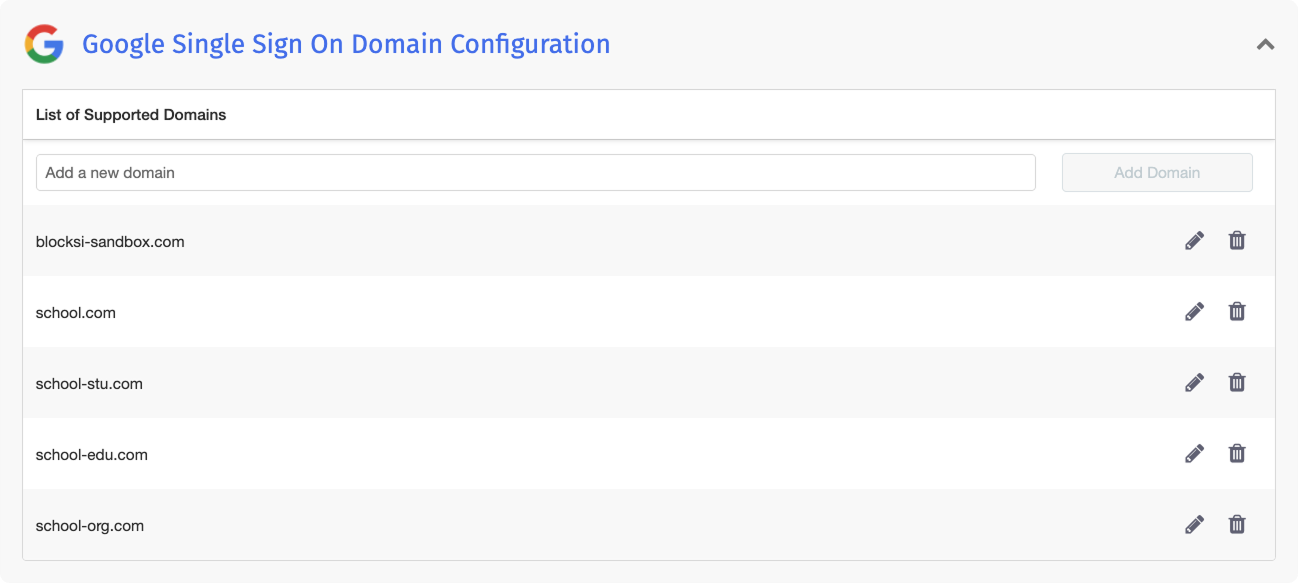
Configure a list of Google SSO domains that users can sign in with to authenticate through the captive portal. Only users whose email address belongs to a listed domain can sign in.
In the Google Single Sign On Domain Configuration section, enter the domain in the Add a new domain field.
Click Add Domain.
Note
To edit a domain, click the button at the right of the entry. To remove a domain, click the button at the right of the entry.
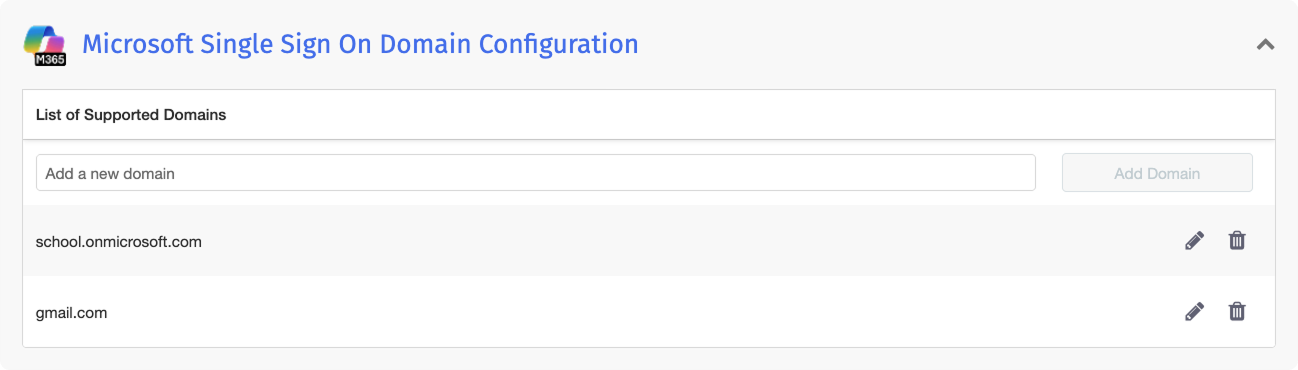
Configure a list of Microsoft SSO domains that users can sign in with to authenticate through the captive portal. Only users whose email address belongs to a listed domain can sign in.
In the Microsoft Single Sign On Domain Configuration section, enter the domain in the Add a new domain field.
Click Add Domain.
Note
To edit a domain, click the button at the right of the entry. To remove a domain, click the button at the right of the entry.
The Radius Server Configuration settings connect Blocksi to an existing RADIUS server so that users can be identified and policies applied based on RADIUS authentication.
Requirements
Before configuring these settings, complete the following on the RADIUS server:
A RADIUS server reachable from the appliance, with the appliance added as a RADIUS client and a shared secret configured for it.
A network policy that permits the authentication method you intend to use.
If you use CHAP, each Active Directory account used for RADIUS authentication must have Store password using reversible encryption enabled. CHAP authentication fails without it.
In the Radius Server Configuration section, click the toggle to enable RADIUS server integration.
In the Radius Server IP Address field, enter the IP address of the RADIUS server. Enter an IP address, not a hostname.
In the Radius Server Port Number field, enter the port number the Radius server listens on.
In the Secret Key field, enter the shared secret configured on the RADIUS server. The secret key must match the value on the RADIUS server exactly.
In the Server Auth Method field, enter the authentication method used by the RADIUS server. The supported methods are
papandchap.Click Save Settings.
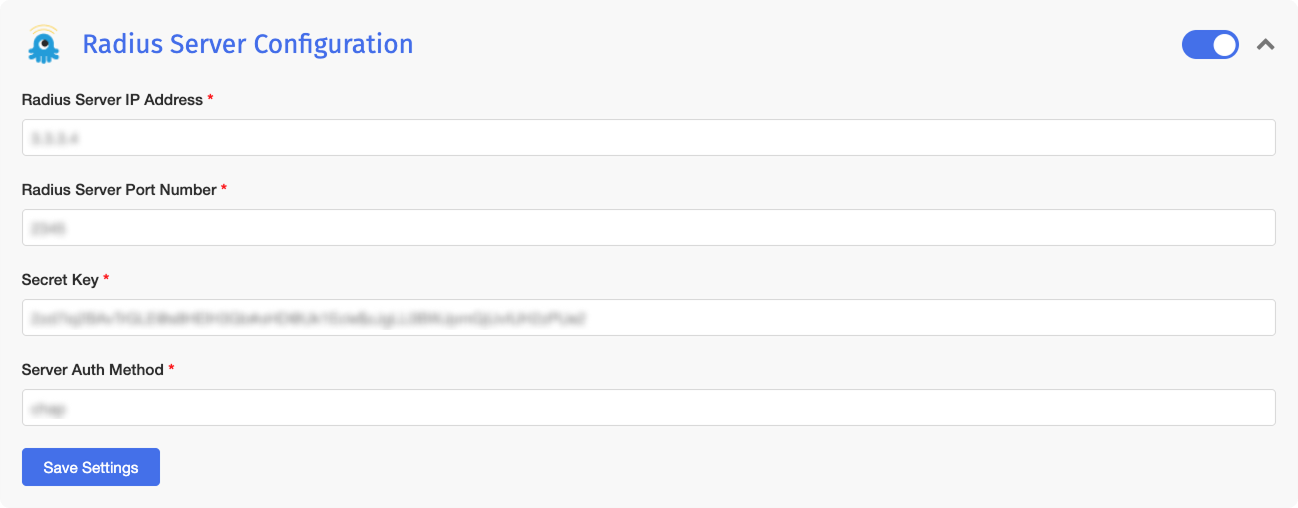
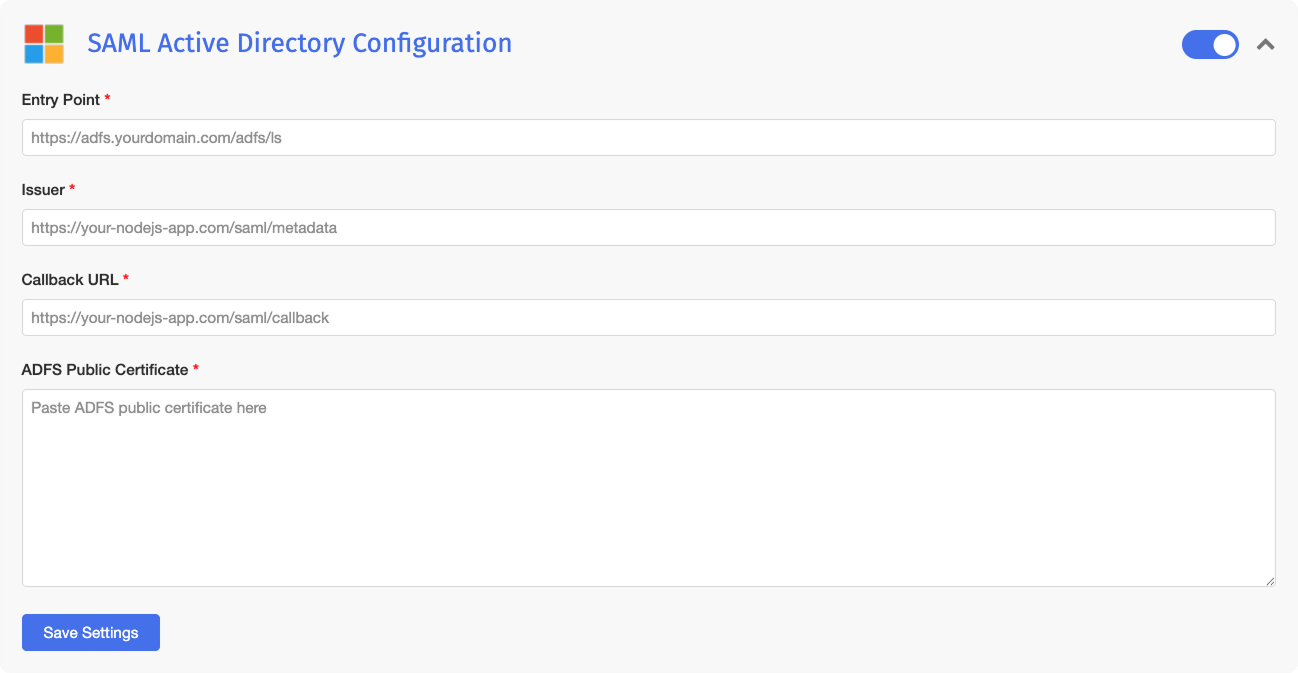
The SAML Active Directory Configuration settings connect Blocksi to Active Directory (AD) using SAML, so that users can be identified and policies applied based on their Active Directory identity.
Requirements
Before configuring these settings, complete the following:
AD FS is configured on your Active Directory server, with a relying party trust created for Blocksi. Register
https://api.blocksi.net/dns-middleware/adfsas the SAML assertion consumer endpoint for the trust.IdP-initiated sign-on is enabled on the AD FS server, because the appliance uses the IdP-initiated sign-on page as its entry point.
The AD FS domain name is added in DNS Zone Configuration with the IP address of the AD FS server. SAML sign-in fails if the record is missing.
In the SAML Active Directory Configuration section, click the toggle to enable SAML Active Directory integration.
In the Entry Point field, enter the AD FS IdP-initiated sign-on URL. The URL must use HTTPS and a domain name; an IP address is not accepted.
In the Issuer field, enter the relying party identifier configured for Blocksi on the AD FS server. The value must match the identifier on AD FS exactly.
In the Callback URL field, enter
https://api.blocksi.net/dns-middleware/adfs. This is the URL to which AD FS returns the SAML response, and it is the same for every deployment.In the ADFS Public Certificate field, enter the public certificate from the AD FS server.
Click Save Settings.
Note
To obtain the value for the ADFS Public Certificate field, use the Blocksi metadata extractor tool at http://<appliance-ip>/adfs/metadata-extractor, replacing <appliance-ip> with the static IP address assigned to the appliance.
Guests are handled under Visitor and User Management. An administrator can click Add New Visitor to create a visitor record, or visitors can self-register through the captive portal. Each record carries a phone number to which a one-time passcode is sent for verification. International phone numbers are supported. Verified guests receive the Default DNS Guest Policy.
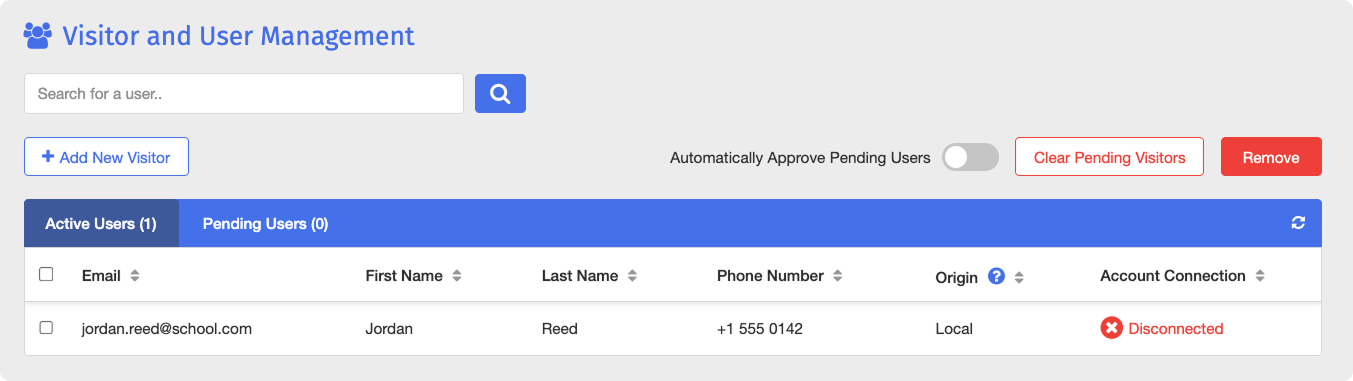
Scroll down to Visitor and User Management. The panel provides the following controls:
Control | Description |
|---|---|
Active Users / Pending Users | The tabs separate verified visitors from those awaiting approval. |
Automatically Approve Pending Users | The toggle approves self-registered visitors without manual review. |
Clear Pending Visitors | The action removes all pending records from the table. |
Origin | Each visitor entry shows its origin, whether it was added locally or came from an external source. |
Account Connection | The column shows whether the visitor is Disconnected or Connected. |