Policies
A policy represents a collection of filters. It is assigned to an organizational unit and controls filtering for all users in that particular unit.
Regular - Filters added to the regular policy are always active and have no time constraints as they are set up based on geolocation or IP address.
Time-based - Use a time-based policy to specify different filters for different time periods. For example, you can activate one set of filters for morning hours, and a different set of filters for afternoon hours.
To open the Policies screen, click Content Filtering from the Main Menu, then click Policies from its sub-menu. The Policies screen appears.
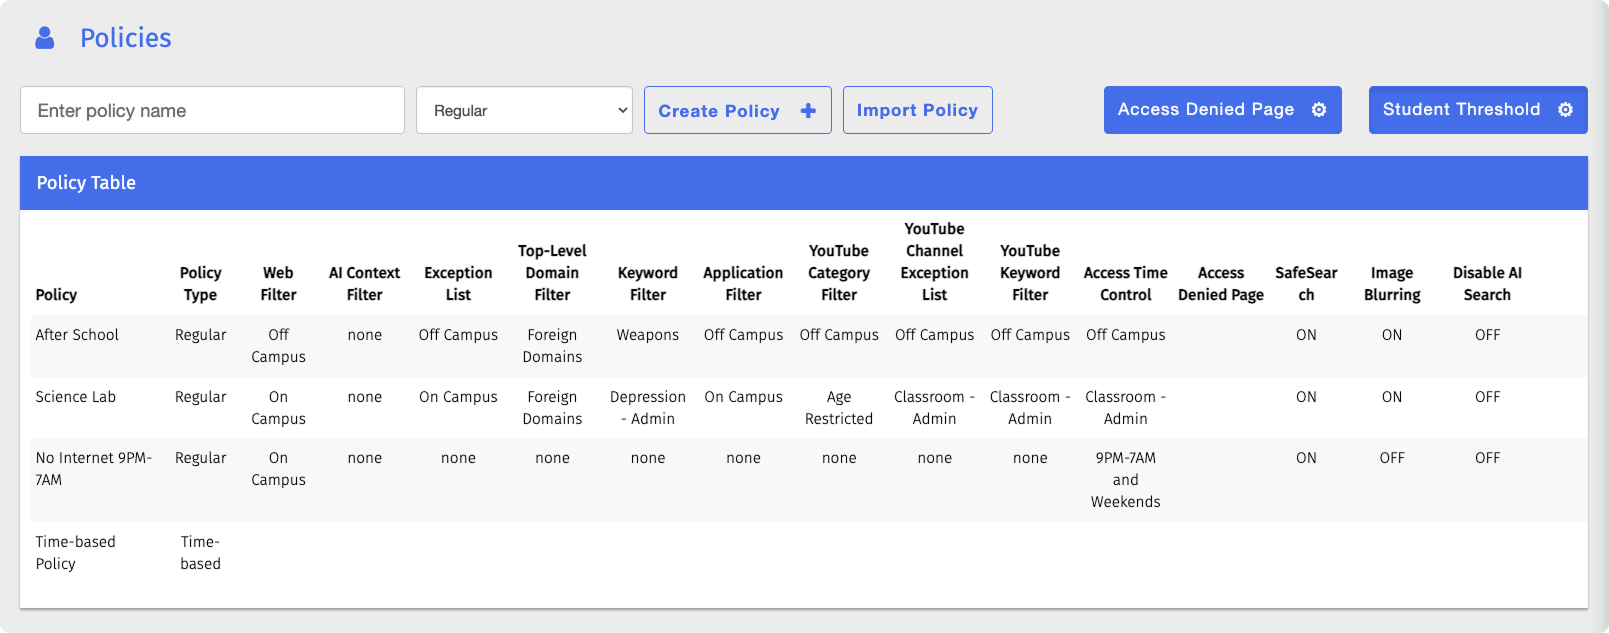
Filters added to a regular policy are always active and have no time constraints.
The policy type you select determines which devices it filters: select Regular for Chromebooks and Windows OS devices, or OSX Regular for macOS devices.
Type the name of the policy in the Enter policy name text field.
Note
Policy names must be longer than three characters.
Select Regular (for Chromebooks and Windows OS devices) or OSX Regular (for macOS devices) from the Choose policy type drop-down list.
Click Create Policy +. The corresponding policy window opens.
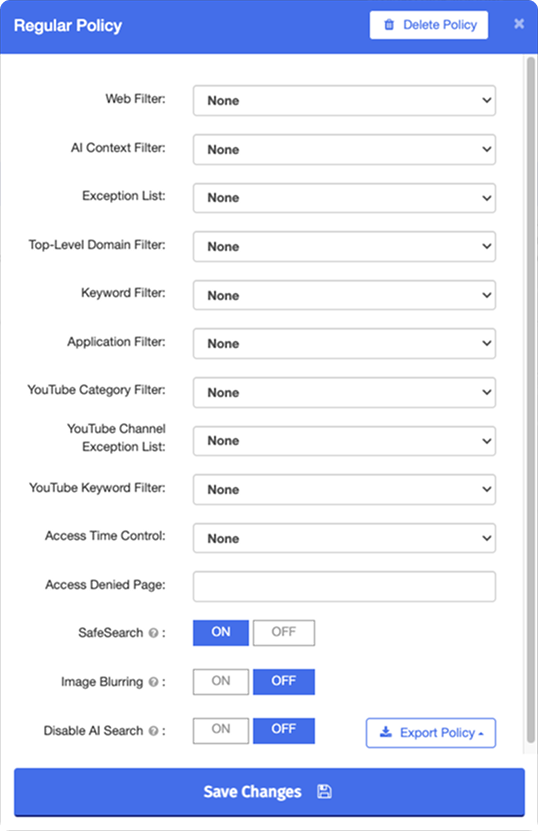
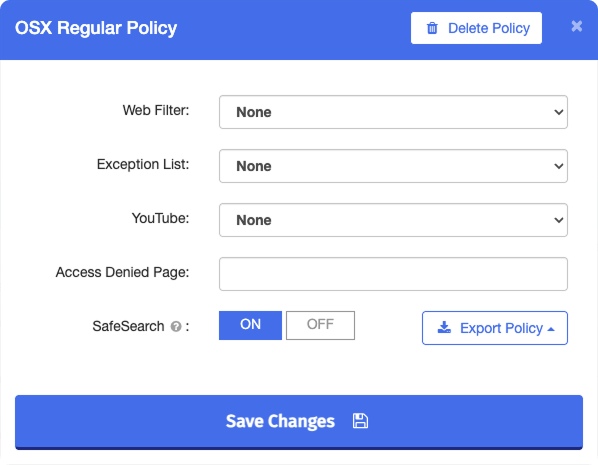
Select the appropriate filters from the drop-down lists. To leave a filter category unset, select None.
Type the URL in the Access Denied Page text box to redirect students to a specific page when access is denied - for example, your district's website.
Note
Leave the box empty to display the standard Blocksi Access Denied page. If Access Requests are enabled, the default Access Denied page is used regardless of this setting. Refer to the section.
Enable any of the following optional settings for this policy:
Setting
Description
Availability
SafeSearch
Enforces SafeSearch in the search engine, filtering explicit images, videos, and websites from results.
Regular and OSX Regular
Image Blurring
Blurs images with adult content.
Regular only
Disable AI Search
Hides Google AI overviews and disables Google AI search mode on targeted devices.
Regular only
Note
Disable AI Search applies only in Google Chrome, where the Blocksi extension runs, and requires extension version 4.5.1 or later.
Click Save Changes. The new policy appears in the Policy Table.
Use time-based policies to specify different filters for different time periods. For example, you can activate one set of filters during morning hours and a different set during afternoon hours.
Select the policy type that matches the devices you want to filter:
Time-based - Chromebooks.
OSX Time-based - macOS devices.
iOS Blanket Time-based - iPads.
DNS - Filters content by DNS filtered IP addresses. A DNS policy is required to apply DNS-based filtering settings. Refer to the DNS Filtered IP Addresses section for details on configuring DNS filtering settings.
Type the name of the policy in the Enter policy name text field.
Note
Policy names must be longer than three characters.
Select Time-based, OSX Time-based, iOS Blanket Time-based, or DNS from the Choose policy type drop-down list, depending on your target devices.
Click Create Policy +. The new policy appears in the Policy Table, and the corresponding policy window opens.
Note
Time periods use military (24-hour) time format.
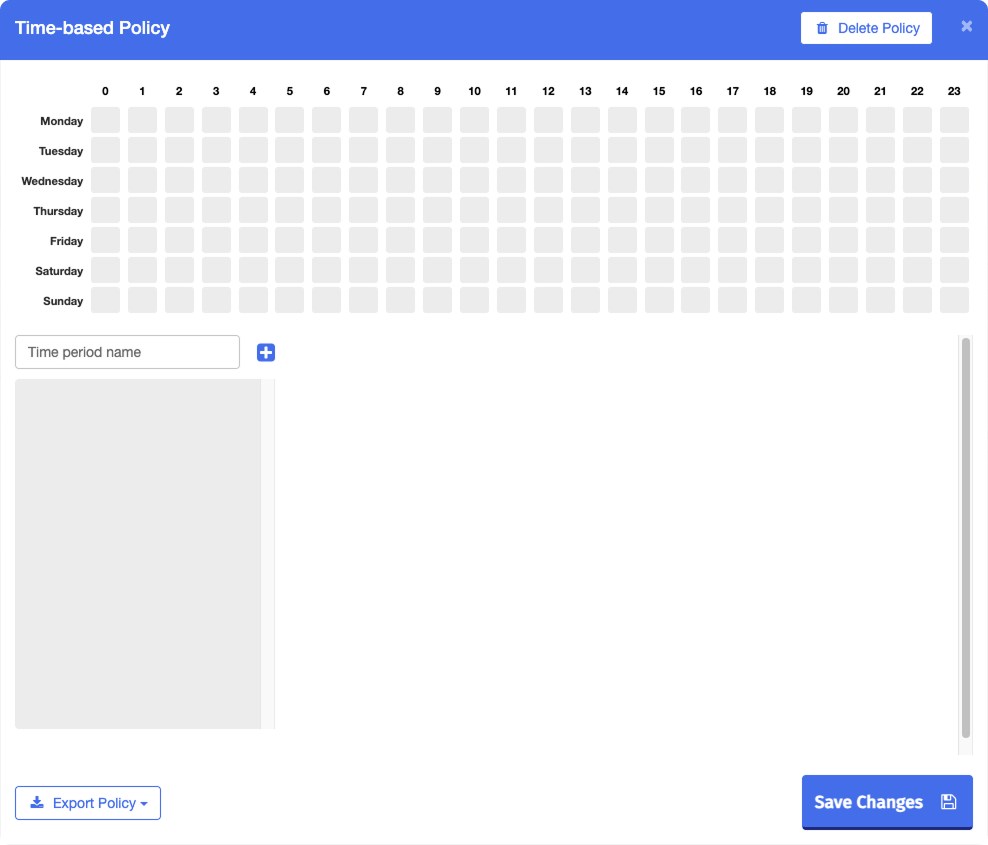
Type the name of the time period in the Time period name text box, then click the
 button. The window expands to show the time-based policy fields.
Note
Time period names must be longer than three characters.
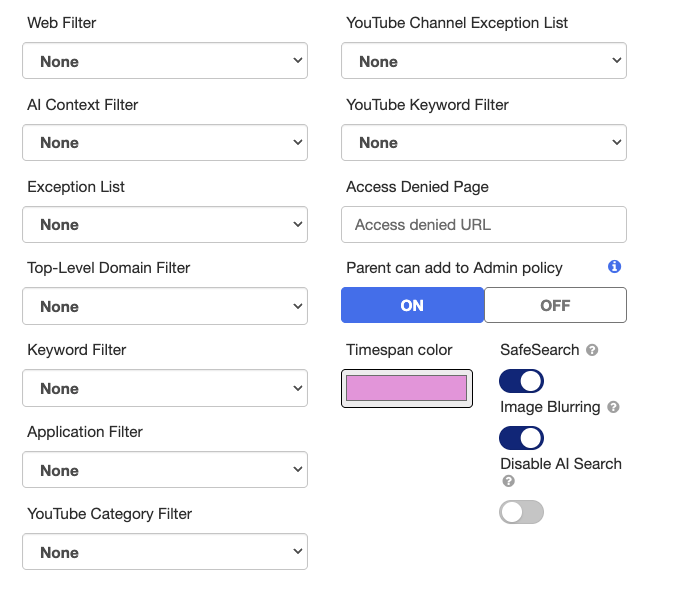
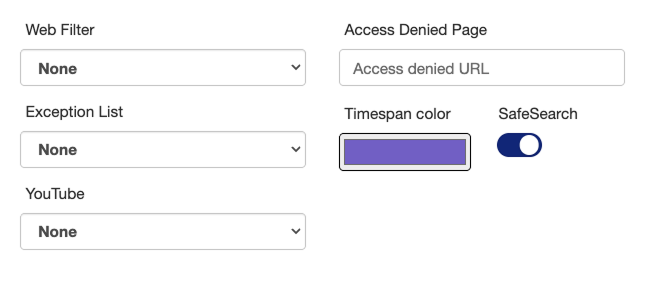
Select the appropriate filters from the drop-down lists. To leave a filter category unset, select None.
Type the URL in the Access Denied Page text box to redirect students to a specific page when access is denied - for example, your district's website.
Note
Leave the box empty to display the standard Blocksi Access Denied page. If Access Requests are enabled, the default Access Denied page is used regardless of this setting. Refer to the section.
Enable any of the following optional settings for this policy:
Setting
Description
Availability
Parent can add to Admin policy
Lets parents add restrictions to this policy from their Parent Dashboard.
Standard Time-based only
SafeSearch
Enforces SafeSearch in the search engine, filtering explicit images, videos, and websites from results.
All Time-based policies
Image Blurring
Blurs images with adult content.
Standard Time-based only
Disable AI Search
Hides Google AI overviews and disables Google AI search mode on targeted devices.
Standard Time-based only
Note
Disable AI Search applies only in Google Chrome, where the Blocksi extension runs, and requires extension version 4.5.1 or later.
Define the time span on the chart: select a color for the period, then click and drag across the grid to set its hours. To add another time period, repeat steps 1–5.
Tip
To set Monday–Friday, 8 AM–4 PM, click and hold the Monday-8 tile and drag to the Friday-16 tile.
Click Save Changes.
Tip
A policy can include multiple time periods - for example, school hours, after school, and weekends - each with its own color to tell them apart on the chart.
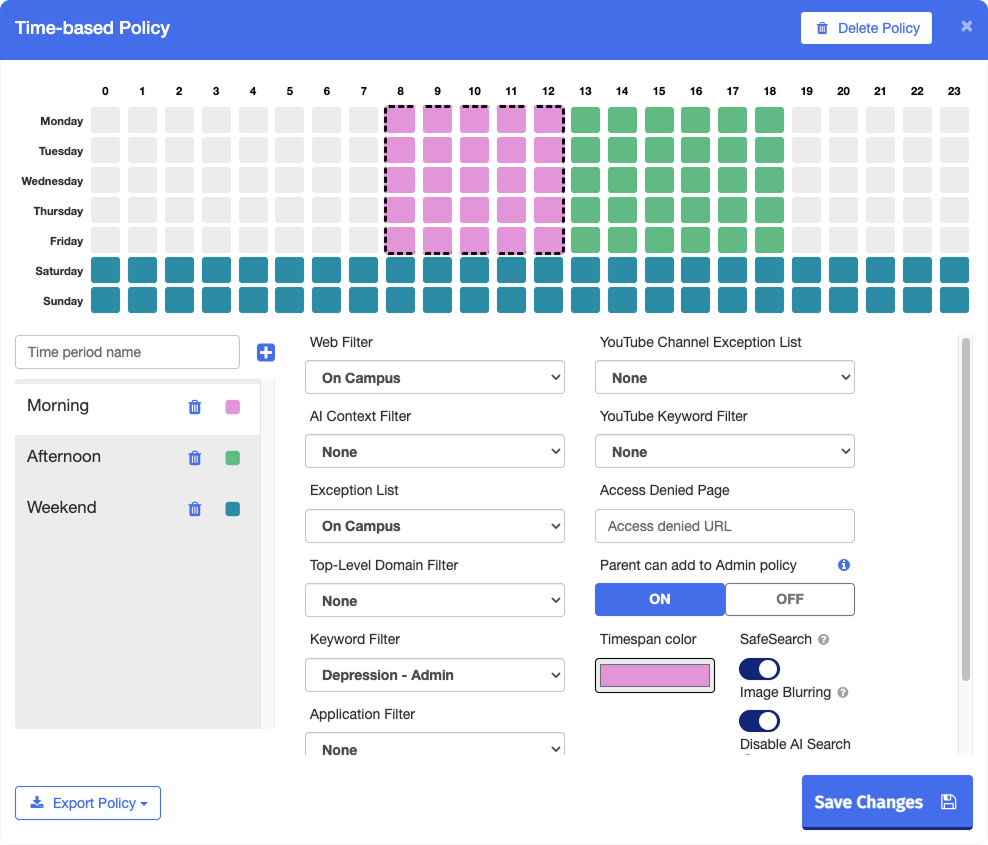
In the Policy Table, click the name of the policy that contains the time period. The policy window opens.
Click the
 button to the right of the time period you want to remove. A confirmation prompt appears.
Click OK to confirm.
Click the close icon in the top-right corner of the window.
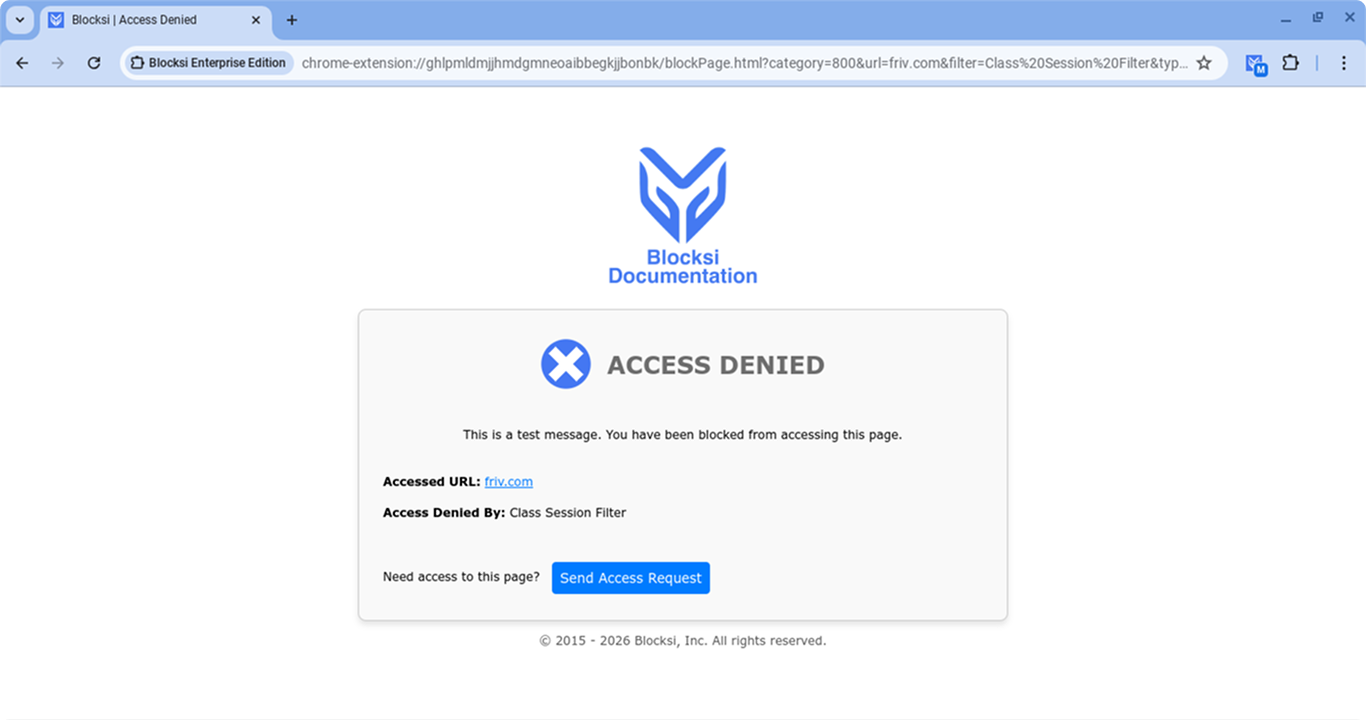
You can set a custom Access Denied page to display on student devices when access to a site is blocked. The page can be customized with a custom image (e.g., a school logo) and a custom message, both of which will be displayed across all devices in your district.
An example of a customized Access Denied page as seen on a student device is shown below.
Setting a school logo
Setting a custom message
Click Content Filtering from the Main Menu, then click Policies from its sub-menu. The Policies screen appears.
Click the Access Denied Page button in the top right corner above the Policy Table. The Access Denied Page window opens on the School Logo tab.
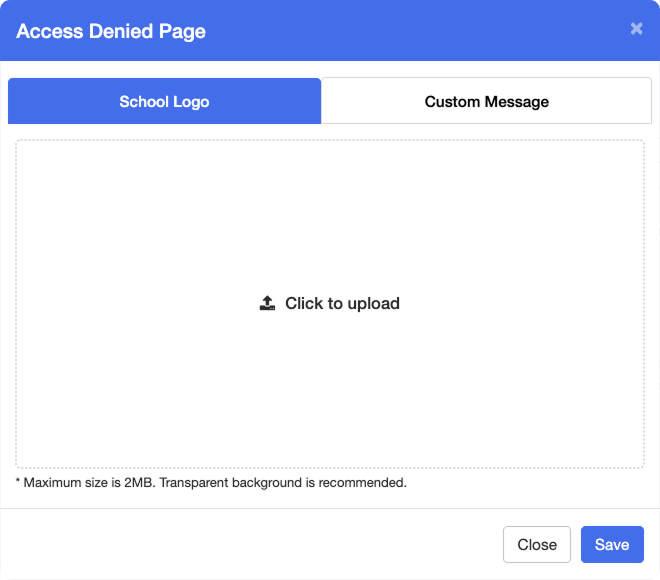
Click the Click to Upload button and select an image file from your device.
Note
The school logo must be in a valid image file format with a maximum file size of 2 MB. A transparent background is recommended.
Click Save to confirm your changes. A confirmation message appears confirming the changes to the Access Denied page customization.
Tip
To remove the school logo, click the uploaded image and confirm the removal in the modal window that appears.
Click Content Filtering from the Main Menu, then click Policies from its sub-menu. The Policies screen appears.
Click the Access Denied Page button in the top right corner above the Policy Table. The Access Denied Page window opens on the School Logo tab.
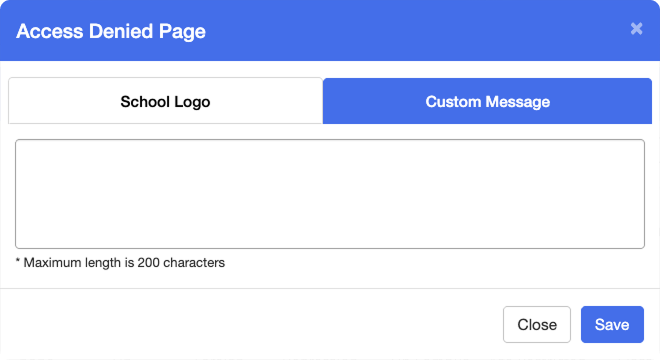
Navigate to the Custom Message tab and enter the message to display on the Access Denied page.
Note
The custom message has a maximum length of 200 characters.
Click Save to confirm your changes. A confirmation message appears confirming the changes to the Access Denied page customization.
The student threshold is the maximum number of times a student can view or attempt to view blocked pages. When a student exceeds this number, they receive an email notifying them of their behavior.
Click Content Filtering from the Main Menu and then click Policies from its sub-menu. The Policies screen appears.
Click the Student Threshold button. The Student Threshold window opens.
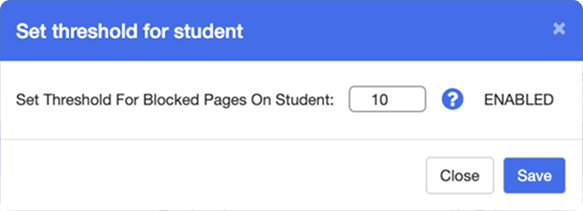
Set the threshold value, then click Save.
Important
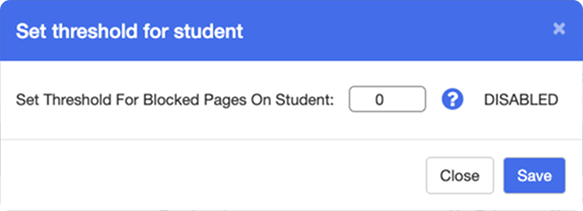
To disable the threshold notifications, set the value to
0.
Click Content Filtering from the Main Menu, then click Policies from its sub-menu. The Policies screen appears.
All policy types can be exported to JSON format. Regular policies can also be exported to PDF, which provides a visual overview of your filtering configuration.
Exporting to JSON lets you quickly duplicate a complete policy instead of recreating it by hand. A policy export includes everything that defines the policy: all linked filters, the exception list, and all policy settings. Refer to the Importing a Policy section to learn how to import a policy in JSON format.
Tip
Exporting and then importing a policy in JSON format is especially helpful for multi-tenant schools that need to quickly duplicate a policy in a different environment or setting.
Note
Exporting a policy does not change or remove the original policy. An imported policy is created as a new, independent policy - editing it does not affect the source policy it was duplicated from.
Click the name of the policy to modify from the Policy Table. The policy window opens.
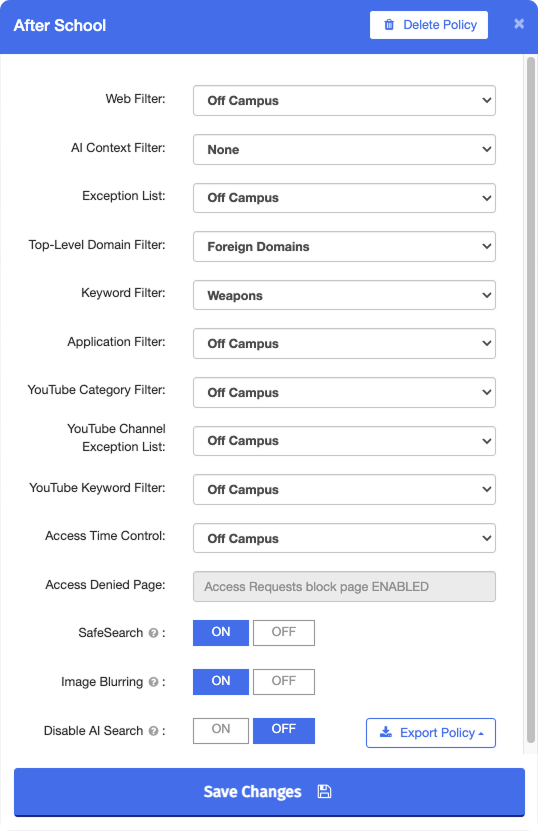
Click the
 button, then select the format:
Export PDF - available for Regular policies only.
Export JSON - available for all policy types.
Note
Alternatively, a policy can be exported to JSON directly from the Policy Table by clicking the
 button in the last column of the policy's row.
The policy is exported to your computer in the selected format.
Policies can be imported in JSON format directly to your Policy Table. This option simplifies transferring filtering configurations between multi-tenant schools. Refer to the Exporting a Policy section to learn how to export a policy in JSON format.
On the Policies screen, click the
 button above the Policy Table. The Import Policy from Your Computer window opens.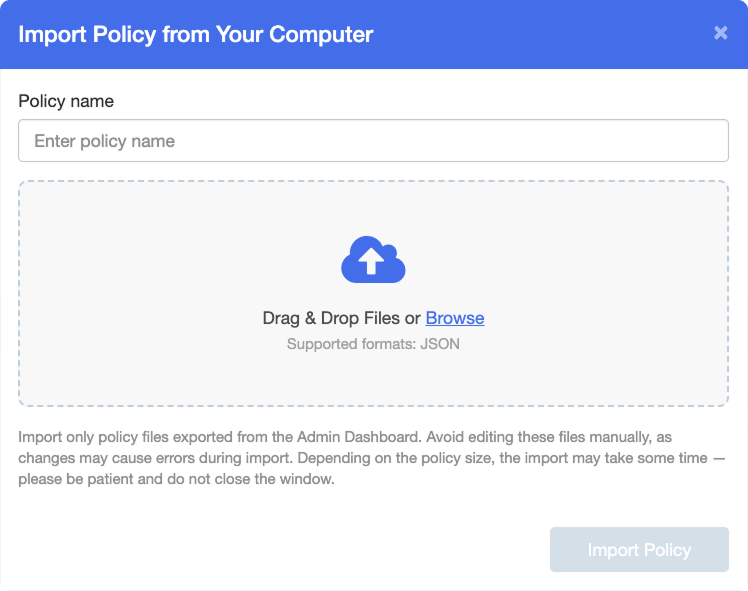
Enter a name for the imported policy in the Policy name text box.
Drag and drop the JSON file, or browse for it on your device.
Click Import Policy. The imported policy appears in the Policy Table.
Click the name of the policy to modify from the Policy Table. The policy window opens.
Make the necessary changes and click Save Changes.
Locate the policy to duplicate and click the
 button in the last column. The Duplicate Policy window opens.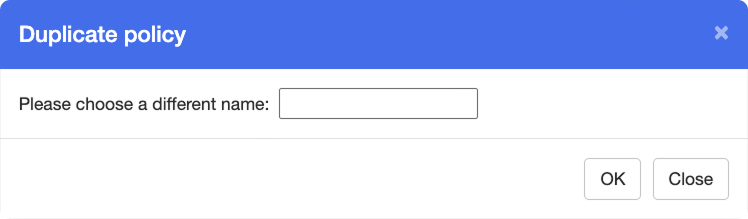
Type the name of the new policy in the text box.
Click OK. The duplicated policy appears at the bottom of the Policy Table. It contains the same filters and lists as the original policy.
Make any changes to the new policy and click Save Changes.
When you make changes to filters, policies, DNS filtered IP addresses, and policy assignments, click the  button to commit these changes. The button flashes red to indicate that Blocksi has not yet committed outstanding changes.
Click the Update Policies on All Clients button on the Action Bar. A success prompt appears.
Click Close to dismiss the prompt.
Click the name of the policy to delete from the Policy Table. The policy window opens.
Click the
 button in the top-right corner of the policy window. A confirmation prompt appears.
Click OK to confirm.