The Action Bar appears at the top of the screen and contains the following:
Toggle to switch between showing and hiding the Main Menu.
Buttons to copy the Blocksi Navigator and Enterprise IDs
Button to access the Website Rating Tool
Button to update client policies
Help Icon
User Icon
Copy the Blocksi Navigator and Enterprise IDs to the clipboard to paste them on the Google Admin Console. The Blocksi Navigator ID is used to facilitate the device management lost mode feature, and the Blocksi Enterprise ID is required for the Google Workspace Chrome Extension.
To copy the Blocksi Navigator and Enterprise IDs
Click the Copy Blocksi Navigator ID or the Copy Blocksi Enterprise ID button on the Action Bar. Blocksi copies the ID to the clipboard.

Paste the ID into the desired location.
Blocksi’s website rating tool uses 85 categories to classify billions of websites. These categories are divided into the following groups:
Security Risk, which includes malicious websites, such as phishing and spam URLs.
Unethical, such as explicit violence and extremist groups.
Adult/Mature Content, which includes gambling and pornography.
Bandwidth Consuming, such as streaming media and file sharing.
Business, which includes finance, banking, and secure websites.
Personal, such as games and medicine.
Use the Website Rating Tool to rate and re-evaluate websites.
Query the current rating of a website and request an update to the rating from Blocksi Support.
To rate a website
Click the Website Rating Tool button on the Action Bar.

The Website Rating Tool window opens.
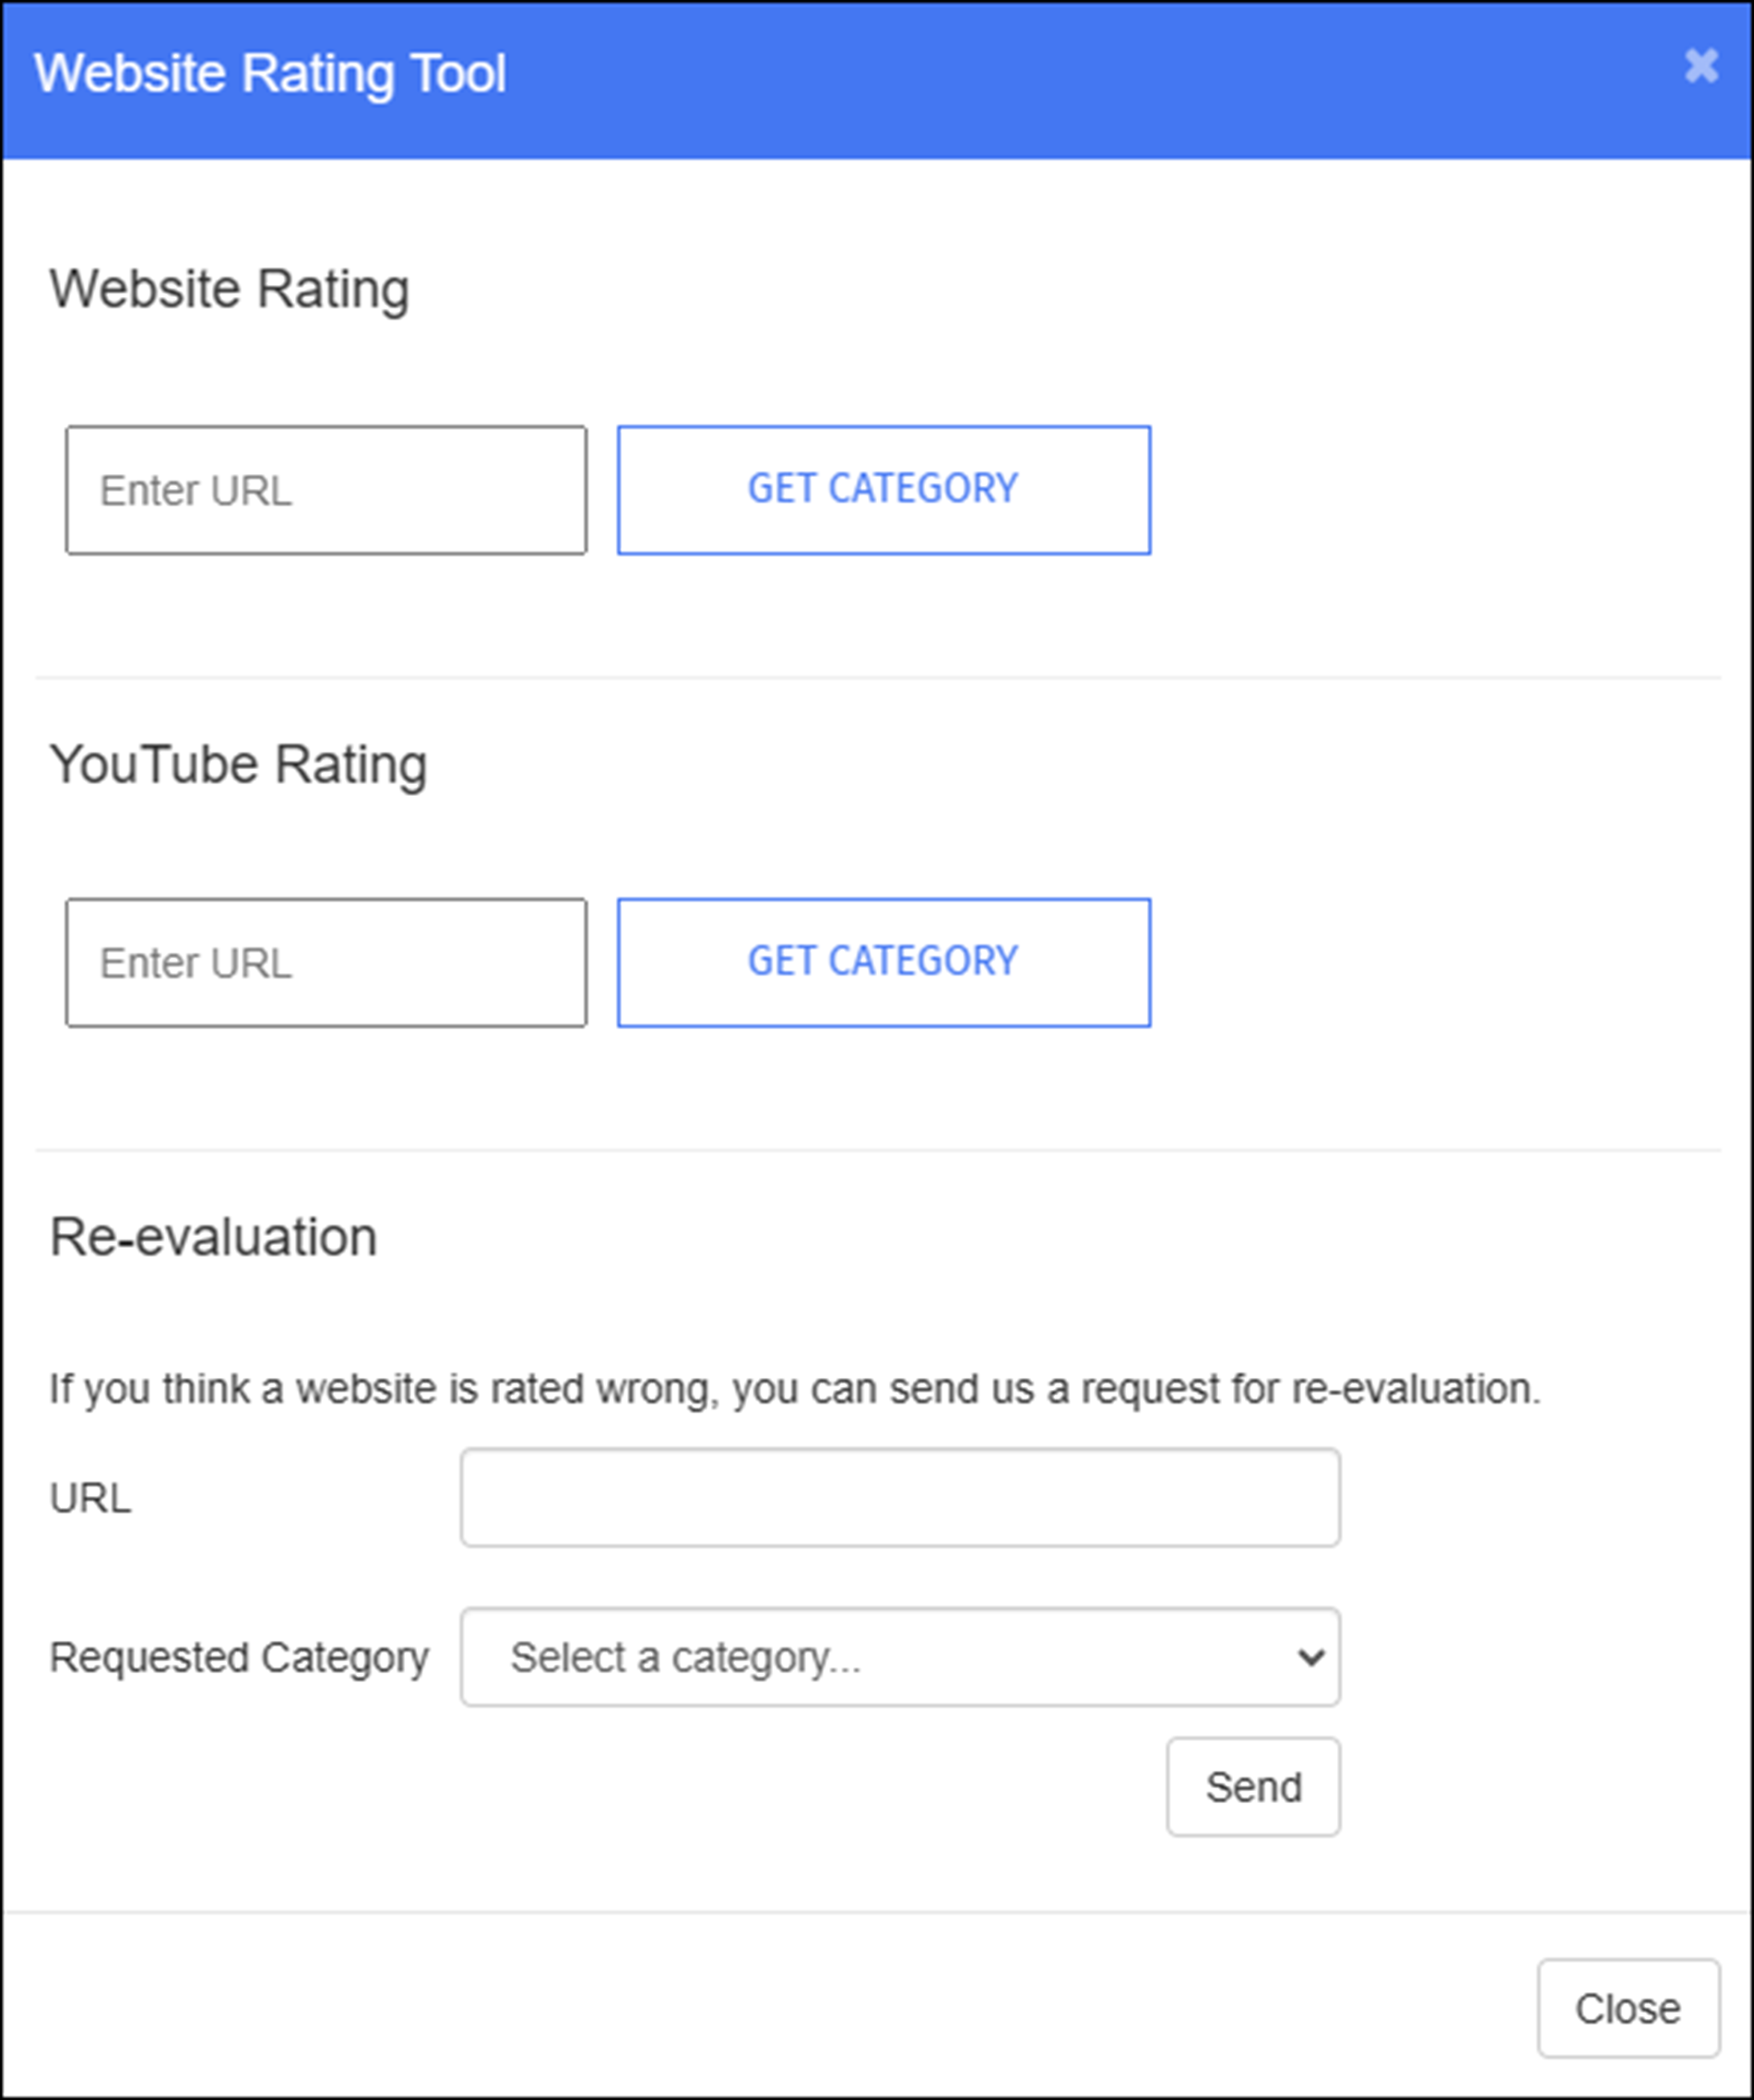
Type the URL for which to retrieve the category in the Website Rating or the YouTube Rating text box.
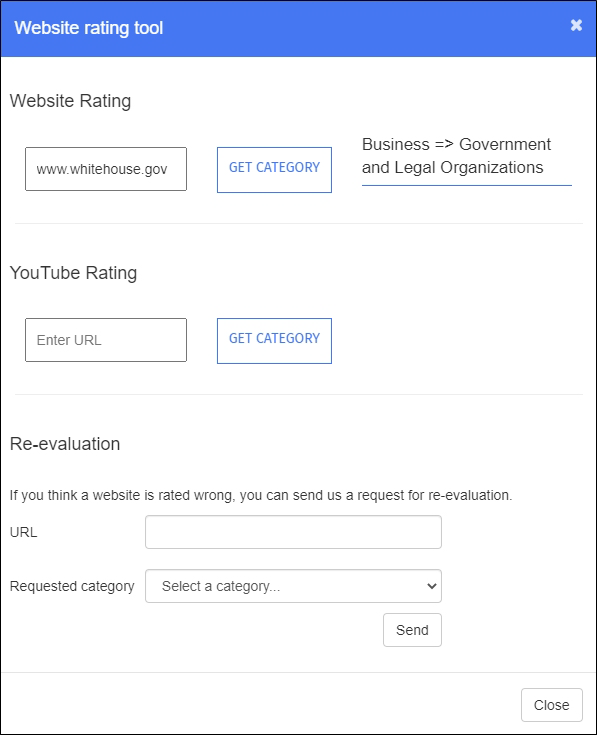
Click GET CATEGORY. The Website rating tool queries the Blocksi system and returns the current categorization of a specific URL or the current video category, as shown below.
Request re-evaluation of websites that you believe belong in a different category. The Blocksi Support Team receives and processes requests and notifies you of the status of your request via the email address you use to sign in to your Admin Dashboard.
Note
You cannot re-evaluate a YouTube category.
To re-evaluate a website
Click the Website Rating Tool button on the Action Bar.

The Website Rating Tool window opens.

Type the URL to re-evaluate in the Re-evaluation text box.
Select the category that you believe the website should be categorized under in the Requested category drop-down list.
Click Send. A confirmation prompt appears.
Click Close to remove the prompt.
Note
This action generates a support ticket to the Blocksi help desk for review. You will be notified by email of the result.
When you make changes to filters, policies, DNS filtered IP addresses, and policy assignments, click Update Policies on All Clients to commit these changes. Note that the Update Clients on All Policies button flashes red to indicate that Blocksi has not yet committed outstanding changes.
To update policies on all clients
Click the Update Policies on All Clients button on the Action Bar.

A success prompt appears.
Click Close to remove the prompt.
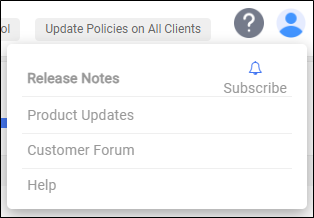
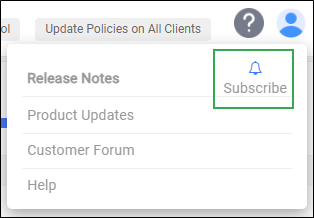
The Help icon contains the following options:
Read the Latest Release Notes and Product Updates
Subscribe to the Latest Release Notes
Access the Customer Forum
Access the Help Center
Read about the latest release notes and product updates for Blocksi Manager Education Everywhere (BMEE).
To read about the latest release notes and product updates for BMEE
Click the Help icon on the Action Bar and click Release Notes and Product Updates.
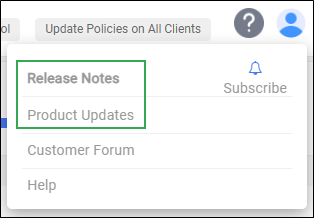
Scroll through the list of changes and updates, which are organized by date.
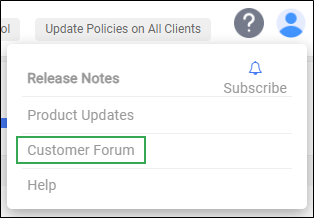
Blocksi provides communication between administrators with the Customer Forum.
To access the Customer Forum
Click the Help icon on the Action Bar and then click Customer Forum. You are brought to the forum, in which you can engage with other users and post and answer questions regarding the Admin Dashboard.
Note
When accessing the forum for the first time, you are asked to sign in to your account and create a profile. Sign in using your Blocksi, Google, or Circle email.
To access help
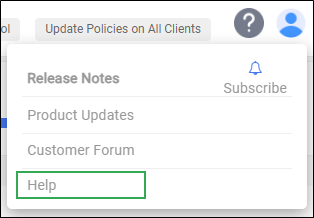
Click the Help link to go to the Blocksi Help Center.
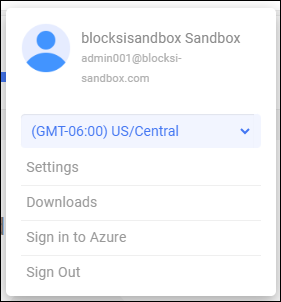
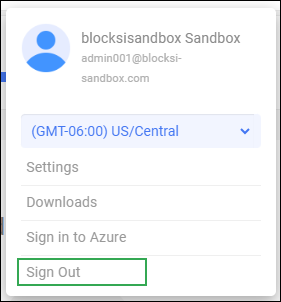
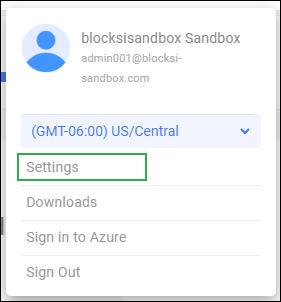
The User icon contains the following options:
View the current username
Change the Timezone
Access Settings
Access Downloads
Sign in to Azure
Sign out of the Admin Dashboard
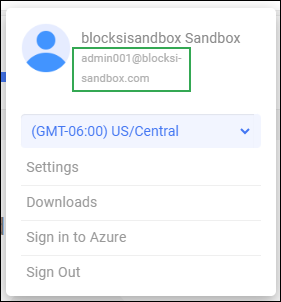
View the email account of the user who is currently signed in to the Admin Dashboard.
To view the current username
Click the User icon on the Action Bar. The username appears below the domain name.
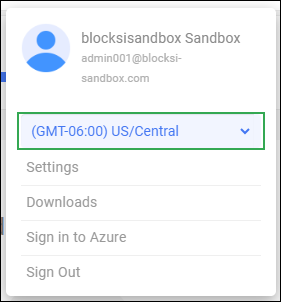
Make sure that the timezone is set properly in the current account to ensure accurate reporting and scheduling.
To change the timezone
Click the User icon on the Action Bar and then click the down arrow to the right of Timezone or the currently displayed timezone.
Click the desired timezone. A confirmation prompt appears.
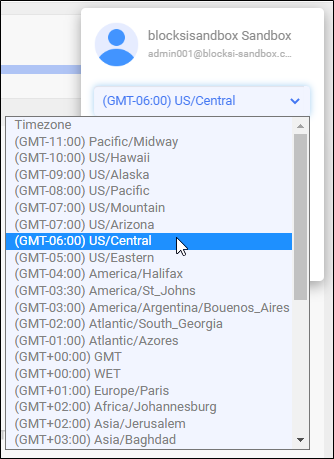
Click Close to remove the prompt. The timezone change takes effect immediately.
Use the Admin Dashboard settings to do the following:
Add and remove notification emails for blocked content
Add and remove additional domains
Change the dashboard language
Add and remove email addresses for individuals to notify when users attempt to access blocked content.
To add a notification email
Click the down arrow on the Action Bar and then click Settings.

The Settings window opens and displays the expiration date for the current account.
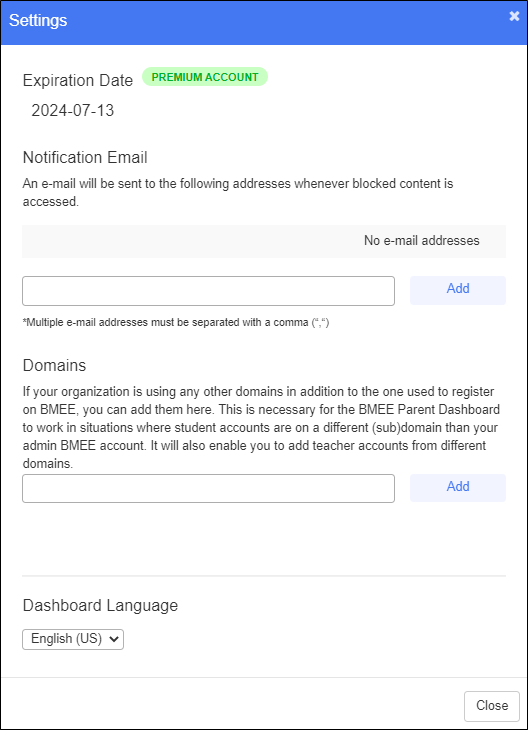
Type one or more email addresses into the text box in the Notification e-mail section of the window. Separate multiple email addresses with a comma.
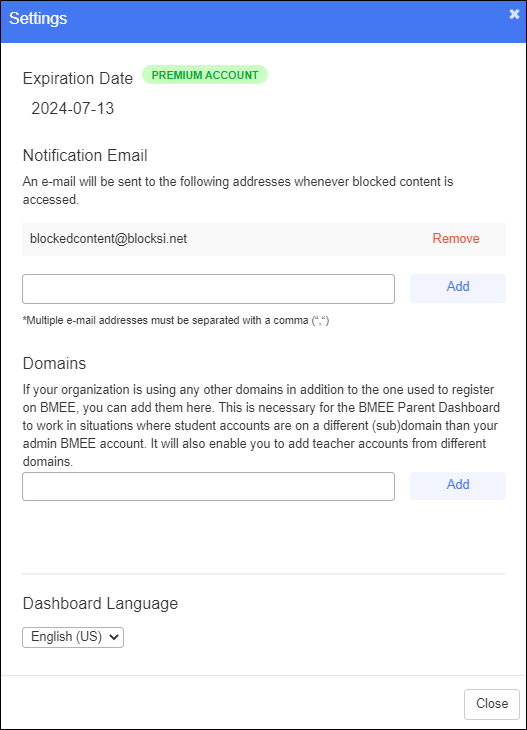
Click Add. The email is added to the list of email addresses notified when blocked content is accessed and appears beneath the text box, as shown below.
Remove email addresses that were added for blocked content notification.
To remove a notification email
Click the down arrow on the Action Bar and then click Settings.

The Settings window opens and shows all emails that were added to the notification list.

Locate the email to remove, and click the red Remove link to the right of the email.
Blocksi removes the email from the list.
Add and remove domains in addition to the one used to register Blocksi Manager Education Everywhere. Ensure that all related domains (local domain, teacher/student-specific domains, sub-domains of managed users) are included in the domains list.
To add a domain
Click the down arrow on the Action Bar and then click Settings.

The Settings window opens and displays the expiration date for the current account.

Type the desired domain in the text box in the Domains section of the window.
Note
Do not include the www in the URL; only the domain is accepted.
Note
Domain names are case-sensitive.
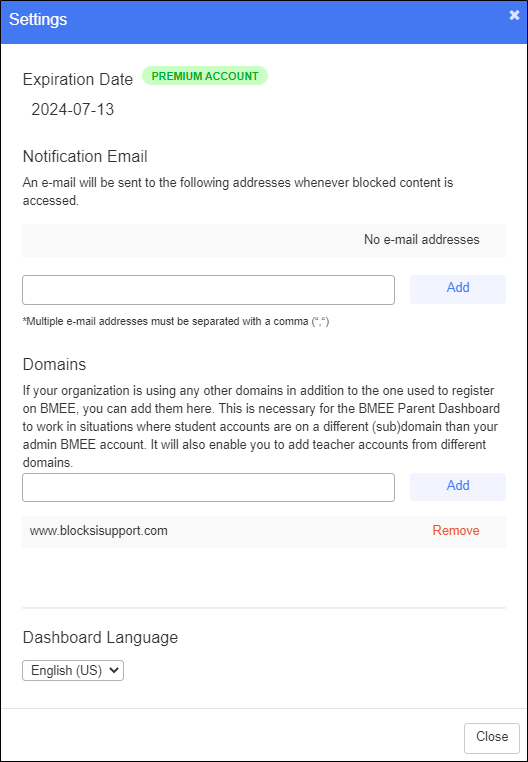
Click Add. The domain appears beneath the text box, as shown below.
Remove domains when you no longer need them.
To remove a domain
Click the down arrow on the Action Bar and then click Settings.

The Settings window opens and displays the expiration date for the current account.

Locate the domain to remove, and click the red Remove link to the right of the domain.
Blocksi removes the domain name from the list.
Change the language of the Admin Dashboard between English, Spanish, French, and Portuguese (Brazil).
To change the language
Click the down arrow on the Action Bar and then click Settings.

The Settings window opens and displays the expiration date for the current account.

Select the desired language from the Dashboard Language drop-down list. Blocksi immediately reloads the Admin Dashboard in the selected language.
Download the latest installation and configuration files for Windows, Chromebook, Android, and Apple devices.
To access downloads
Click the User icon on the Action Bar and then click Downloads.
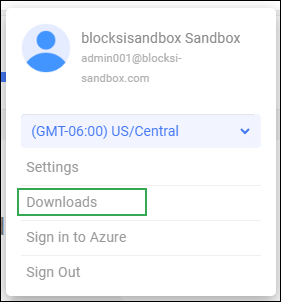
The Downloads window opens.
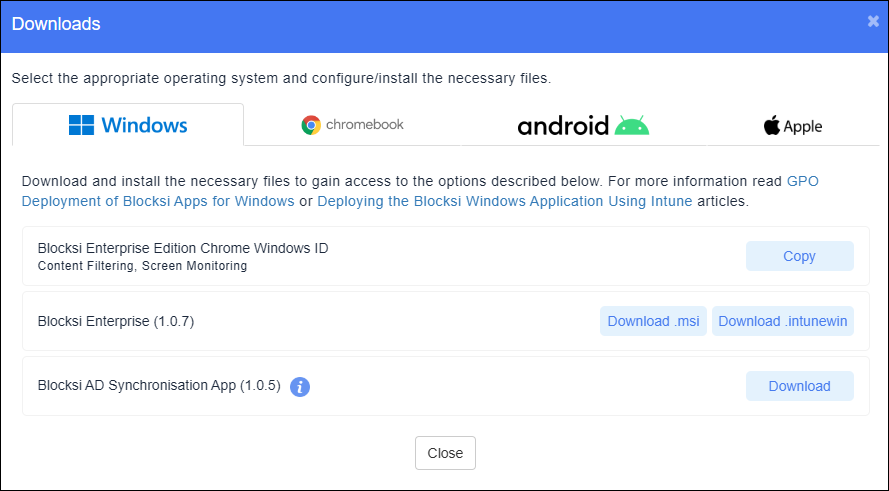
Click the Windows, Chromebook, Android, or Apple tab to download installation and configuration files for each device type.
Note
For details on these installation procedures, please see Windows Deployment, iOS Deployment, and macOS Deployment.
Note
Sign in to Azure to link your Blocksi account to your Azure Platform.
Click the User icon on the Action Bar and then click Sign in to Azure.
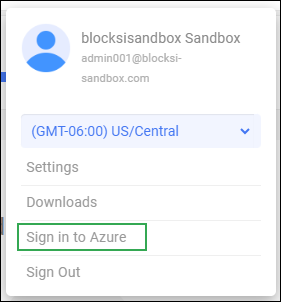
If you are not already logged into Azure, you are prompted to sign in to your Microsoft Azure account.
Type your email or phone and click Next.
Type your password and click Sign in.
To sign out of the Admin Dashboard
Click the User icon on the Action Bar and then click Sign Out
