Web Filters
Web Filters allow administrators to control access to online content by defining which websites are allowed, blocked, or permitted with a warning. These filters help enforce acceptable use policies, protect users from inappropriate content, and create a safer browsing environment.
Blocksi web filtering is organized into 85 predefined categories, grouped into six category types. These categories make it easier to apply consistent filtering rules across different types of content and user groups. For detailed descriptions of each category, see the Web Filter Categories section.
Blocksi also provides a default web filter that is in effect until you change policies. This ensures that when a student signs in on a new device, they receive this default web filter until the policy assigned to the appropriate OU is applied. Click the Review Policy button to see the default web filter.
Click Content Filtering from the Main Menu and then click Filters from its sub-menu.
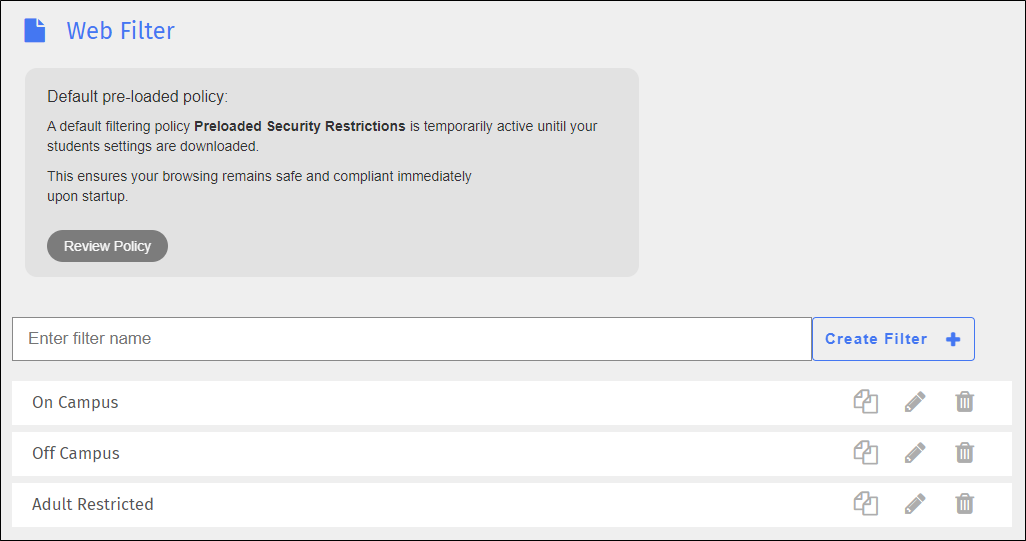
Type the name of the filter in the Enter filter name text field.
Click Create Filter + to add the filter. The Edit screen appears. You are presented with a list of filter types to add to the web filter. Each filter type may contain one or more web page categories. For instance, if you click the Security Risk type, it expands to show Malicious, Phishing, and Spam URLs filter types, as shown below. Choose to allow, block, or allow with a warning to the student for one or more of the filter types.
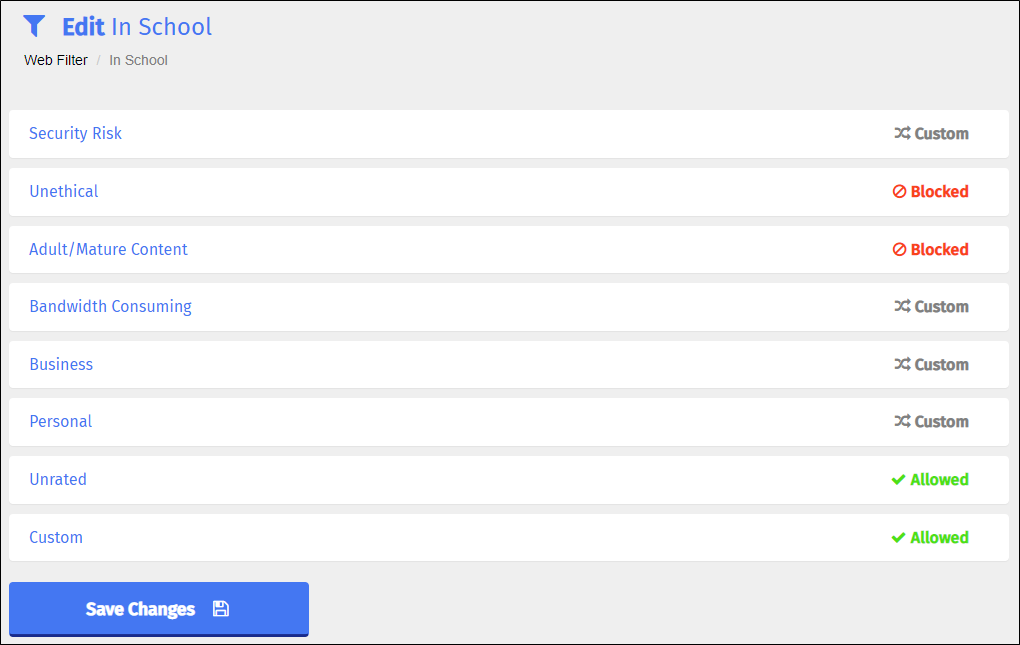
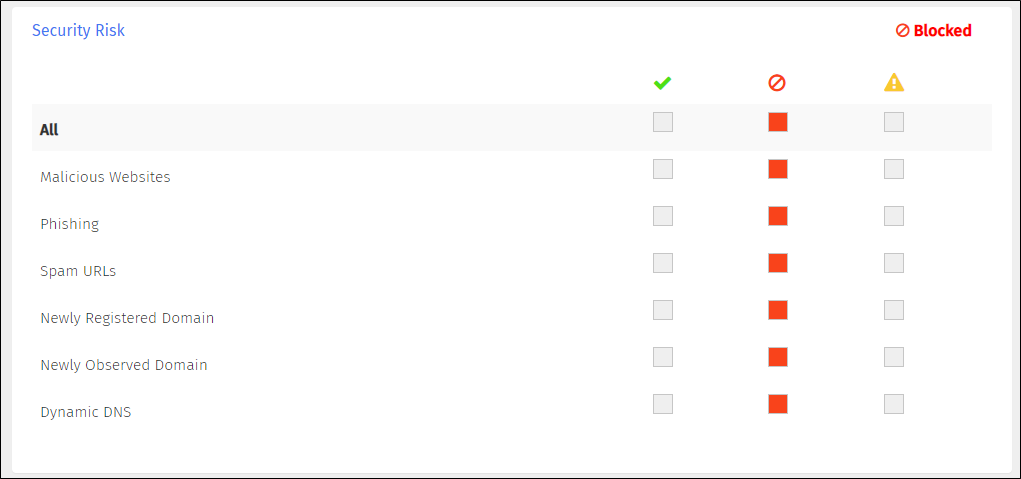
Click each filter type to expand it, and make your selections.
Click Save Changes when you have finished. A confirmation prompt appears indicating the save was successful.
Click Close to remove the prompt.
Lock a web filter category as needed. Locking a web filter category prevents parents, delegates, and teachers from adding specific web filter category URLs to exception lists.
For example, locking the Social Networking category prevents parents, delegates, and teachers from adding URLs such as facebook.com and instagram.com to exception lists.
Note
Admins can add URLs from locked web categories to exception lists.
Click Content Filtering from the Main Menu and then click Filters from its sub-menu.
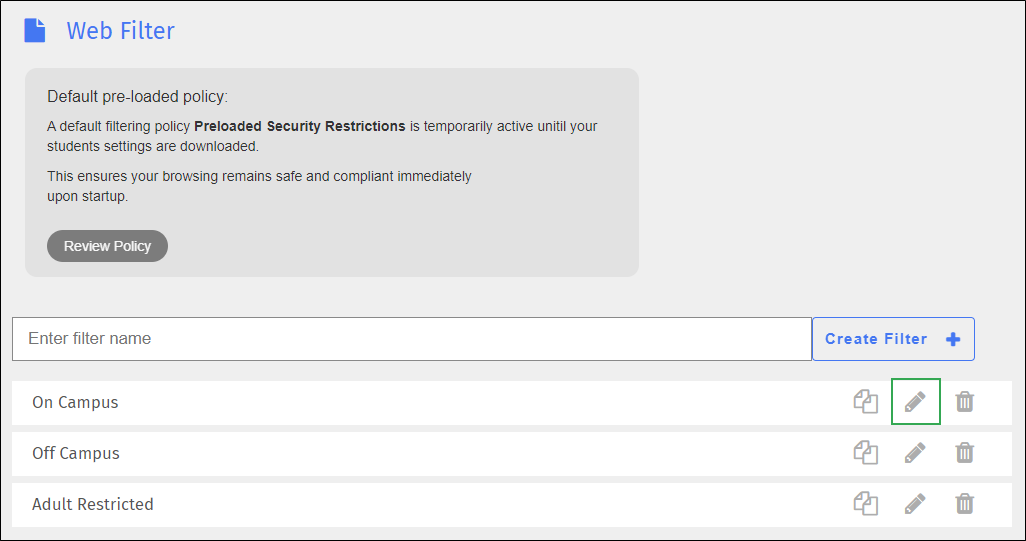
Locate the name of the filter for which to lock a web category and click the
 icon to the right of the filter name. The Edit screen appears.
Select the desired group to display those categories.
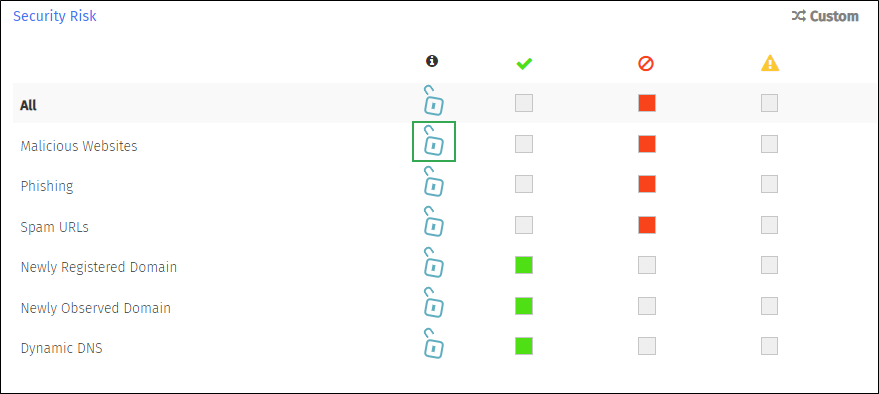
Click the
 icon to the left of the category name to lock it.
Click Save Changes to save your changes.
Unlock a web filter category that is locked. Unlocking a web filter category gives parents, delegates, and teachers the ability to add specific web filter category URLs to exception lists.
Click Content Filtering from the Main Menu and then click Filters from its sub-menu.
Locate the name of the filter for which to unlock a web category and click the
icon to the right of the filter name. The Edit screen appears.Select the desired group to display those categories.
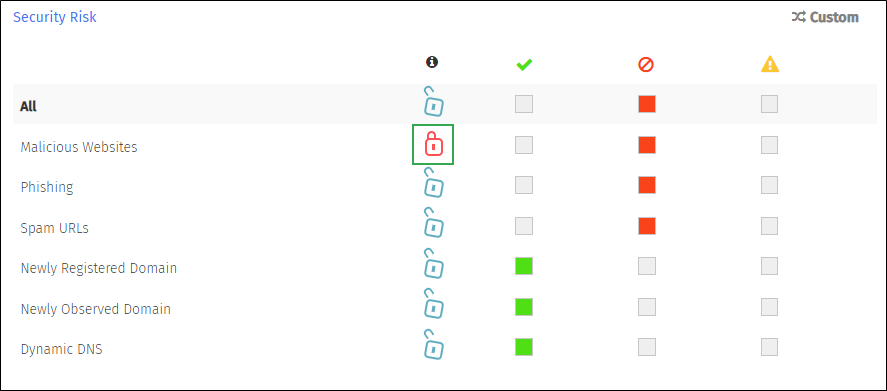
Click the
 icon to the left of the category name to unlock it.
Click Save Changes to save your changes.
Click Content Filtering from the Main Menu and then click Filters from its sub-menu.
Locate the filter to rename, and click the filter name. A box opens to allow you to rename the filter. Note that Blocksi added Save and Cancel buttons to the right of the name, as shown below.
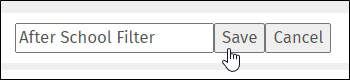
Rename the filter, and click the Save button.
Click Content Filtering from the Main Menu and then click Filters from its sub-menu.
Locate the name of the filter to modify, and click the
icon to the right of the filter name. The Edit screen appears.Make the necessary changes to the filter, and click Save Changes.
Click Content Filtering from the Main Menu and then click Filters from its sub-menu.
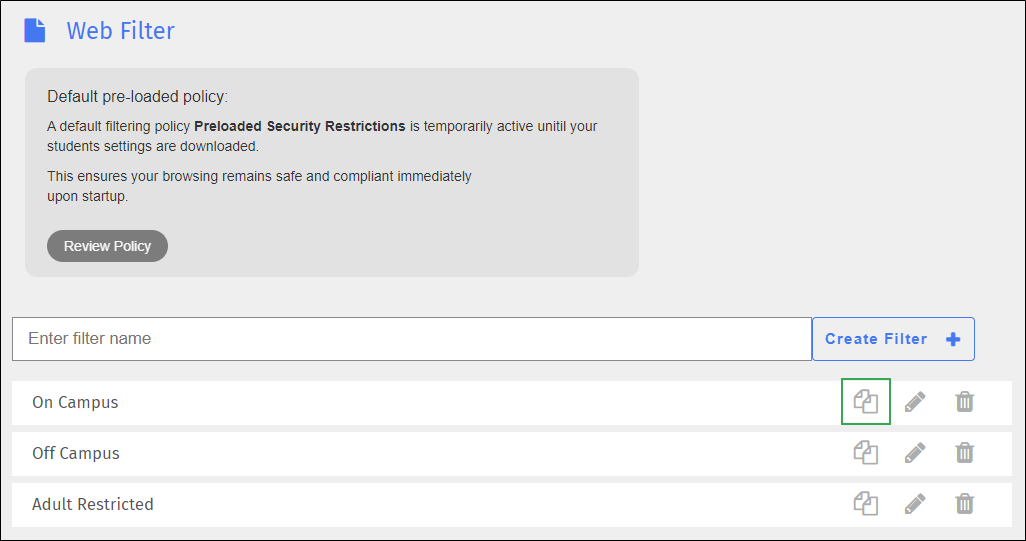
Locate the web filter to duplicate, and click the
 icon. The Duplicate Filter window opens.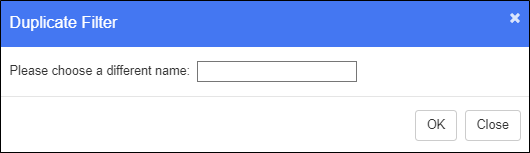
Type the name of the new filter in the text box.
Click OK to add the filter and close the window. The duplicated filter appears at the bottom of the list. It contains the same blocked, allowed, and warning sites as the original filter.
Make any desired changes to the new filter and save it.
Click Content Filtering from the Main Menu and then click Filters from its sub-menu.
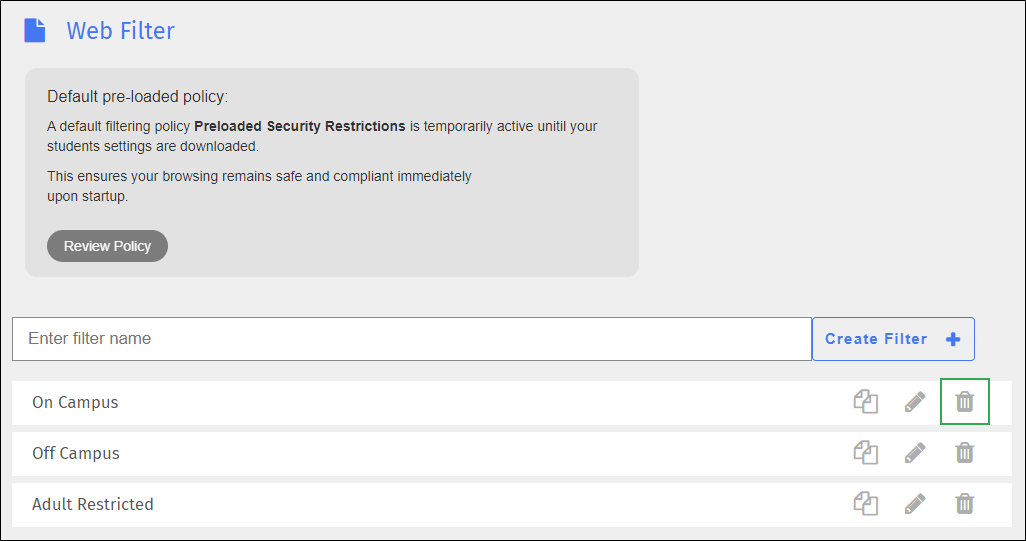
Locate the name of the web filter to delete, and click the
 icon. A confirmation prompt appears.
Click OK to delete the filter.