Admins and Delegates can block students from accessing a web page for several reasons.
When students encounter a page blocked by a keyword in a keyword filter, the following screen appears.
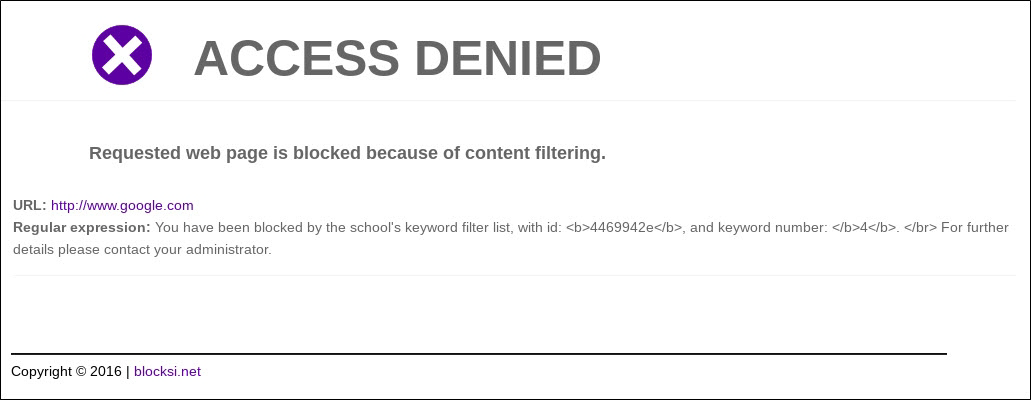
This screen provides the student with the keyword filter ID and the number of the keyword in that filter.
Blocksi may also block students with other content filtering types; for example, an exception list, which may be referred to as a block list. In this case, the student sees the following screen.
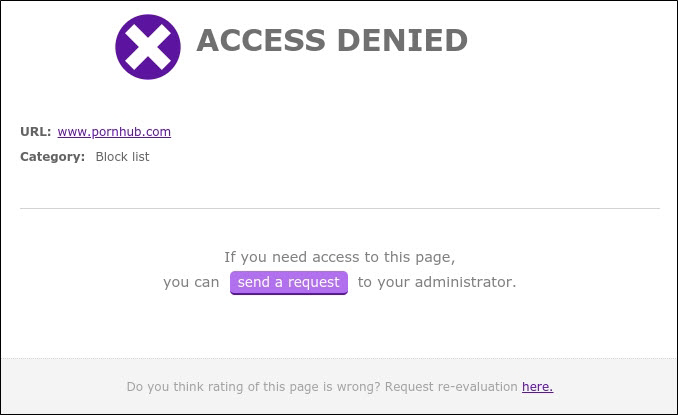
When students encounter a blocked page they have the option to click the send a request button to request access to the page. When they do, the following choices appear, as shown on the screen below.
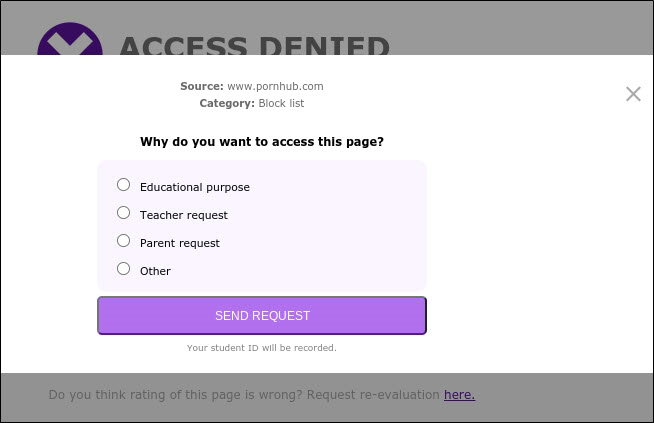
Students must select the reason they need access to the page.
Students also have the option to click the here link at the bottom of the page to request a re-evaluation of the website category. When they do, the following screen appears.
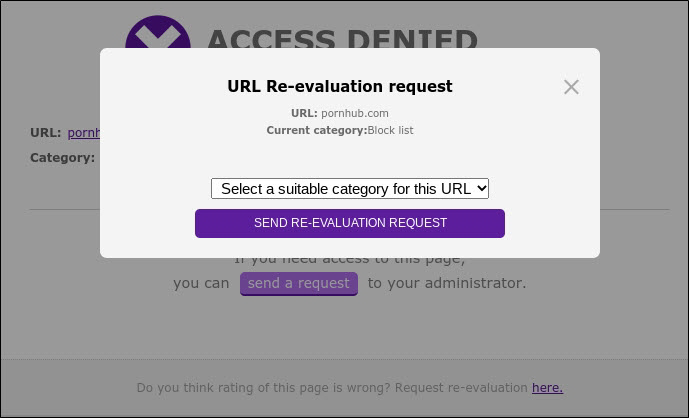
Students can then suggest a category from the drop-down list and click the SEND RE-EVALUATION REQUEST button. Blocksi sends a request to the school administrator for possible re-categorization of the website URL.
You must activate access requests before you can use them.
To activate access requests
Click Content Filtering from the Main Menu and then click Access Requests from its sub-menu. The Access Requests screen appears.
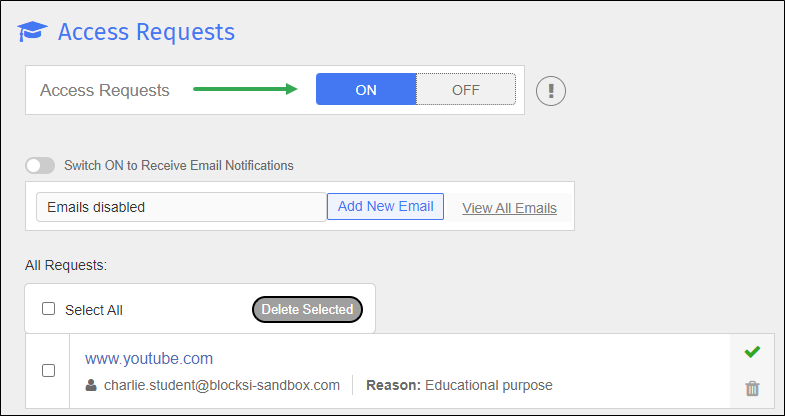
Click the ON button to the right of Access Requests. A confirmation prompt appears.
Click OK to activate the requests.
Deactivate access requests when you no longer need them.
Click the OFF button to the right of Access Requests. A confirmation prompt appears.
Click OK to deactivate the requests.
You must enable email notifications to receive emails about access requests.
To enable email notifications
Click Content Filtering from the Main Menu and then click Access Requests from its sub-menu. The Access Requests screen appears.
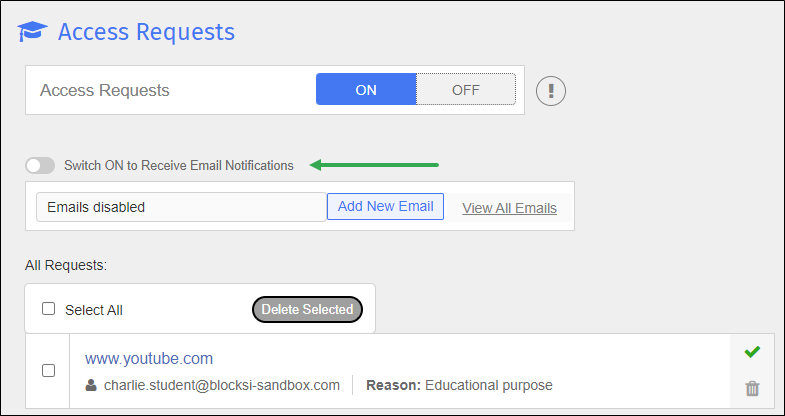
Click the Switch ON to Receive Email Notifications button to turn it blue. This enables the notifications and the Emails disabled label changes to Input email for notifications. A confirmation prompt appears.
Click OK to enable the notifications and close the prompt.
Disable email notifications when you no longer need them.
To disable email notifications
Click the Switch ON to Receive Email Notifications button to turn it gray. This disables the notifications and the Input email for notifications label changes to Emails disabled. A confirmation prompt appears.
Click OK to disable the notifications and close the prompt.
Add recipients to notify when an access request occurs.
To add a recipient
Click Content Filtering from the Main Menu and then click Access Requests from its sub-menu. The Access Requests screen appears.
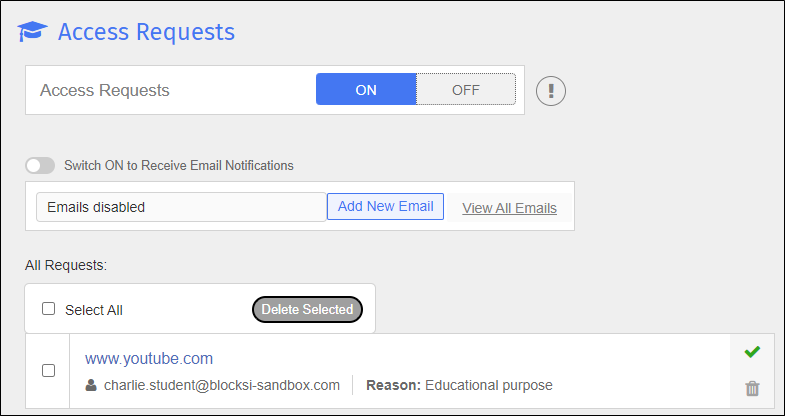
Type the recipient’s email in the Input email for notifications text box.
Click Add New Email. A confirmation prompt appears.
Click OK to add the recipient and close the prompt. Blocksi adds the recipient to the list of recipients to receive notifications.
Tip
Click the View All Emails link to open the Access Requests Recipient window and add the recipient from there.
Click the Update Policies on All Clients button on the Action Bar.
Delete recipients from access request notifications.
To delete a recipient from access request notifications
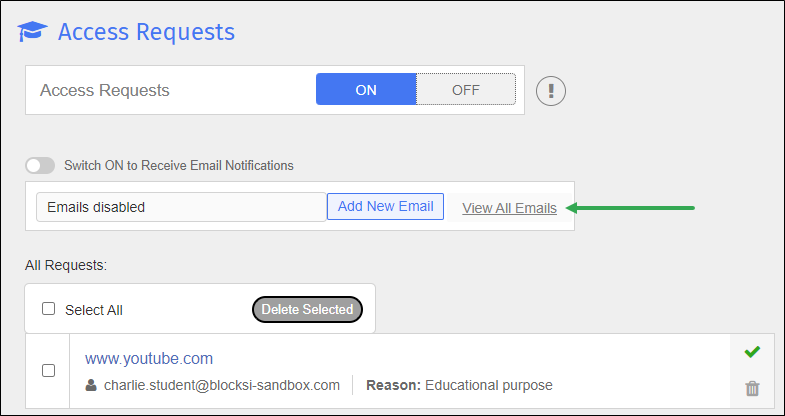
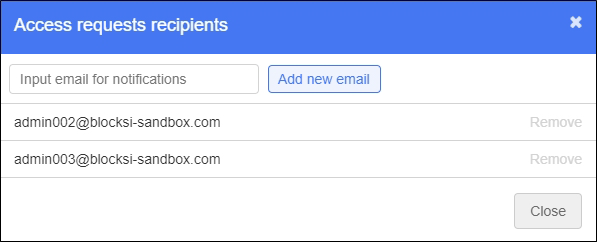
Click the View All Emails link. The Access Requests Recipients window opens.
Note
If access requests are inactive, the View All Emails link is disabled.
Locate the recipient to delete, and click the Remove link to the right of the email. A confirmation prompt appears.
Click OK to delete the recipient from the list, then click OK to close the prompt.
Click Close to close the Access Requests Recipients window.
Click the Update Policies on All Clients button on the Action Bar.
View access request recipients.
To view access request recipients
Click Content Filtering from the Main Menu and then click Access Requests from its sub-menu. The Access Requests screen appears.

Click the View All Emails link. The Access Requests Recipients window opens.

Note
If access requests are inactive, the View All Emails link is disabled.
When you have finished reviewing the recipients, click Close to close the window.
When a student requests access to a blocked page, either allow access to the page or deny the request.
To allow an access request
Click Content Filtering from the Main Menu and then click Access Requests from its sub-menu. The Access Requests screen appears.
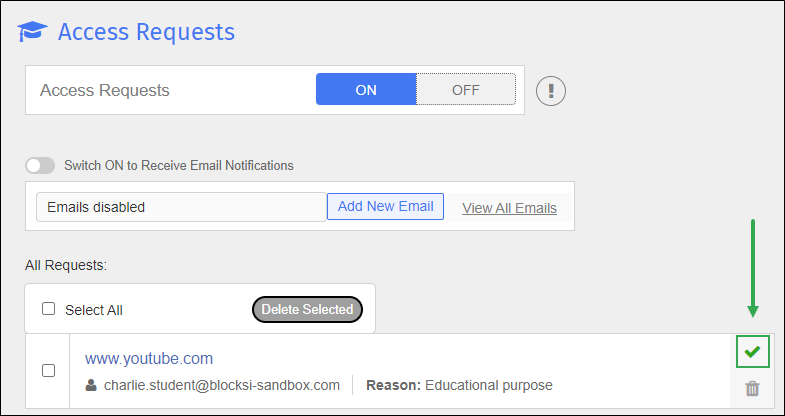
Locate the request to allow in the All Requests section.
Click the
 icon to the right of the request. A confirmation prompt appears.
Click OK to allow the request and close the prompt. Blocksi removes the request and adds the website to the exception list.
Locate the request to deny in the All Requests section.
Click the
 icon to the right of the request. A confirmation prompt appears.
Note
Select individual requests or select the Select All checkbox to select all requests. After selecting the requests, click the Delete Selected button. A confirmation prompt appears.
Click OK to deny the request and close the prompt. Blocksi removes the request from the list.