Azure AD Groups
Each user must have a valid license and the group or one of its parents to which the user belongs must have policies set for the extension to initialize. If any of these conditions are not met, the extension will not function. To set up a group, you must do the following:
Note
When syncing Azure AD Groups, you must ensure that you add the Blocksi Azure AD Enterprise Application in Azure/Entra. Assign this application to the groups/users that you intend to license in Blocksi.
Assign in school and out of school policies
Assign licenses
Click Organizations and Entities from the Main Menu and then click Azure AD Groups from its sub-menu. The Azure AD Groups screen appears.
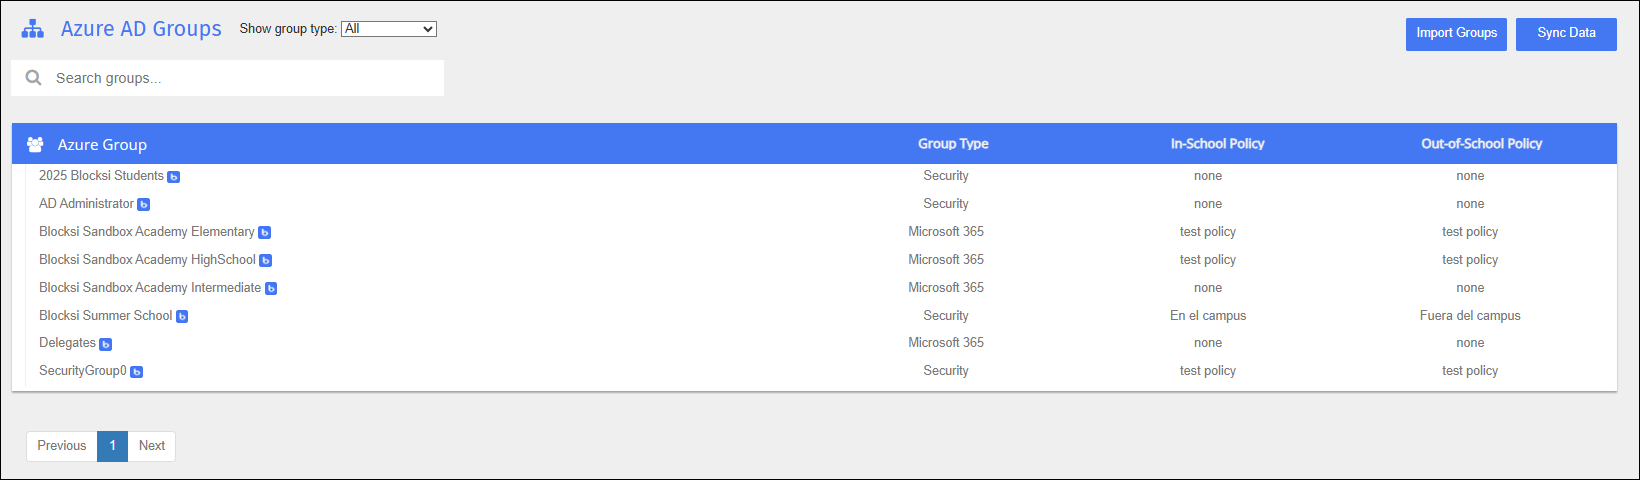
Locate the group to set up.
Click the
 icon to the right of the group name to open the edit window, as shown below.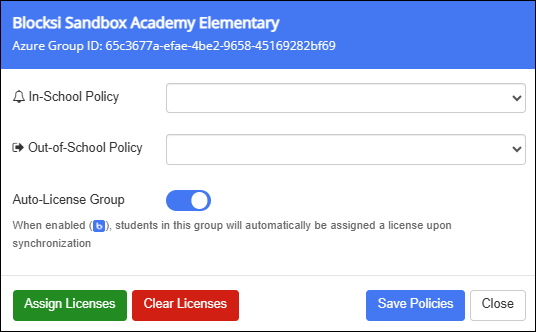
Select the policy to take effect while the student is in school from the In-School Policy drop-down list.
Select the policy to take effect while the student is out of school from the Out-of-School Policy drop-down list.
Click the Auto-License Group toggle to automatically assign licenses upon synchronization to students who are in groups that already have licenses.
Click the Assign Licenses button to assign the licenses.
Click Save Policies.
Click Organizations and Entities from the Main Menu and then click Azure AD Groups from its sub-menu. The Azure AD Groups screen appears.
Click the Import Groups. The import window opens.
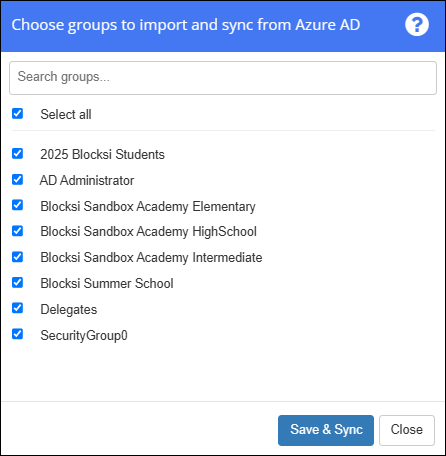
Select the checkboxes to the left of the groups to import and sync.
Click Save & Sync.
Click Organizations and Entities from the Main Menu and then click Azure AD Groups from its sub-menu. The Azure AD Groups screen appears.
Locate the group from which to remove licenses.
Click the
icon to the right of the group name to open the edit window, as shown below.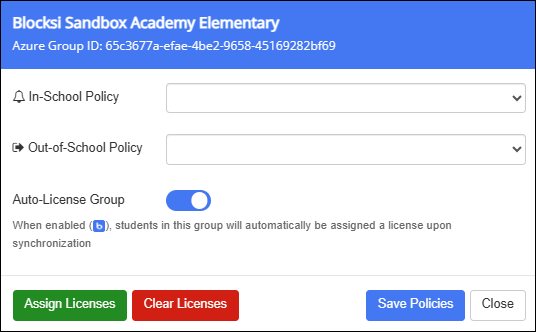
Click the Clear Licenses button to remove the licenses.
Click Save Policies.