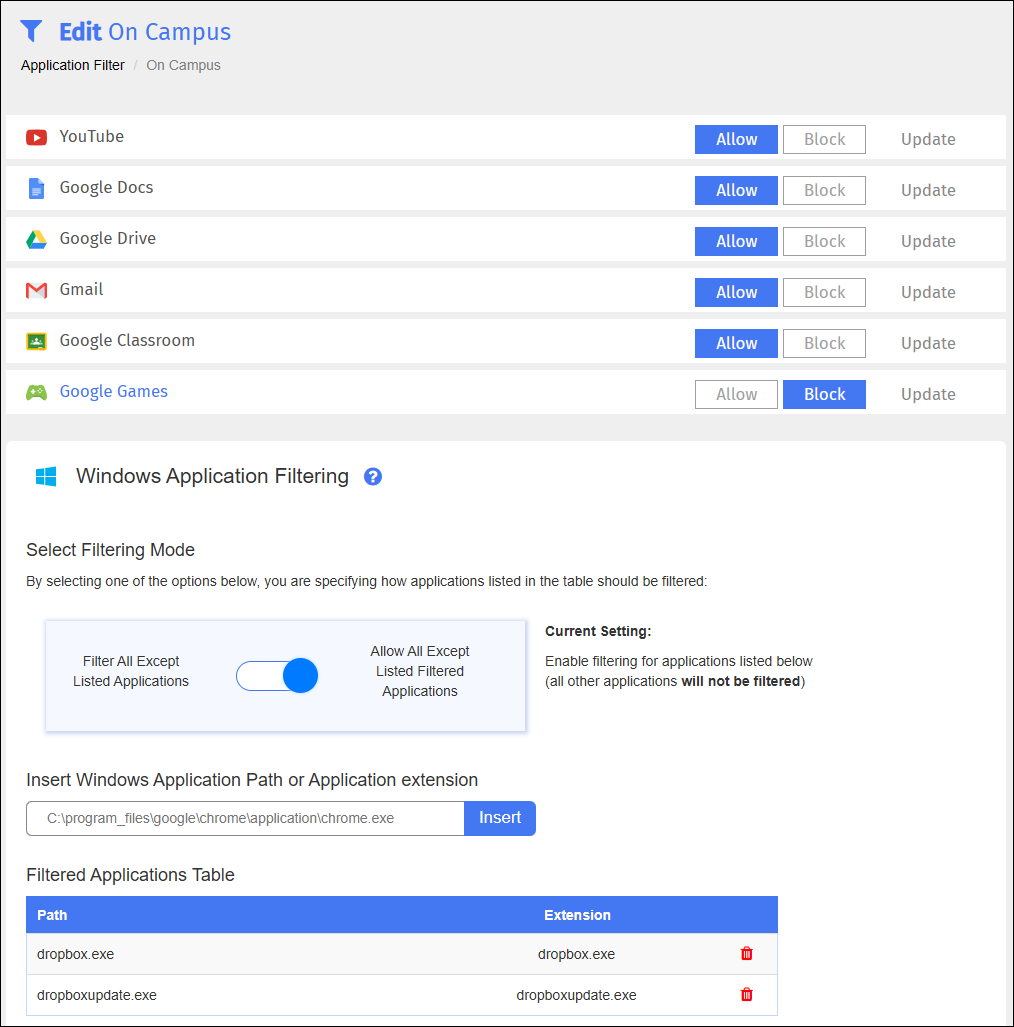
An application filter contains a list of popular applications like Gmail, YouTube, Google Docs, etc. Use these filters to control access to those applications, among others.
Use application filters to control a user’s access to YouTube, Google Docs, Google Drive, Gmail, Google Classroom, and Google Games. Create as many application filters as you need.
To create an application filter
Click Content Filtering from the Main Menu and then click Filters from its sub-menu.
Click APPLICATION FILTER at the top of the screen. The Application Filter screen appears.

Type the name of the filter in the Enter filter name text field.
Click Create Filter + to add the filter. The new filter appears at the bottom of the list.
Click the
 icon to the right of the filter name to open the new filter. The Edit screen appears.
Application filters default to allow all applications. Change which applications are blocked and which are allowed. See Blocking and Allowing Applications for more information.
To block and allow applications
Click Content Filtering from the Main Menu and then click Filters from its sub-menu.
Click APPLICATION FILTER at the top of the screen. The Application Filter screen appears.

Locate the filter for which to block and allow applications, and click the
 icon. The Edit screen appears.
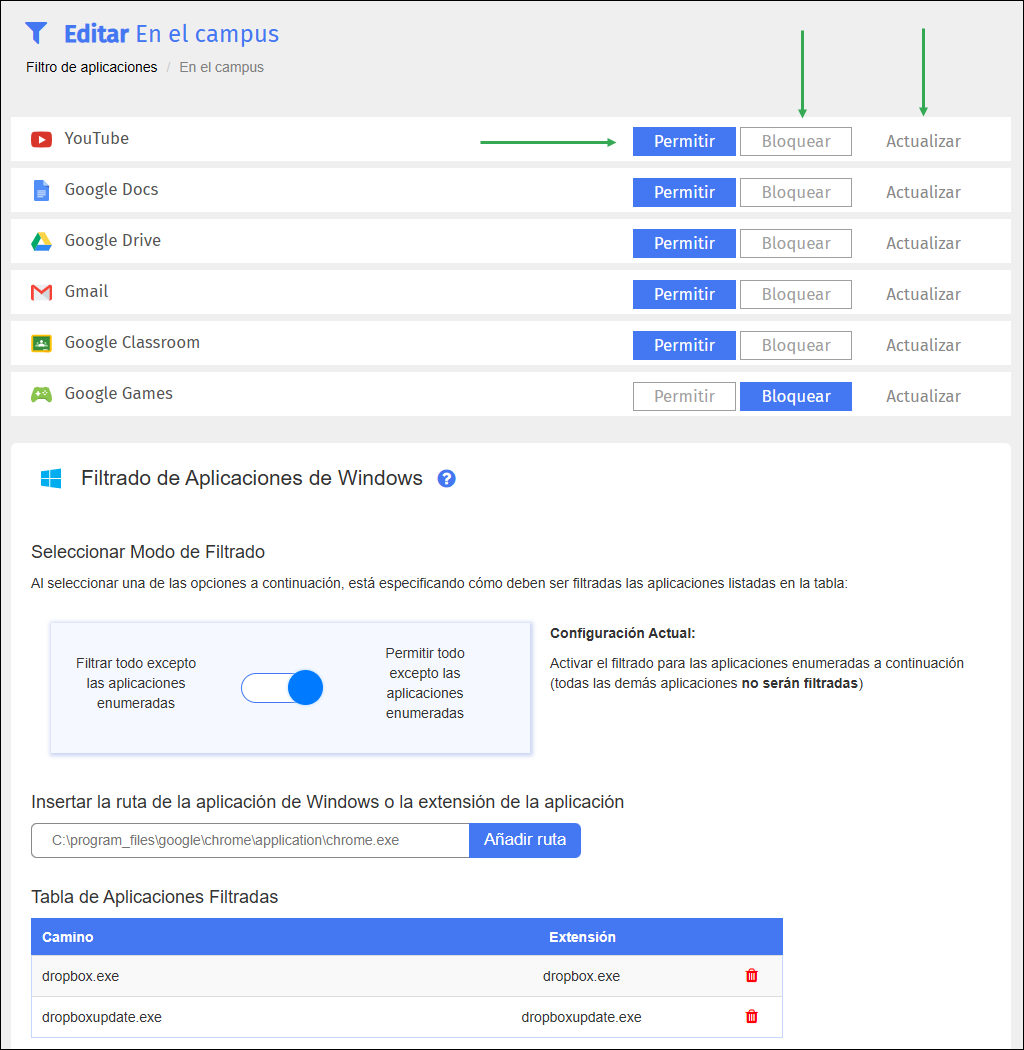
Click the Allow or Block button for the desired application.
Click Update for each application you allow or block. You must click the Update button for each application change. If you do not, Blocksi saves only the ones for which you do.
To block and allow Windows Application Paths, see Filtering Windows Applications.
Blocksi Webfilter msi must be deployed to Windows devices.
Applications must already be installed on devices.
Click Content Filtering from the Main Menu and then click Filters from its sub-menu.
Click APPLICATION FILTER at the top of the screen. The Application Filter screen appears.

Locate the name of the filter to which to add the application, and click the
 icon. The Edit screen appears.
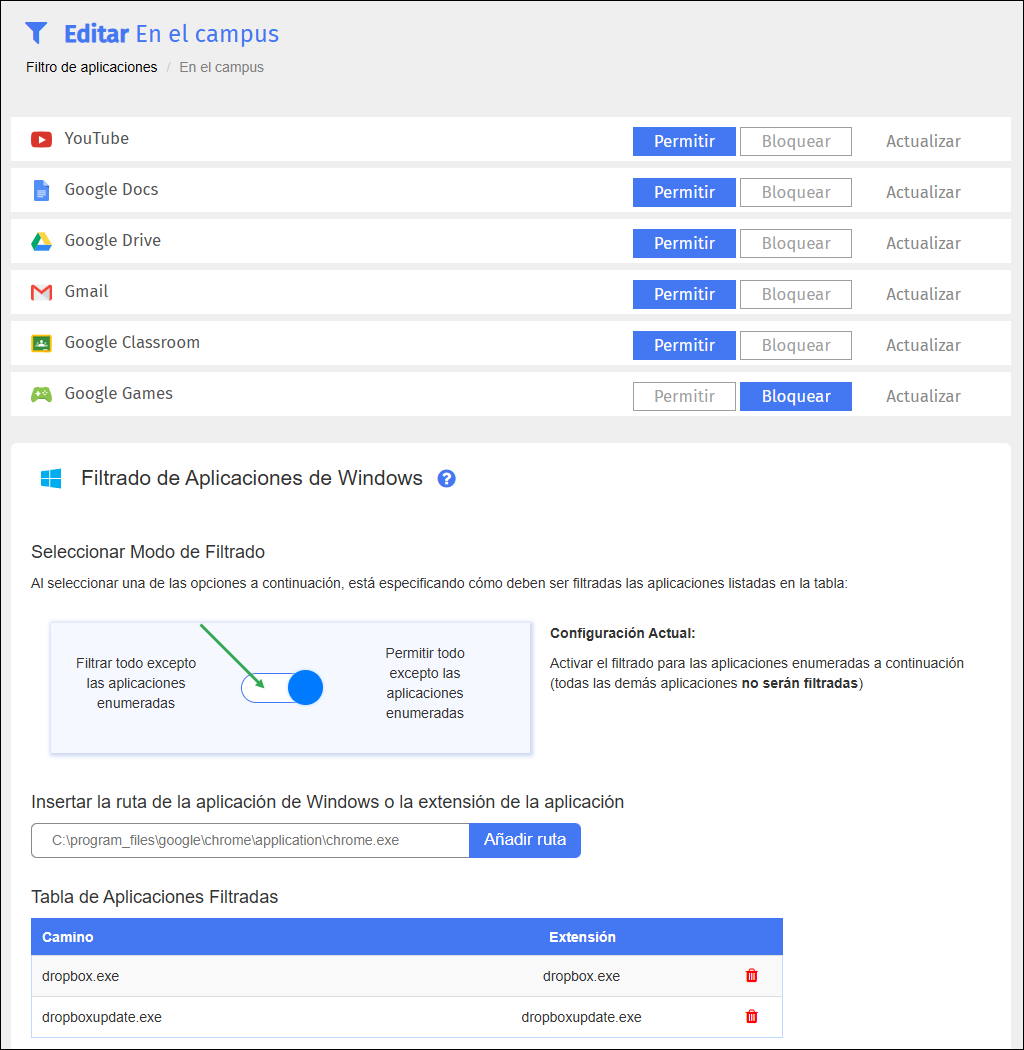
Under Windows Application Filtering, use the toggle to select the filtering mode. Choose to filter all applications except those listed in the Filtered Applications Table, or choose to allow all applications except those listed in the table. The setting you select is described to the right of the toggle under Current Setting.
Type the paths or extension of the Window applications you choose to filter or allow and click Insert. For example, add the application itself (Dropbox: DropboxUpdate.exe and Dropbox.exe). The full path of these executables are not needed. The paths or extensions you enter appear in the Filtered Applications Table. Click the red trash can (delete) icon to the right of the path or extension to remove it from the table.
Note
Please keep in mind, if you do not have an application filter applied to your current policy assigned to the users that need the program, you need to add the filter for it to go into effect. Once everything is complete, click Update Policies on All Clients.
Other applications may require additional executables for the Windows Application to run properly. For example:
Dropbox requires both DropboxUpdate.exe and Dropbox.exe to run properly.
If the services are not reachable, please compare the application processes in Task Manager to the local bsflt.log file in the root directory of your computer's C:\ drive. In the bsflt.log file, you should see a row listed as:
ApiMethods::fetchWhitelistedApps
Press Ctrl+F to locate this line. On this line you should see the .exe file you have allowed. If Task Manager shows additional .exe files for the program to run, add them to the Windows Application Path.
Rrename an application filter as needed.
To rename an application filter
Click Content Filtering from the Main Menu and then click Filters from its sub-menu.
Click APPLICATION FILTER at the top of the screen. The Application Filter screen appears.

Locate the filter to rename, and click the filter name. A box opens to allow you to rename the filter. Note that Blocksi added Save and Cancel buttons to the right of the name, as shown below.

Rename the filter, and click the Save button.
Modify an application filter as needed.
To modify an application filter
Click Content Filtering from the Main Menu and then click Filters from its sub-menu.
Click APPLICATION FILTER at the top of the screen. The Application Filter screen appears.

Locate the name of the filter to modify, and click the
 icon to the right of the filter name. The Edit screen appears.
Make the necessary changes to the filter. Click Update for any application changes you made and Insert if you added a Windows Application Path.
Use an existing application filter to create a new one.
To duplicate an application filter
Click Content Filtering from the Main Menu and then click Filters from its sub-menu.
Click APPLICATION FILTER at the top of the screen. The Application Filter screen appears.

Locate the filter to duplicate, and click the
 icon. The Duplicate Filter window opens.
Type the name of the new filter in the text box.
Click OK to add the filter and close the window. The duplicated filter appears at the bottom of the list. It contains the same application settings as the original filter.
Make any desired changes to the new filter and save it.
Delete application filters when you no longer need them.
To delete an application filter
Click Content Filtering from the Main Menu and then click Filters from its sub-menu.
Click APPLICATION FILTER at the top of the screen. The Application Filter screen appears.

Locate the filter to delete, and click the
 icon to the right of the filter. A confirmation prompt appears.
Click OK to delete the filter and close the prompt.