Geofencing
Geofencing uses Global Positioning System (GPS) and Internet Protocol (IP) address ranges to create a virtual boundary, or perimeter, around a specific region.
BMEE uses geofencing to create a virtual boundary around a school to track the physical location of a student's device to determine whether the student is inside or outside the school's perimeter for the purpose of applying in-school and out-of-school policies.
The feature is supported on both ChromeOS and Windows devices.
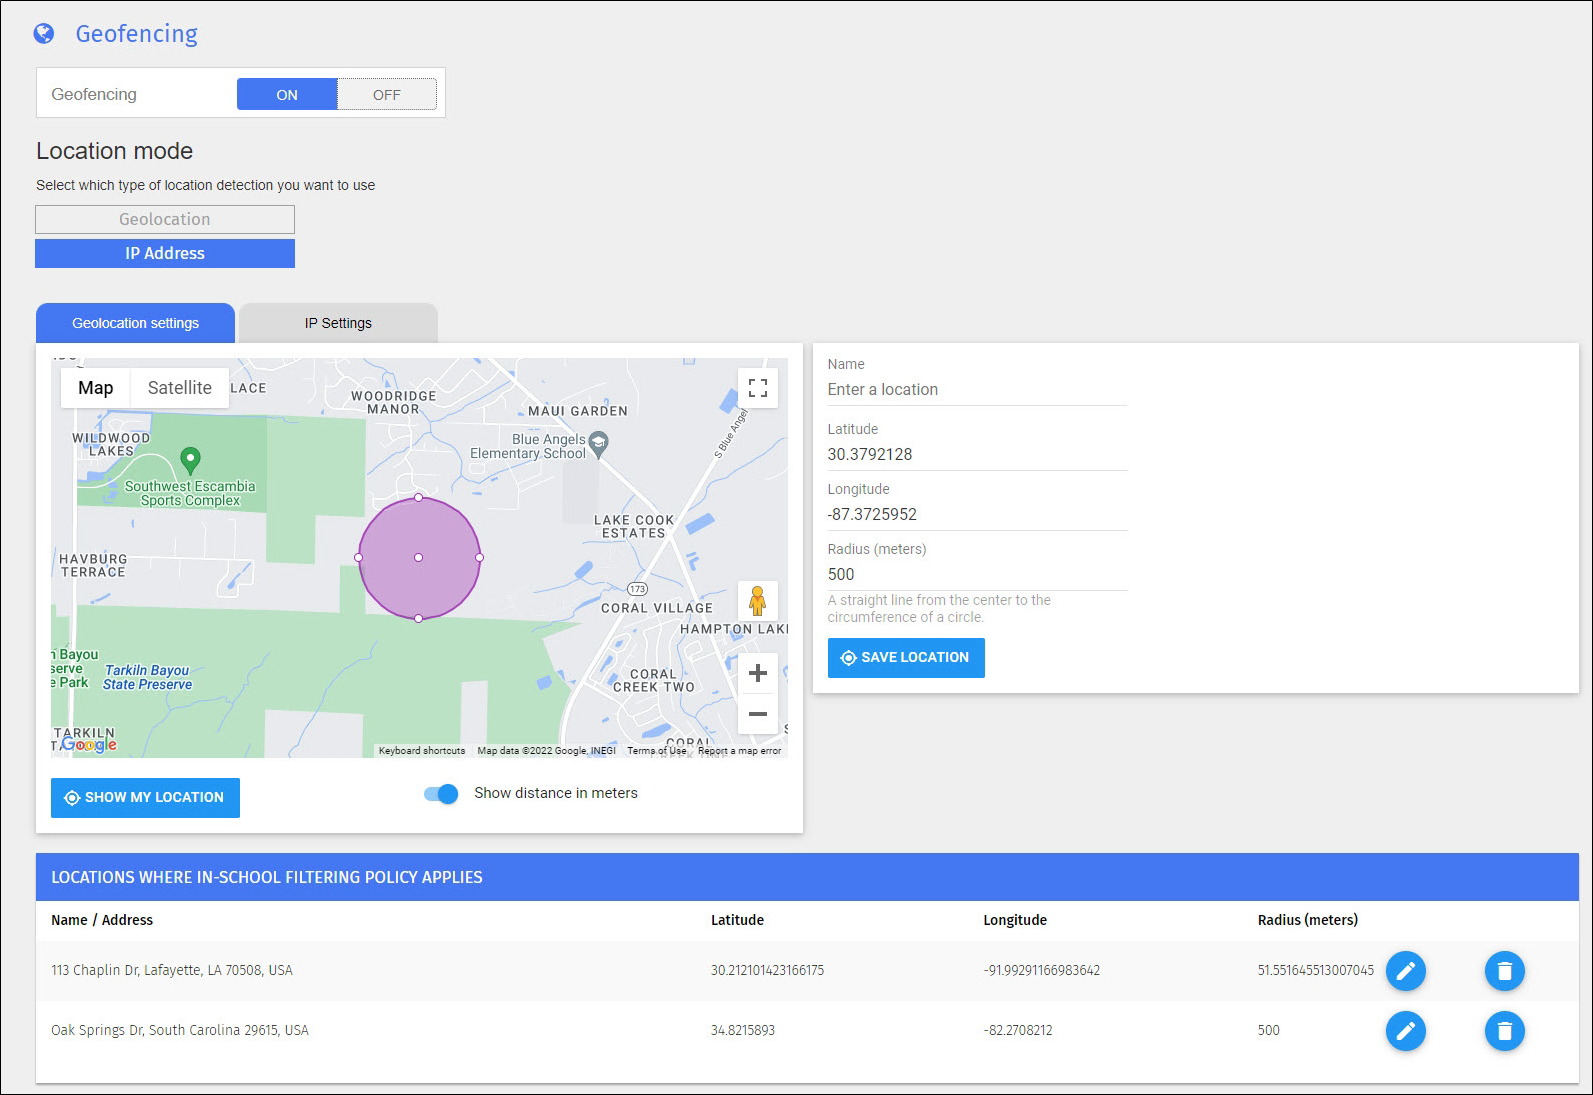
Geofencing is set on the Admin Dashboard and determines whether the student is in school or out of school based on geolocation or IP address.
This setting also controls the Geolocalized Teacher Dashboard settings.
Click Geofencing from the Main Menu. The Geofencing screen appears.
Click the ON button in the Geofencing section. A confirmation prompt appears.
Click OK to activate geofencing and close the prompt.
Location detection in BMEE uses geolocation and IP address.
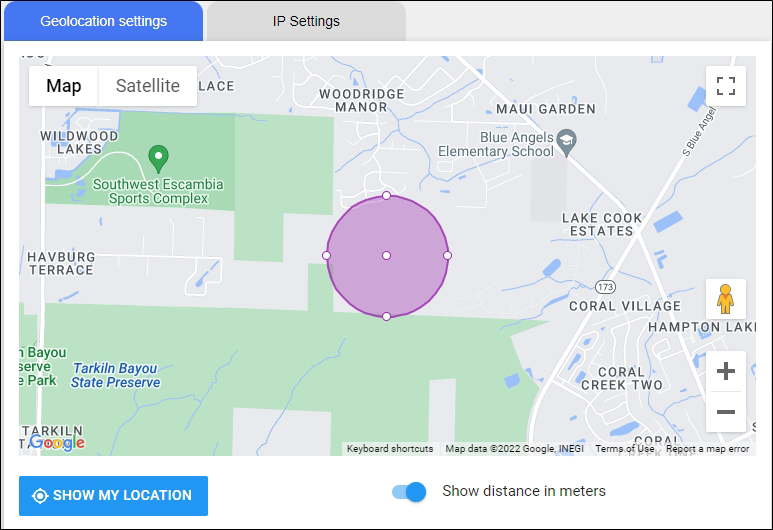
Geolocation is based on a physical address using Google Maps to designate the size of the school area. It appears as a circle on the Geolocation Settings tab, as shown below.
Private IP - If the user is coming from a Private IP range (LAN IP), they receive the in-school policy.
Public IP - Your Public IP depends on your district's WAN, and is what you set up in your dashboard. If a student comes from your WAN IP, they are filtered with an in-school policy; if not, they are marked out of school.
Click any of the four points that appear at the edge of the purple circle to increase or decrease the radius of the circle. Click and drag the map to move the area that appears inside the circle.
Click the Save Location button once you are satisfied with the detection area.
Click OK at the confirmation prompt. You are prompted to type a name for the location.
Type the name and click OK. The new area appears in the Locations Where In-School Filtering Policy Applies table. This location is used to determine users' locations for your domain when geolocation-based settings are used.
Repeat steps 1 through 4 for each campus or area to detect, if necessary.
Click Geofencing from the Main Menu. The Geofencing screen appears.
Scroll down to the locations section of the screen.
Locate the setting to modify and click the pencil icon. The map and location change accordingly.
Make the necessary changes to the location and click Save Location.
Click Geofencing from the Main Menu. The Geofencing screen appears.
Scroll down to the locations section of the screen.
Locate the setting to delete and click the trash can icon. A confirmation prompt appears.
Click OK to delete the setting.
Blocksi Geofencing allows for subnetting for both Private and Public IP ranges.
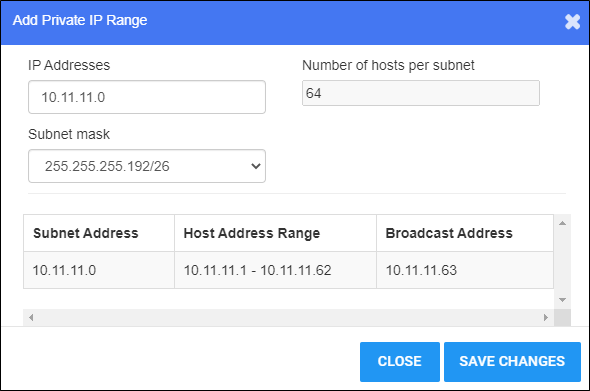
Click Add Private IP Range. The Add Private IP Range window opens.
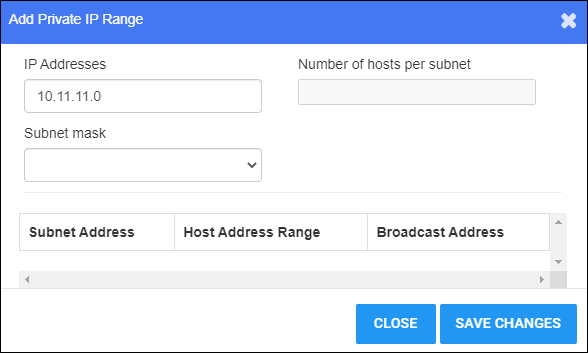
Select the desired subnet mask from the Subnet Mask drop-down list. The Number of Hosts per Subnet, Subnet Address, Host Address Range, and Broadcast Address fields populate, as shown below.
Click Add Public IP Range. The Add Subnet or Public IP window opens.
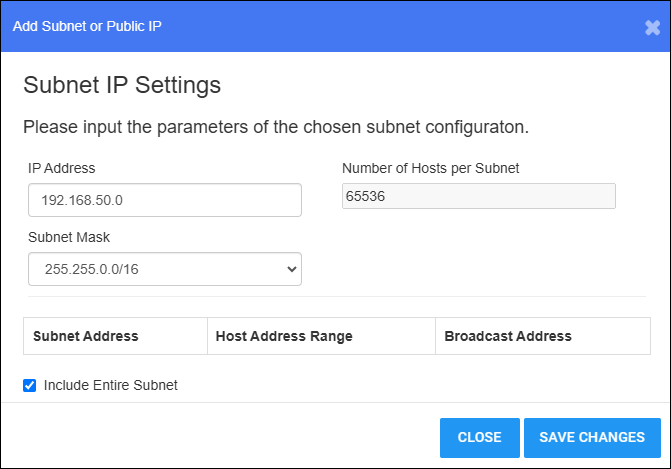
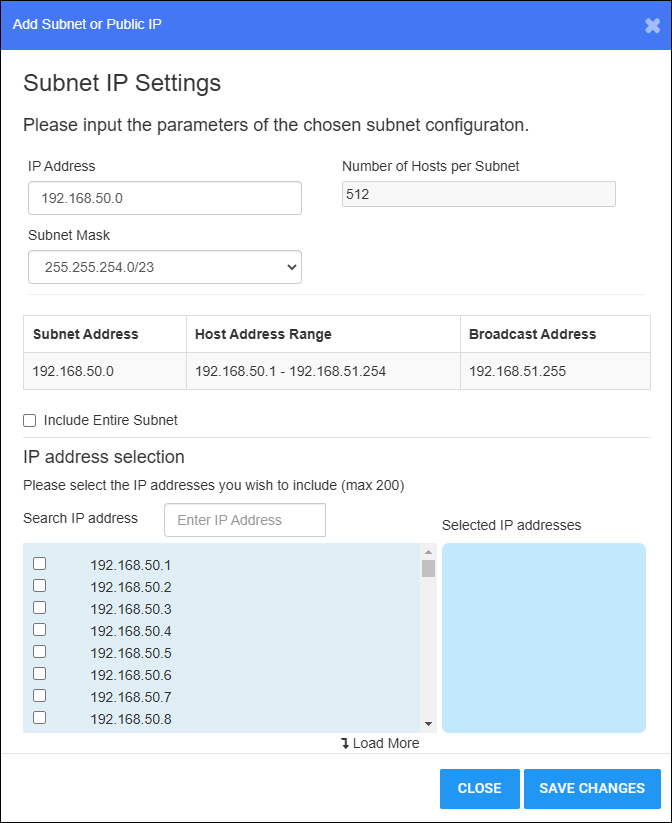
Select the desired subnet mask from the Subnet Mask drop-down list. The Number of Hosts per Subnet, Subnet Address, Host Address Range, and Broadcast Address fields populate, as shown below.
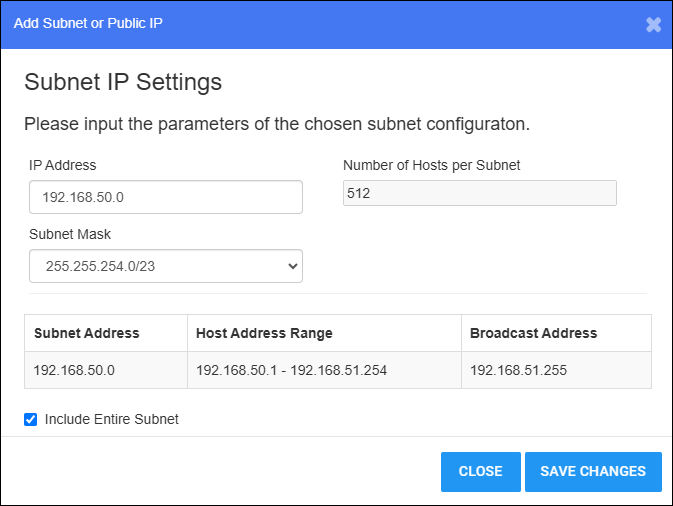
The Include Entire Subnet checkbox is selected by default. Clear this checkbox to expand the window to show all available addresses within the subnet. Click these addresses to include only specific addresses from within the subnet. See expanded window below.