Adding Parent Accounts
Adding a parent account authorizes that account to access the Parent Dashboard with their credentials. Administrators can add parent accounts manually, import them from a CSV file, or import them from the following rostering platforms: OneRoster, Clever, or ClassLink. Once added, each parent must be invited before they can access the Parent Dashboard.
Note
Parent accounts can also be synced automatically from ClassLink, Clever, or OneRoster. Manually added parents persist through these syncs - to remove them, delete them directly from the dashboard. To enable or disable sync, refer to the Registration Options section.
Click Dashboard Settings from the Main Menu, then click Parent Dashboard from its sub-menu. The Parent Accounts screen appears.
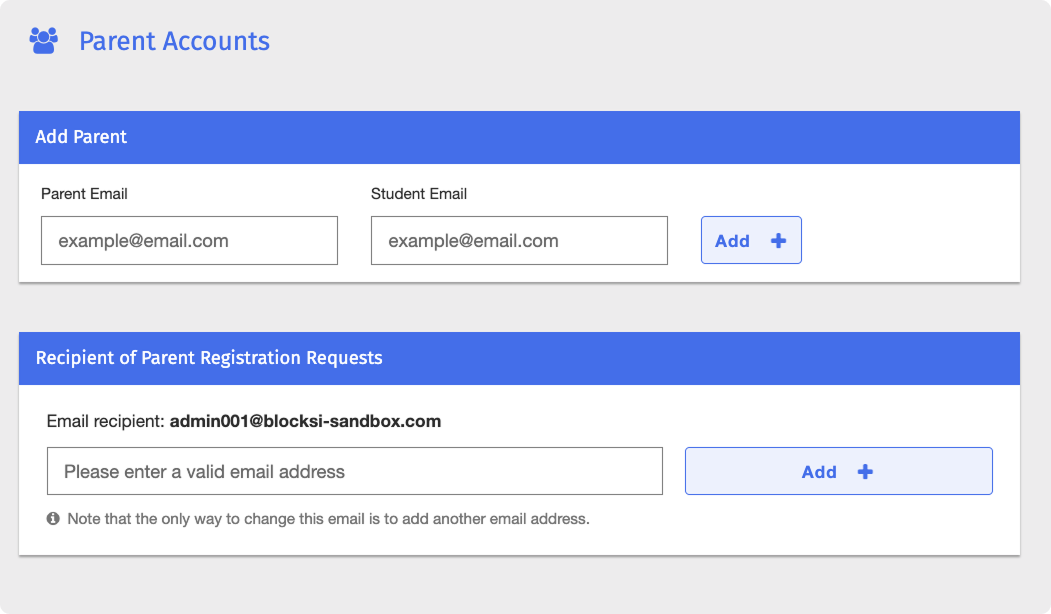
Enter the parent's email address in the Parent Email field in the Add Parent section, then enter the corresponding student's email address in the Student Email field.

Click the Add + button. Blocksi adds the new parent account to the list, which can be found at the bottom of the Parent Dashboard settings.
Import parent accounts from a CSV file, OneRoster, Clever, or ClassLink.
Click Dashboard Settings from the Main Menu, then click Parent Dashboard from its sub-menu. The Parent Accounts screen appears.
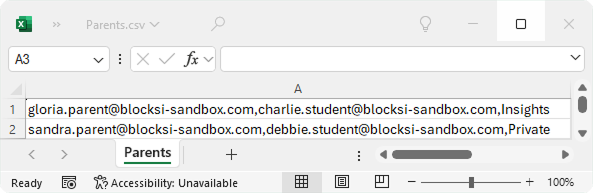
Under the Import Parent Accounts section, click the Import CSV button.
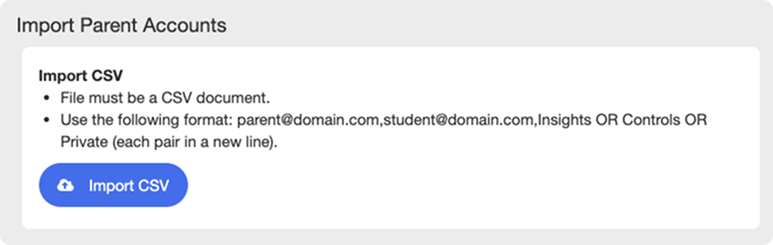
Navigate to the desired folder, select the file, and click Open to complete the import. Parent-student pairs are imported and added to the list, which can be found at the bottom of the Parent Dashboard settings.
Tip
The imported file must be in the .csv file format. You can create .csv files using any spreadsheet editor tools, such as Excel or Google Sheets.
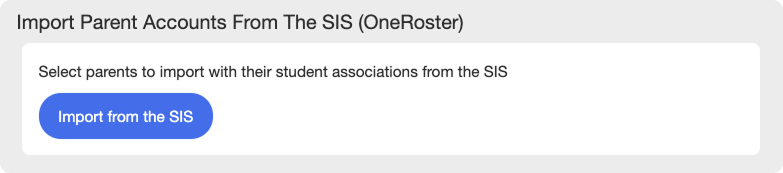
Import parent accounts from OneRoster (SIS) after the OneRoster integration with Blocksi is complete. See OneRoster (SIS) Integration for more details on integration.
Click Dashboard Settings from the Main Menu, then click Parent Dashboard from its sub-menu. The Parent Accounts screen appears.
Under the Import Parent Accounts from the SIS (OneRoster) section, click the Import from the SIS button. A modal window opens, displaying a list of parents available for import. Each entry shows the parent's first name, last name, email address, and number of students linked to their account.
Tip
Search for a specific parent-student pair using the Search Parents and Students bar at the top of the modal window by entering their first name, last name, or email address.
Filter parents by school using the school filter, and click the Import All from School button to import all parents from the selected school.
Expand a parent entry to display the name and email address of the student linked to the parent account.
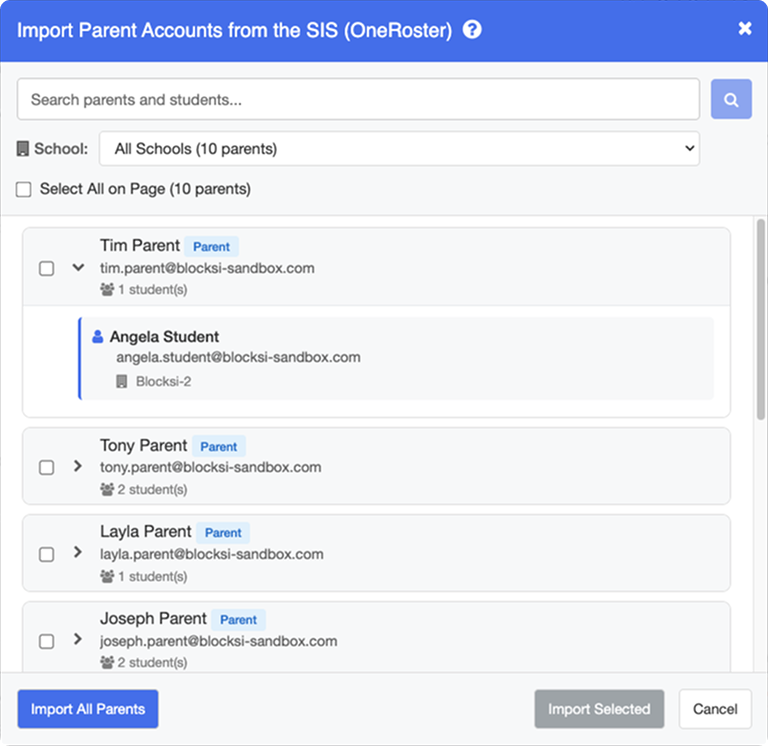
To import all parents from your SIS, click the Import All Parents button. Alternatively, to import specific parents, select each parent by clicking their name, then click Import Selected.
After the import is complete, a success modal appears showing the number of new parents added. Parent-student pairs are added to the list, located at the bottom of the Parent Dashboard settings.
Note
Re-importing parents syncs parent data with the latest information from your SIS. Existing parent accounts are updated and new accounts are imported as needed.
For automatic syncing, toggle the Sync Parents from the SIS (OneRoster) setting in the Registration Options section.

Import parent accounts from Wonde after the Wonde integration with Blocksi is complete. See Wonde Integration for more details on integration.
Click Dashboard Settings from the Main Menu, then click Parent Dashboard from its sub-menu. The Parent Accounts screen appears.
Under the Import Parent Accounts from Wonde section, click the Import from Wonde button. A modal window opens, displaying a list of parents available for import. Each entry shows the parent's first name, last name, email address, and number of students linked to their account.
Tip
Search for a specific parent-student pair using the Search Parents and Students bar at the top of the modal window by entering their first name, last name, or email address.
Expand a parent entry to display the name and email address of the student linked to the parent account, and their school.
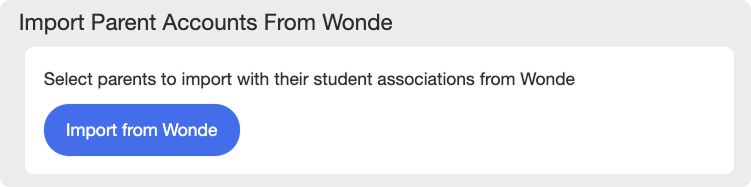
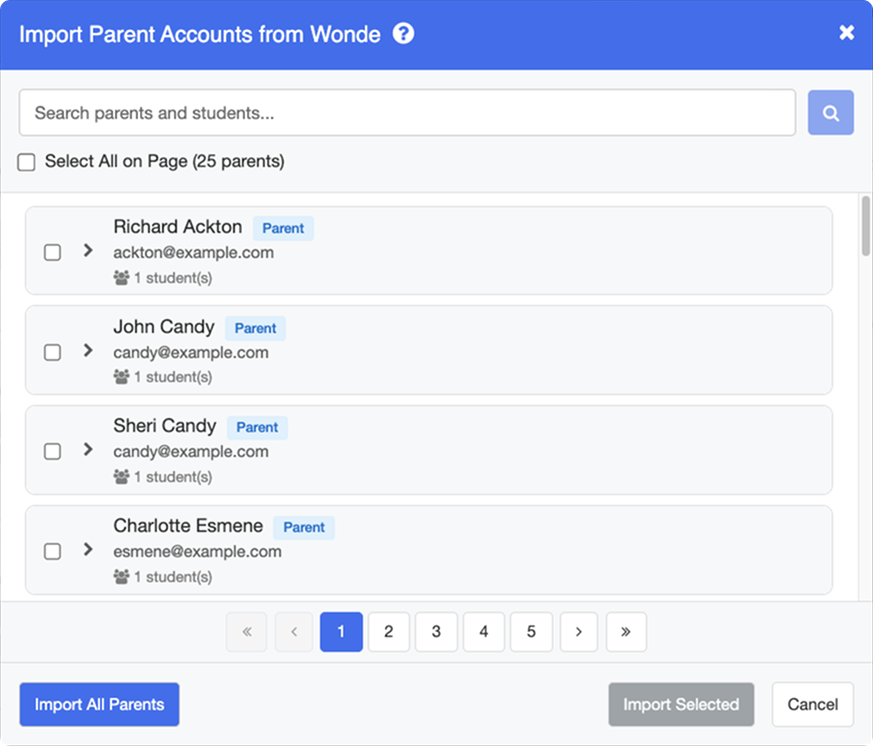
To import all parents from Wonde, click the Import All Parents button. Alternatively, to import specific parents, select each parent by clicking their name, then click Import Selected.
After the import is complete, a success modal appears showing the number of new parents added. Parent-student pairs are added to the list, located at the bottom of the Parent Dashboard settings.
Note
Re-importing parents syncs parent data with the latest information from your SIS. Existing parent accounts are updated and new accounts are imported as needed.
For automatic syncing, toggle the Sync Parents from Wonde setting in the Registration Options section.

Parents must be invited to use the Blocksi Parent Dashboard to finish configuring their accounts and gain access. Once the parent is added (either manually, through sync, or by import) an invitation must be sent to the parent.
Note
If Auto-Send Welcome Email is set to ON, the invitation is sent automatically in form of a welcome message. To enable this setting, refer to the Registration Options section.
Click Dashboard Settings from the Main Menu, then click Parent Dashboard from its sub-menu. The Parent Accounts screen appears.
Scroll down to the parent email list at the bottom of the Parent Dashboard page.
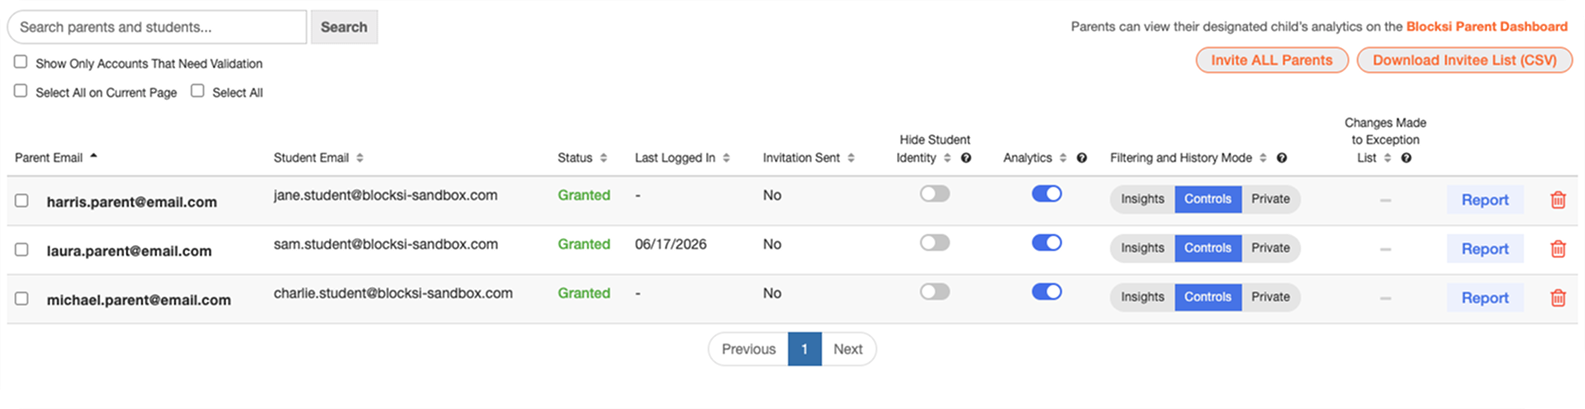
Select the checkboxes to the left of the parent accounts to invite and click the
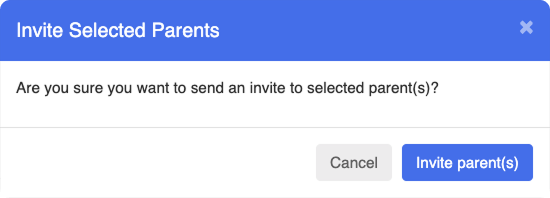
 button. A confirmation prompt appears.
Tip
To invite all parents at once, click the
 button.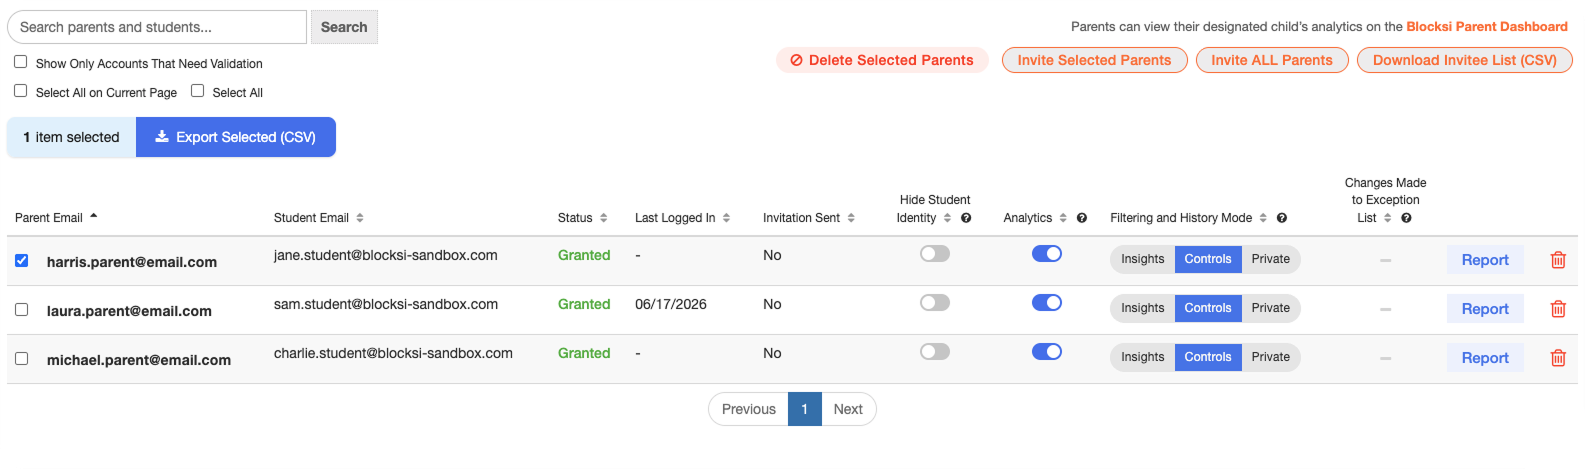
Click Invite Parent(s) to invite the selected accounts.
Tip
Click the  button to export a CSV file containing all parent accounts, including each parent-student email pair and a Yes/No indicator for invitation status.