AI Context Filter
The AI Context Filter analyzes the content of the page a student is viewing, assigns it a category, and then allows the page, blocks it, or shows a warning, based on that category. Use it when you want to catch inappropriate content on new websites or on pages that the Web Filter does not categorize accurately. It reads the page itself rather than relying on the page’s web address.
Important
The AI Context Filter has the lowest priority of all filters. It only evaluates pages that your other filters have not already blocked, and a Custom Category or an Exception Lists override it. Allowing a category in the AI Context Filter does not override other filters.
In the following examples, the AI Context Filter blocks a page on a website that the Web Filter allows:
Gaming section on a news website - The website is allowed as News and Media, but the AI Context Filter recognizes the page as Gaming and blocks it.
Betting page on a sports website - The website is allowed as Sports, but the AI Context Filter recognizes the page as Gambling and blocks it.
AI chatbot on an educational website - The website is allowed as Education, but the AI Context Filter recognizes the page as Artificial Intelligence Tools and Platforms and blocks it.
Tip
The Web Filter often fails to categorize proxy websites accurately due to their dynamic, rapidly changing nature. Blocking the Proxy and VPN Avoidance category in the AI Context Filter addresses this by dynamically analyzing page content to detect and block evasive sites.
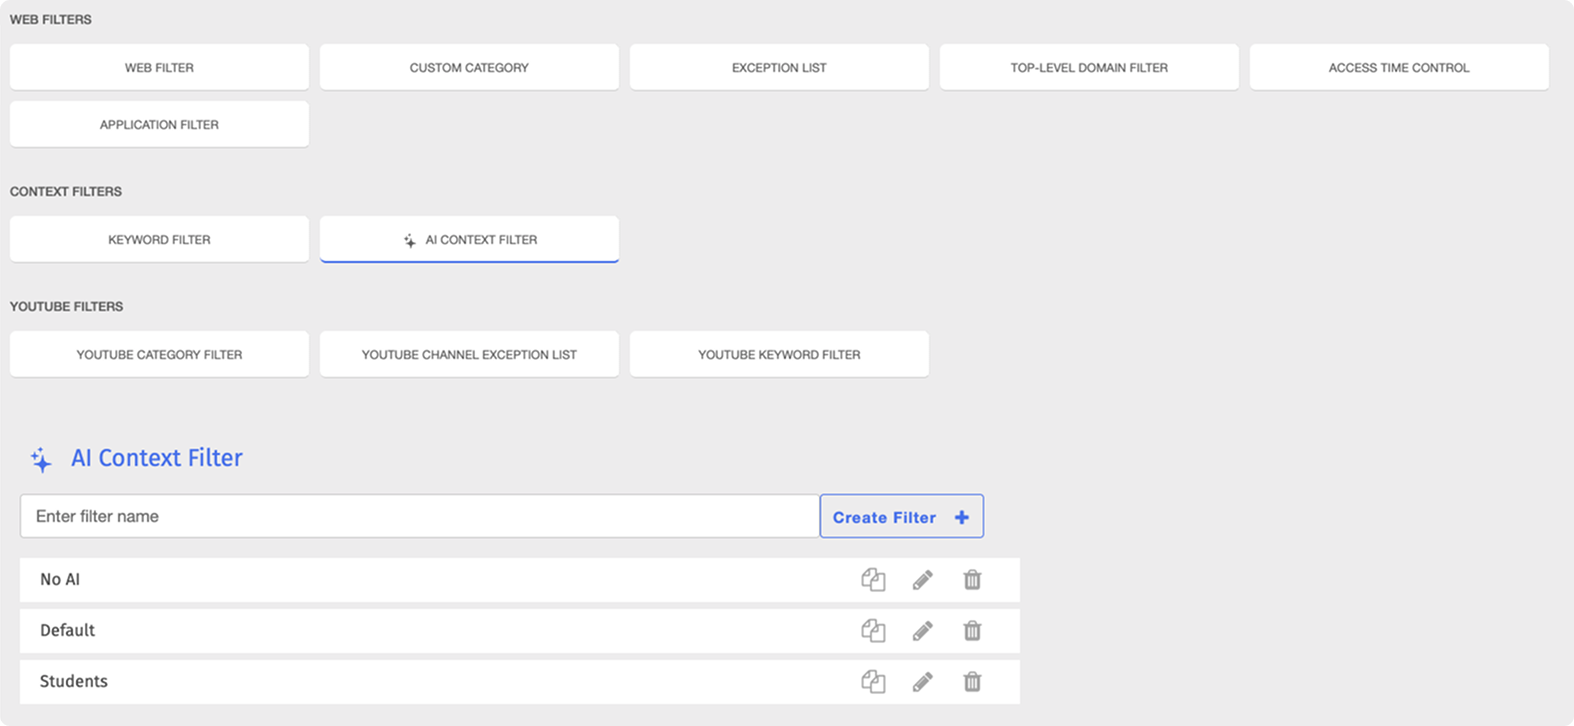
To access the AI Context Filter page, click Content Filtering from the Main Menu, then click Filters from its sub-menu. On the Filters page, click AI Context Filter listed under Context Filters.
Important
After making any changes to your content filtering or policies, click the  button in the Action Bar at the top of the page to apply the changes.
AI Context Categories
The AI Context Filter organizes pages into 85 categories, grouped into the following category types:
Security Risk
Unethical
Adult/Mature Content
Bandwidth Consuming
Business
Personal
To set up an AI Context Filter, create the filter, then set each category to allow, block, or warn.
Prerequisites
Before the AI Context Filter takes effect, you must create and apply a Web Filter with at least five blocked categories.
Type a name for the filter in the Enter filter name text box, then click the
 button. The Edit AI Context Filter page opens.

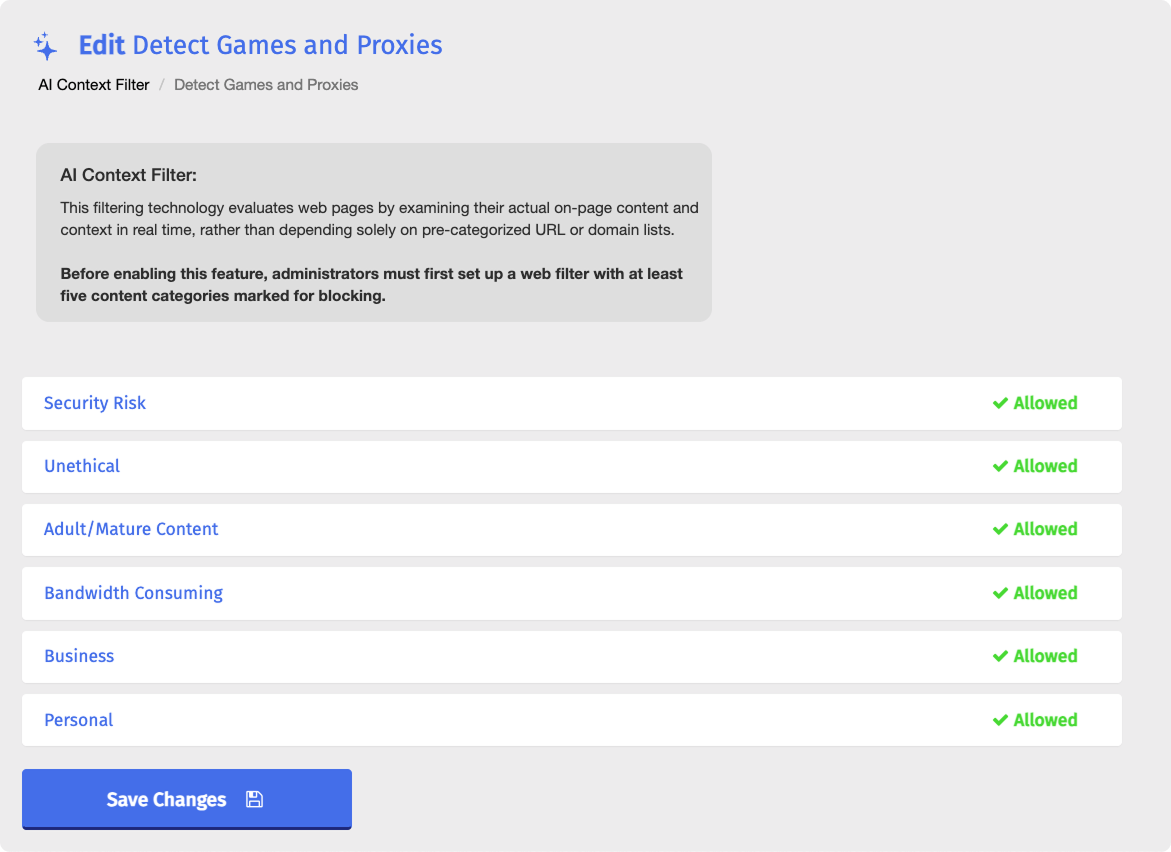
Click a category type to expand it and display its categories.
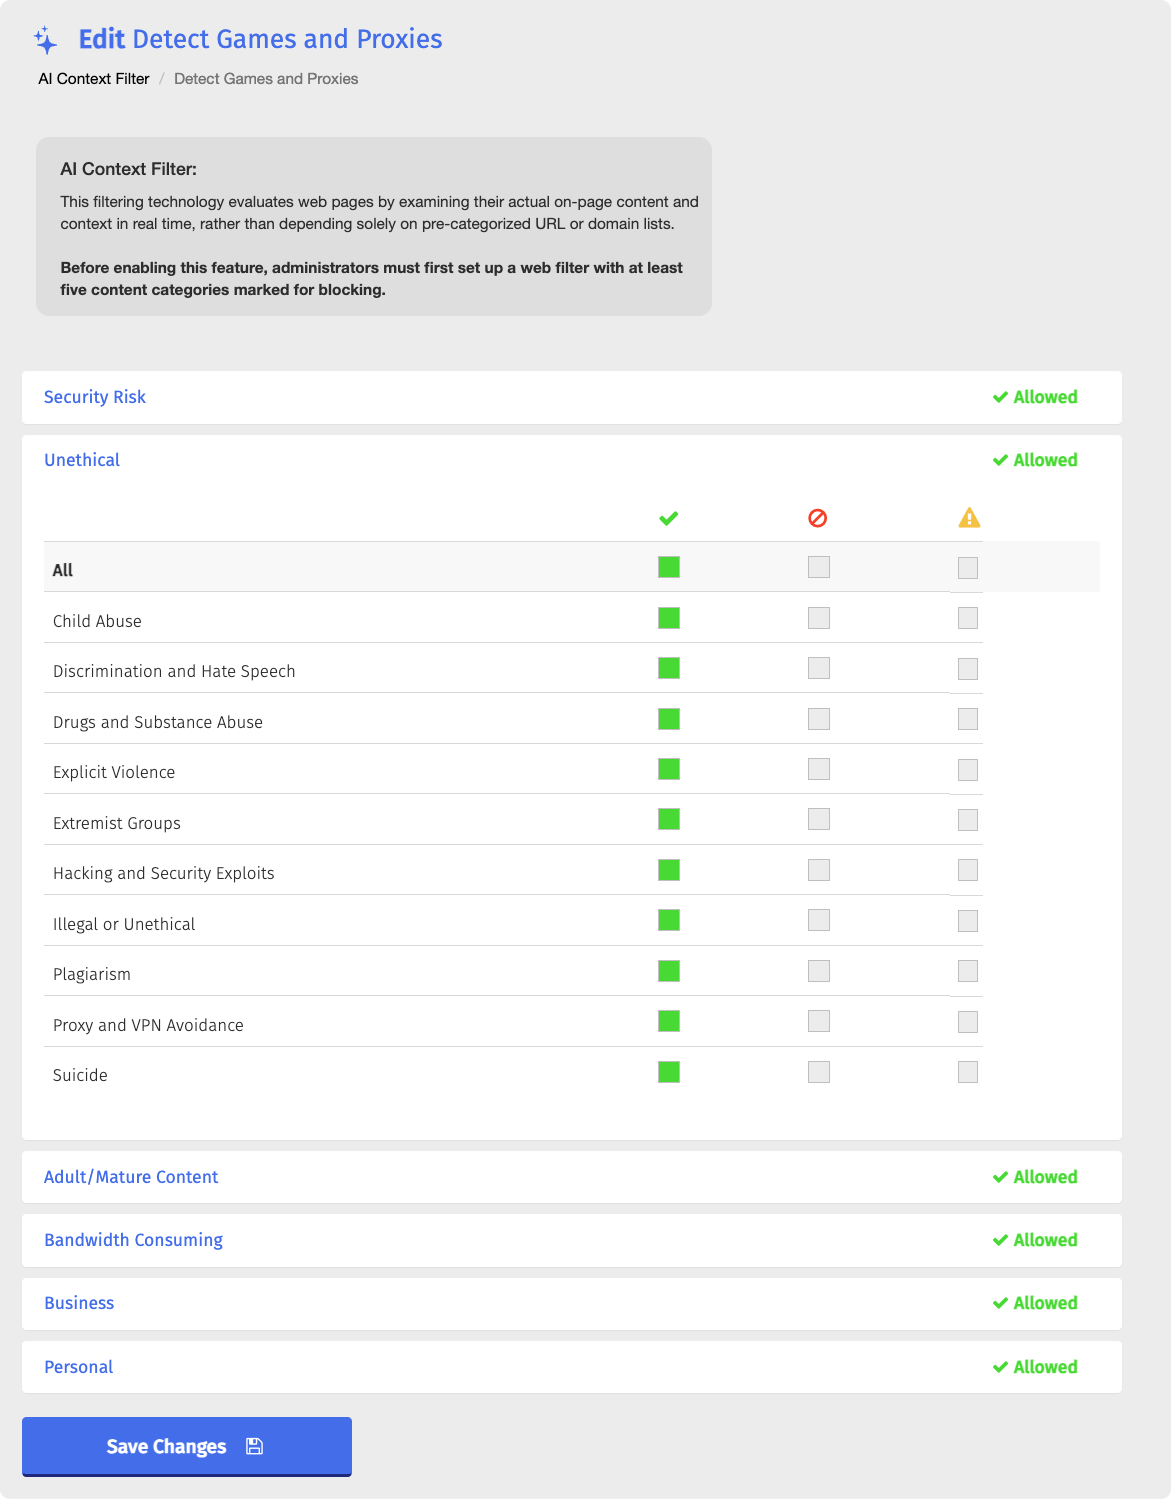
Select one of the following states for each category you want to change:
 Allow - The AI Context Filter does not block pages in the category.
 Block - Students cannot access pages in the category.
 Warning - Students can access pages in the category and are shown a warning.
Important
All categories are set to Allow by default upon creating an AI Context Filter. A new AI Context Filter blocks nothing until you change the state of at least one category.
Repeat steps 2–3 for any other category types you want to configure.
Click the
 button.
You can manage your AI Context Filters by changing category states, renaming, duplicating, or deleting them. All of these actions can be performed directly on the AI Context Filter page.
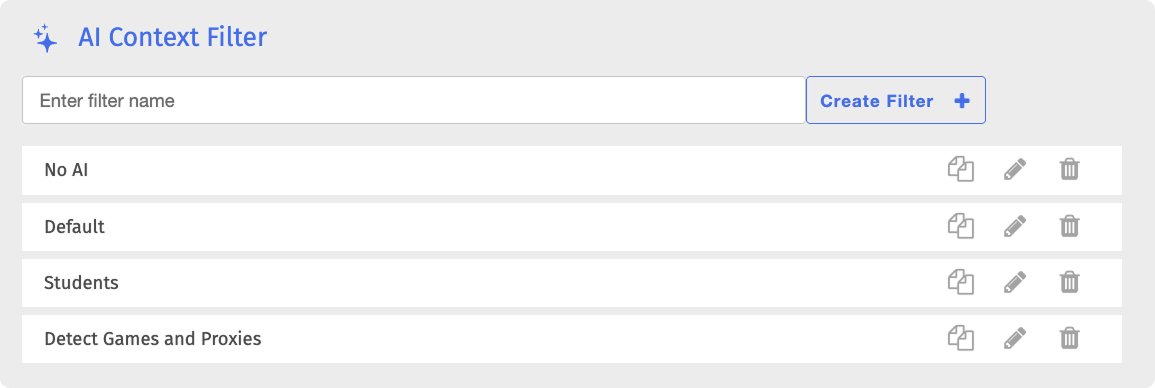
On the AI Context Filter page, locate the filter and click the  button to open the Edit AI Context Filter page. Make your changes, then click the button.
On the AI Context Filter page, locate the filter to rename and click its name. The filter name opens in an editable text box.

Make your changes, then click the Save button.
On the AI Context Filter page, locate the filter to duplicate and click the
 button. The Duplicate Filter window opens.
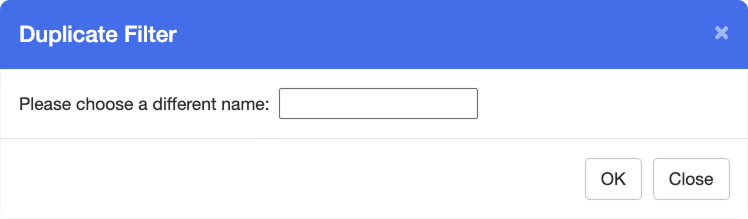
Enter a name for the new filter in the text box, then click OK. The new filter appears on the AI Context Filter page.
Note
The duplicate is an exact copy of the original, including the state of every category. The original AI Context Filter is not removed upon duplicating.
Warning
Deleting an AI Context Filter is a permanent action. Deleted filters cannot be recovered.
On the AI Context Filter page, locate the filter to delete and click the
 button to the right of it.
Click OK in the confirmation window. The AI Context Filter is permanently removed from the list.