Application Filter
The Application Filter blocks or allows access to a set of Google applications. Use it when you want to block a specific Google application, such as YouTube, while keeping the others available. You can allow or block each of the following applications individually:
YouTube
Google Docs
Google Drive
Gmail
Google Classroom
Google Games
The Application Filter also provides Windows Application Filtering, which filters the web traffic of applications and browsers on Windows devices.
Important
The Application Filter only restricts web and cloud-based traffic within applications, such as Google Docs, YouTube, or Google Games. It does not block locally installed applications or desktop software from launching.
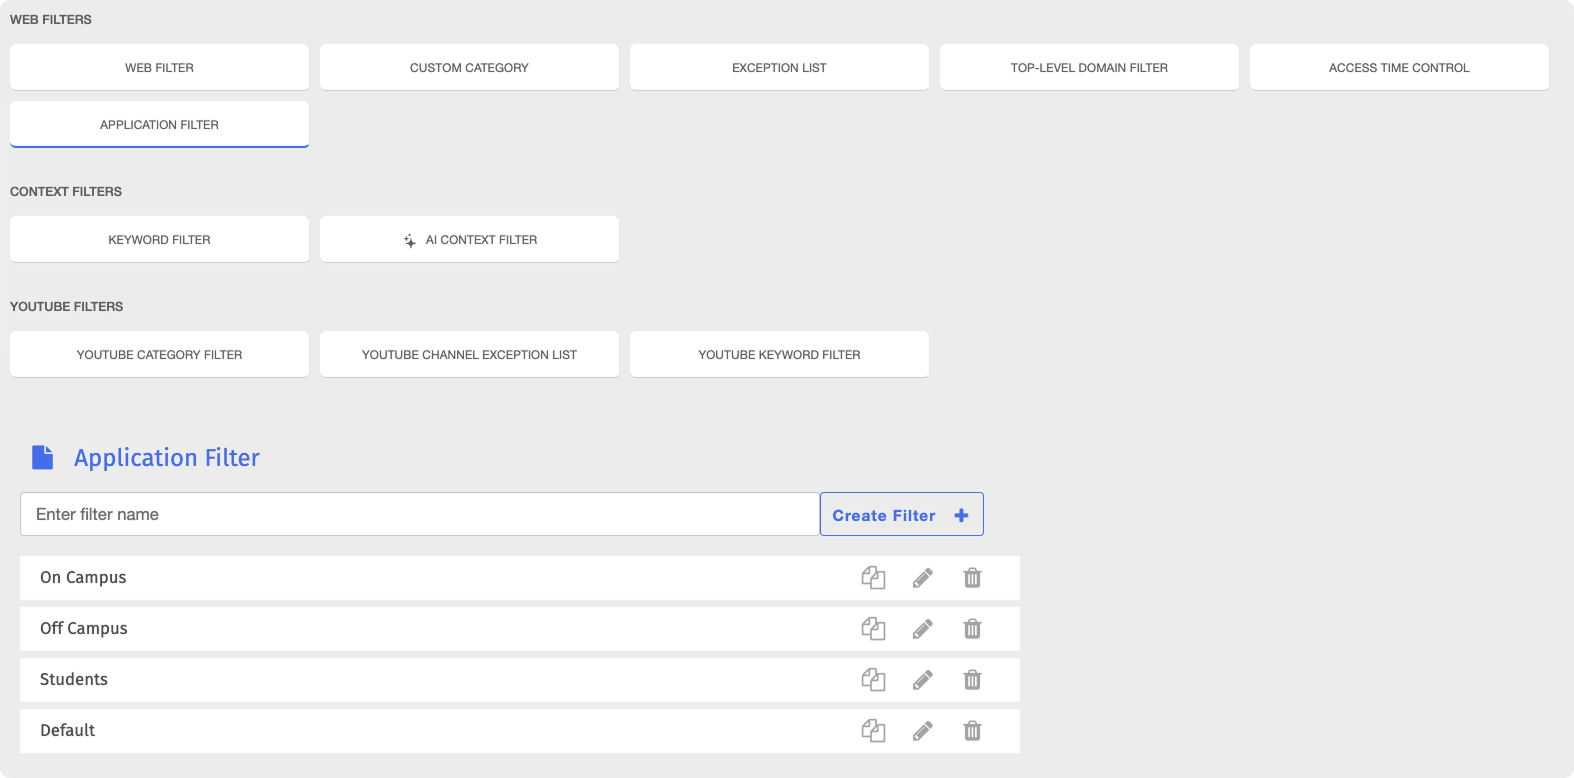
To access the Application Filter page, click Content Filtering from the Main Menu, then click Filters from its sub-menu. On the Filters page, click Application Filter listed under Web Filters.
Important
After making any changes to your content filtering or policies, click the  button in the Action Bar at the top of the page to apply the changes.
To set up an Application Filter, create the filter, then allow or block each application.
Type a name for the filter in the Enter filter name text box, then click the
 button. The new filter appears on the Application Filter page.

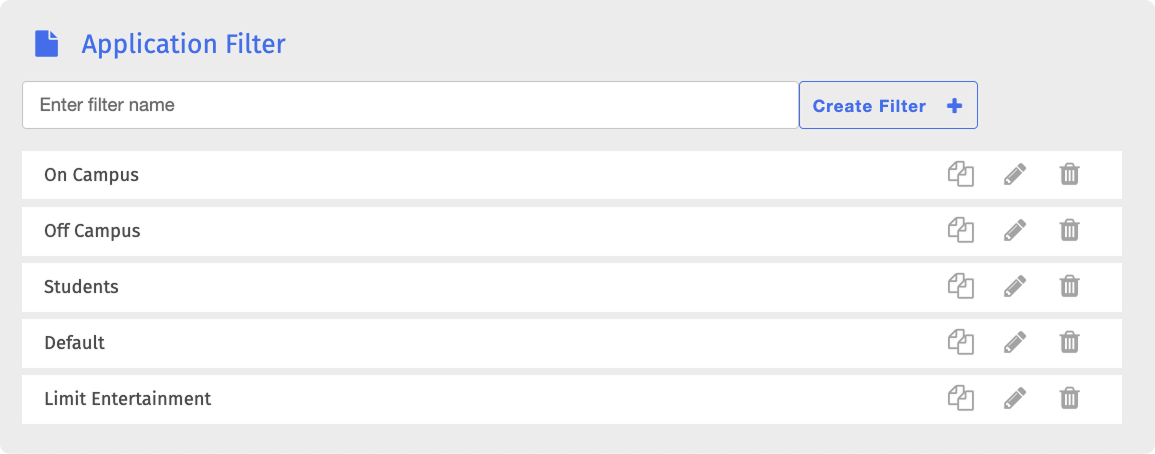
Click the
 button in the same row as the new filter. The Edit Application Filter page opens.
Important
All applications are set to Allow by default upon creating an Application Filter. A new Application Filter blocks nothing until you block at least one application.
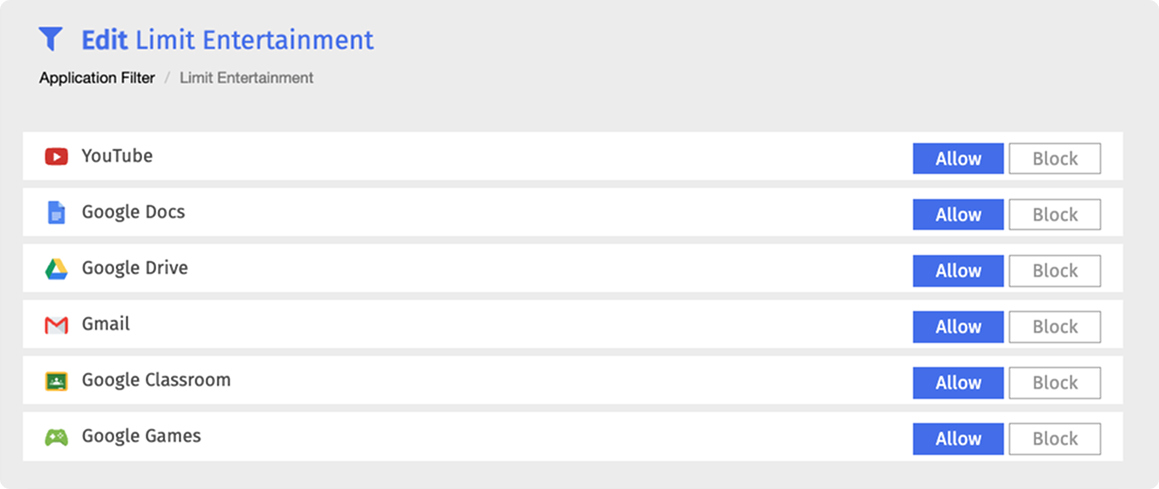
Click the Allow or Block button for the application you want to change.
Repeat step 3 for each application you want to change.
Windows Application Filtering filters the web traffic of applications and browsers on Windows devices. It does not prevent installed applications from opening or running.
Refer to the Troubleshooting Windows Application Filtering section to learn about resolving issues when Windows Application Filtering does not take effect or does not filter as expected.
Prerequisites
Ensure the following prerequisites are in place before applying the Application Filter:
The Blocksi MSI agent is deployed to the Windows devices you want to filter. Refer to the Windows Deployment section to learn about deploying the agent.
The applications to filter are already installed on the target devices.
An Application Filter is already created on your Blocksi Admin Dashboard.
On the Application Filter page, locate the filter to edit and click the
button. The Edit Application Filter page opens.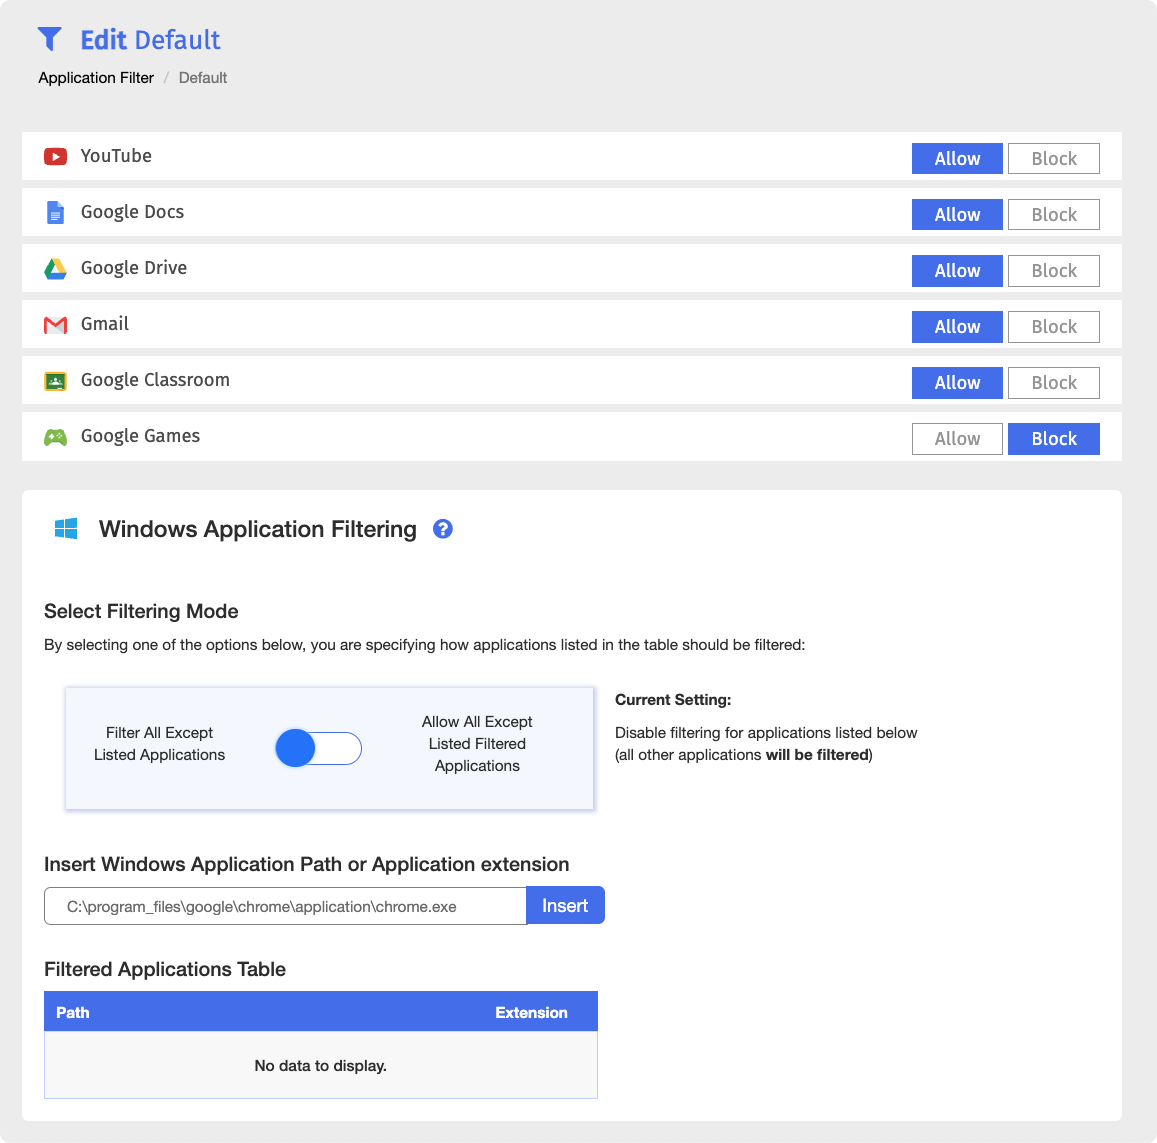
In the Windows Application Filtering section, under Select Filtering Mode, use the toggle to select one of the following filtering modes:
Filter All Except Listed Applications - Filters all applications and browsers except those added to the Filtered Applications Table. This is the default option. Best for comprehensive, device-wide filtering with specific exceptions.
Allow All Except Listed Filtered Applications - Allows all application and browser web traffic and filters only the applications added to the Filtered Applications Table. Best for restricting specific applications without affecting others.
Type the path or executable name of a Windows application to filter or allow in the Insert Windows Application Path or Application extension text box, then click Insert. The entry appears in the Filtered Applications Table.
Common browsers use the following executable names:Google Chrome -
chrome.exeMicrosoft Edge -
msedge.exeFirefox -
firefox.exe
Tip
Some applications need more than one executable name to run properly. For example, Dropbox requires both
DropboxUpdate.exeandDropbox.exe.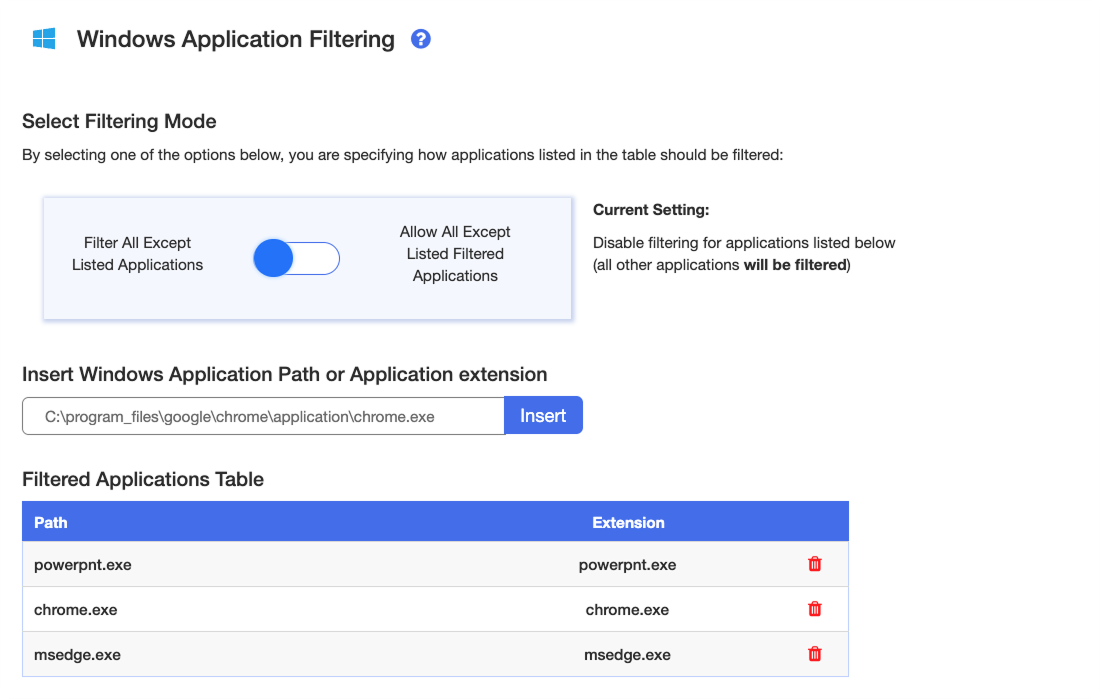
Repeat step 3 for each application you want to add.
You can manage your Application Filters by blocking and allowing applications, renaming, duplicating, or deleting them. All of these actions can be performed directly on the Application Filter page.
On the Application Filter page, locate the filter and click the button to open the Edit Application Filter page. Click the Allow or Block button for each application you want to change.
On the Application Filter page, locate the filter to rename and click its name. The filter name opens in an editable text box.

Make your changes, then click the Save button.
On the Application Filter page, locate the filter to duplicate and click the
 button. The Duplicate Filter window opens.
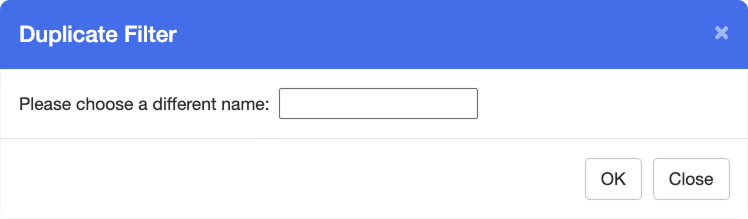
Enter a name for the new filter in the text box, then click OK. The new filter appears on the Application Filter page.
Note
The duplicate is a copy of the original, including all of its application settings and its Windows Application Filtering mode and entries. The original Application Filter is not removed upon duplicating.
Warning
Deleting an Application Filter is a permanent action. Deleted filters cannot be recovered.
On the Application Filter page, locate the filter to delete and click the
 button to the right of it.
Click OK in the confirmation window. The Application Filter is permanently removed from the list.