Clicking on a student tile shows the student history in that class. Hovering over an open tab icon allows the Admin/Delegate the option to "Go" or open that tab on their own device.
Classes currently running are available to select for Class Monitoring. Class Monitoring allows the Administrator or Delegate to view the student screens in specific teacher's classes.
Note
If you are unable to view teachers or classes, contact your school administrator.
To monitor a class
Click Insights from the Main Menu and then click Class Monitoring from its sub-menu. The following screen appears.
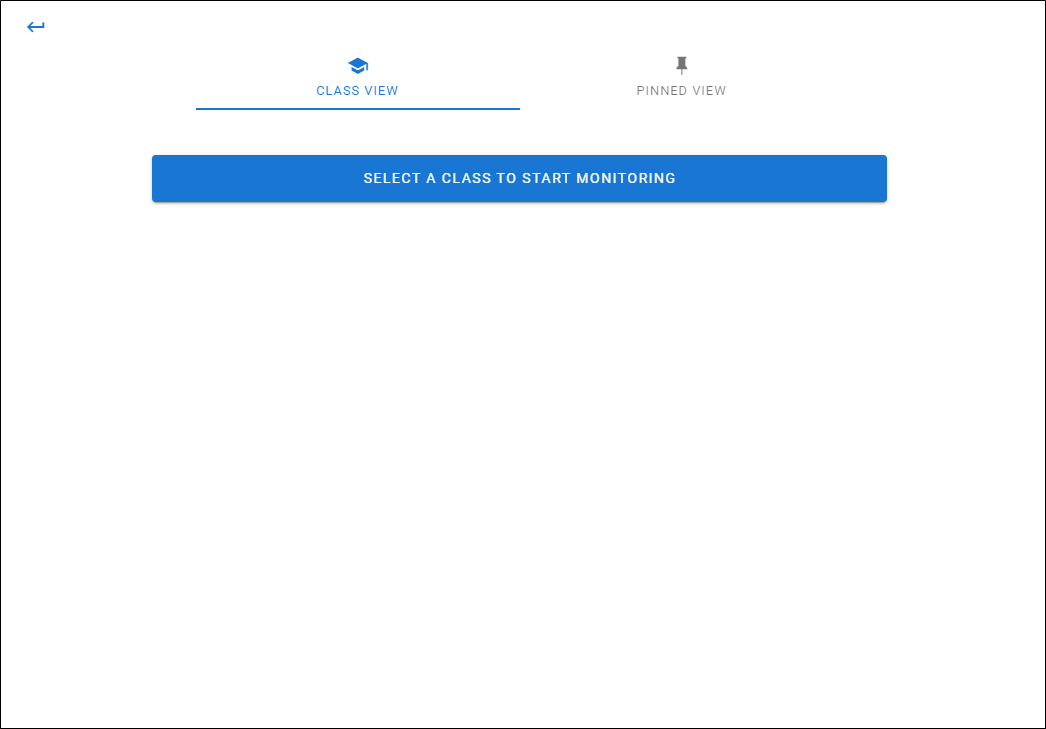
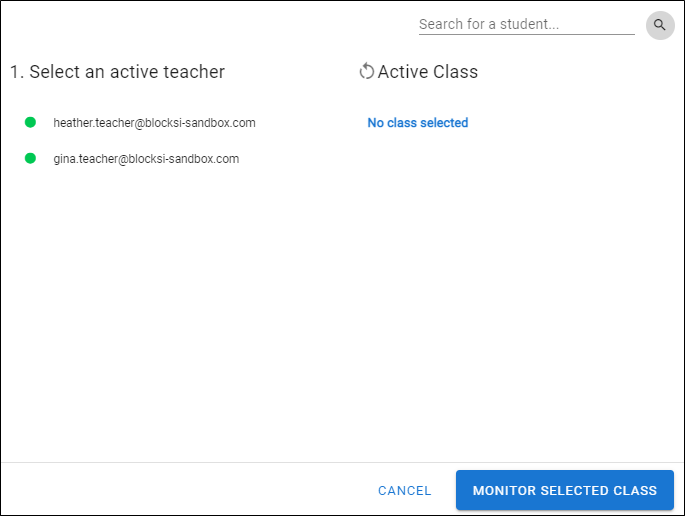
Click the SELECT A CLASS TO START MONITORING button. The following window opens.
Note
Active classes do not appear until you select a teacher.
Click a teacher name. That teacher's active classes appear to the right, as shown below.
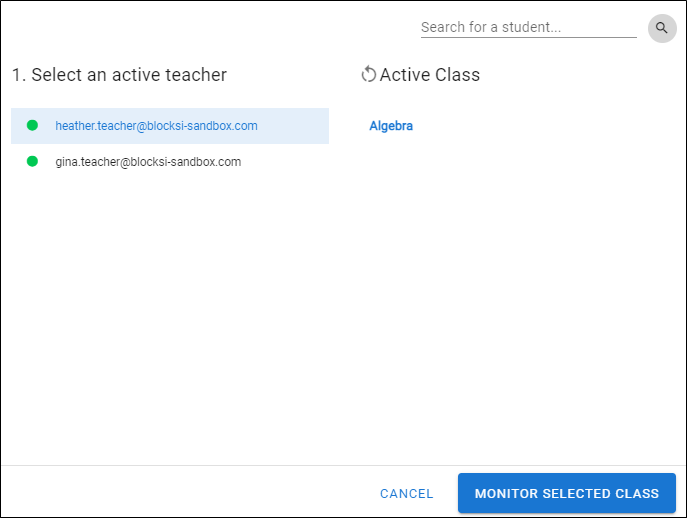
Click MONITOR SELECTED CLASS. The following window opens. All students tiles in the class appear.
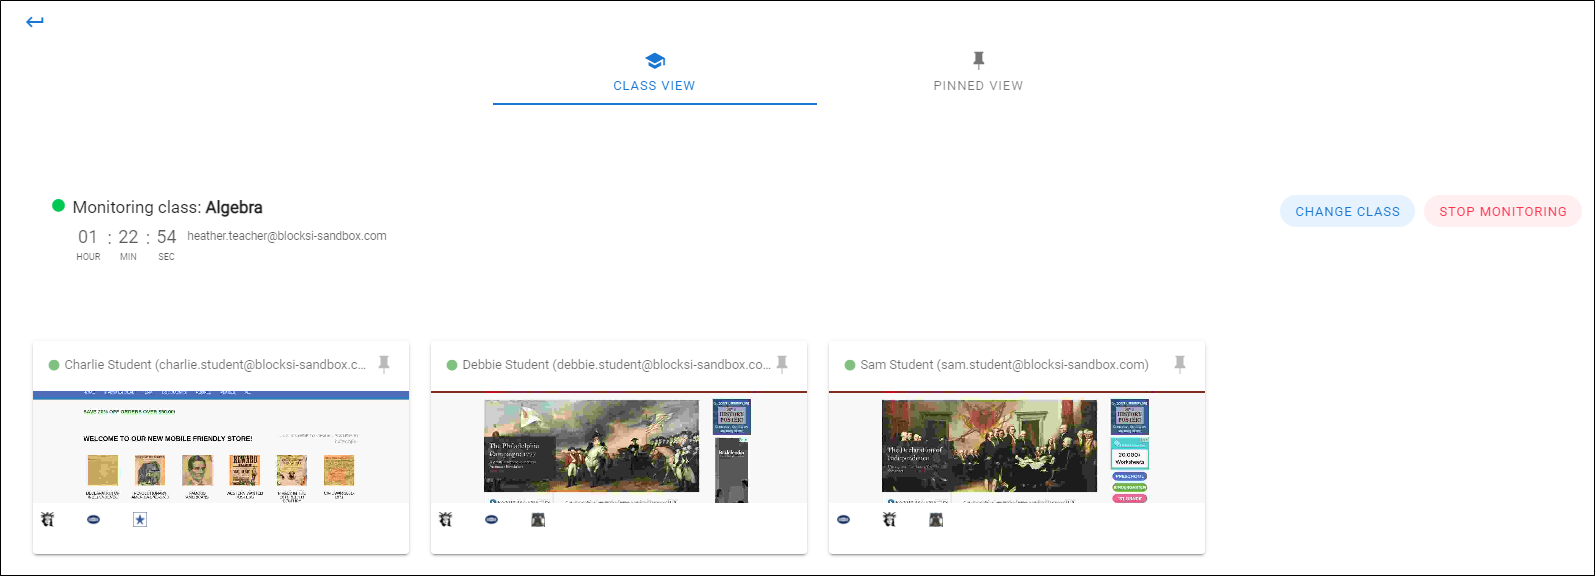
Click CHANGE CLASS to return to the previous screen, from which you can monitor another class.
Click STOP MONITORING to end monitoring the class.
You can monitor only those students that are in an actively running class. Click a student tile to see the student history in that class. Hover your mouse cursor over an open tab icon to view that website
Note
If you are unable to view teachers or classes, contact your school administrator.
To monitor one or more students
Click Insights from the Main Menu and then click Class Monitoring from its sub-menu. The following screen appears.

Click the SELECT A CLASS TO START MONITORING button. The following window opens.

Note
Active classes do not appear until you select a teacher.
Click a teacher name. That teacher's active classes appear to the right, as shown below.

Click MONITOR SELECTED CLASS. The following window opens. All students in the class appear.

Click the pin icon on one or more student's tile.
Click PINNED VIEW at the top of the screen. Only students you selected appear, as shown below.

To ensure delegates can monitor teacher classes within their school/scope, Delegate accounts must be created with access to the appropriate OU or Clever Buildings. Ensure that appropriate teacher accounts are in the same organizational unit (OU) as the delegates or delegates will not be able to access teachers and classes for student monitoring on the delegate dashboard.
To ensure delegates are in the same OU as the teachers
Click Dashboard Settings from the Main Menu and then click Delegate Dashboard from its sub-menu. The Delegate Accounts screen appears.
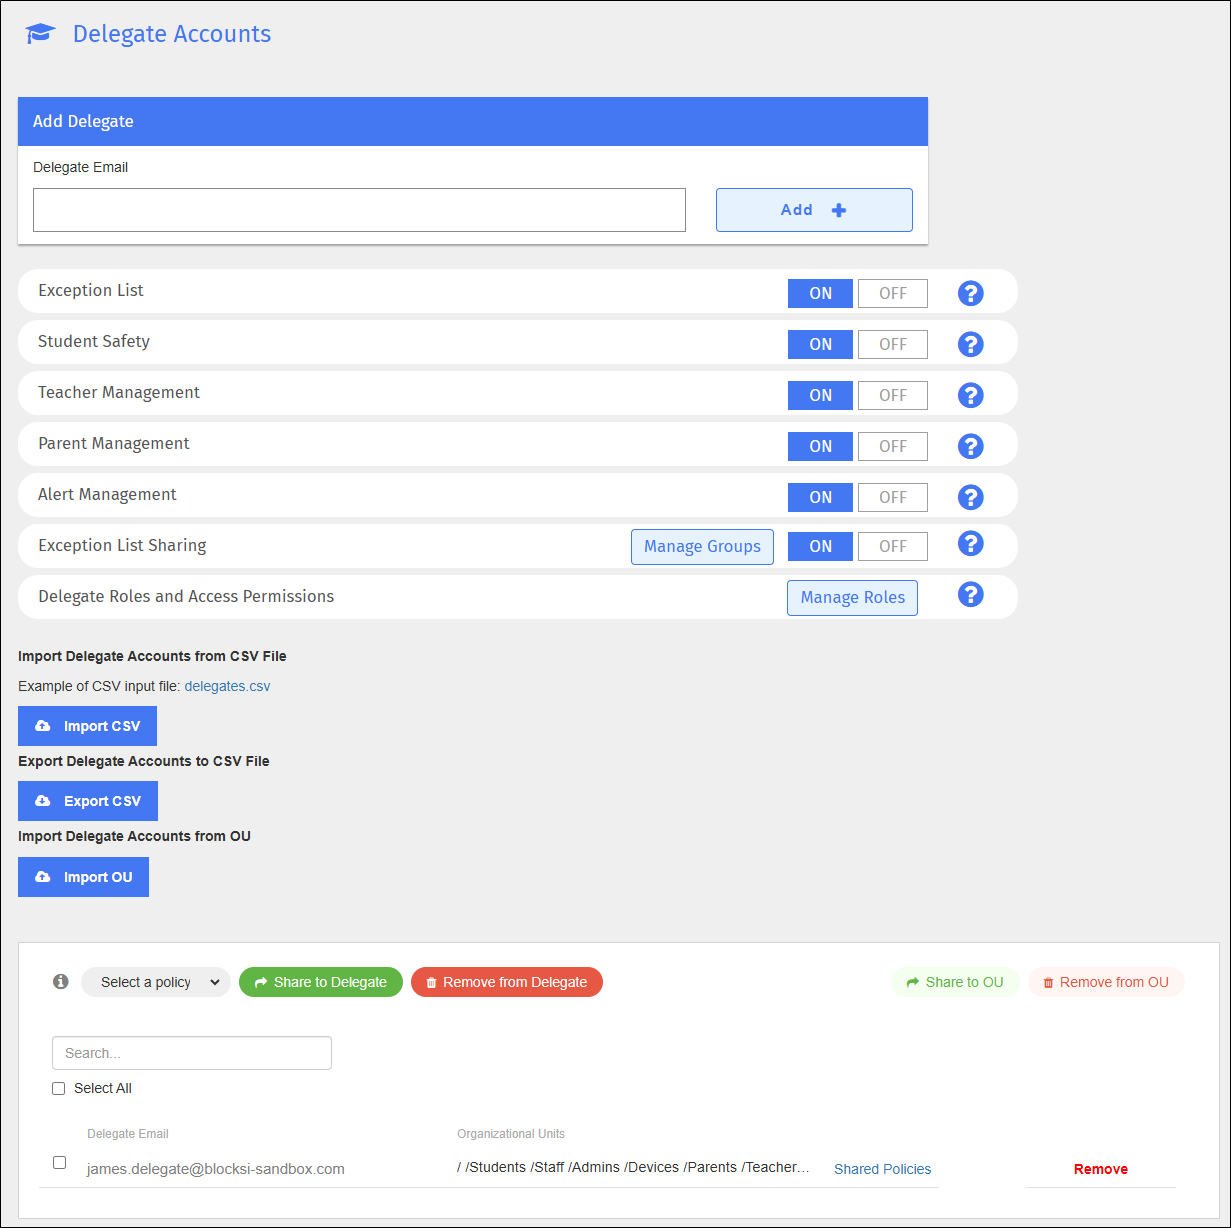
Click the desired delegate email link in the Delegate Email column. The following window opens.
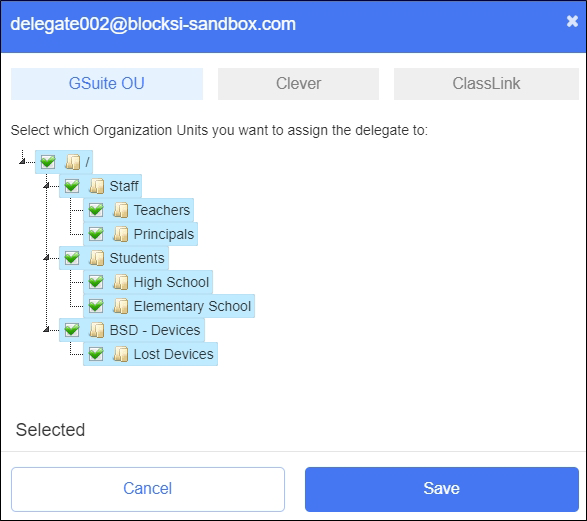
Select the checkboxes for the OUs to which you want to assign the delegate.
Click Save when you have finished.
Repeat steps 3 through 5 for each additional delegate.