Blocking and Allowing URLs
Blocksi provides a robust URL filtering tool directly within the Teacher Dashboard. Beyond simply preventing distractions, teachers can use their Block/Allow List to enhance instruction by whitelisting specific research materials or educational games that might otherwise be restricted. This feature is designed to bridge the gap between school-wide filters and individual classroom needs, creating a safe, focused environment for students.
Important
Any URLs you block or allow will only affect students while they are in your active class session.
Click the
 or
or  button. The corresponding window opens.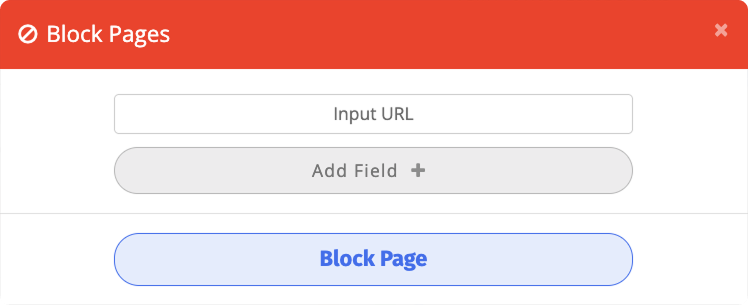
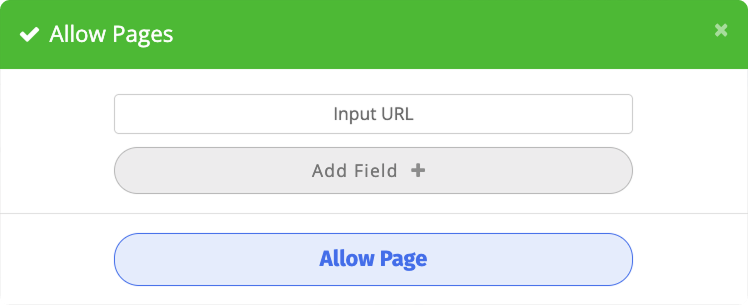
Type the URL of the page to block or allow in the Input URL text box and click Block Page or Allow Page. Be aware that the Block Domain and Allow Domain checkboxes are selected by default. To block or allow the entire domain, leave these checkboxes selected. Clear both to block or allow only the URL you entered.
Note
For instance, if you enter
www.facebook.comand leave them selected, the following appears in the Blocked URLs section when you click Block Page:*.facebook.com. This blocks the entire domain.Conversely, if you enter
www.facebook.comand clear them, the following appears in the Blocked URLs section when you click Block Page:www.facebook.com. This blocks onlywww.facebook.com. Students may still be able to access other pages on Facebook.Use the Block Domain and Allow Domain checkboxes separately to only block or only allow domains.
Click the Add Field + button to block or allow additional URLs and repeat step 2 above.
Warning
Your Blocksi administrator can decide to lock certain URLs and Web Categories. Teachers are unable to add URLs that are locked, or belong to a locked category, to their Block and Allow Lists.
Additional Settings
To view the additional settings, click the  button at the far right of the Block/Allow bar. The bar expands to show your currently blocked and allowed URLs, as well as the following checkboxes, none of which are selected by default:
Keep URLs on Next Session - Keeps the URLs you block and allow in your Block/Allow List and carries them over to your next class session.
Show embedded content - Allows embedded content, such as YouTube videos, iframes, and widgets, on the websites in your Block/Allow List. When this checkbox is not selected, embedded content is filtered.
Don't blur images on allowed URLs - Stops images from being blurred on the URLs you allow. When this checkbox is not selected, those URLs follow the image blurring setting of the policy applied to your class.
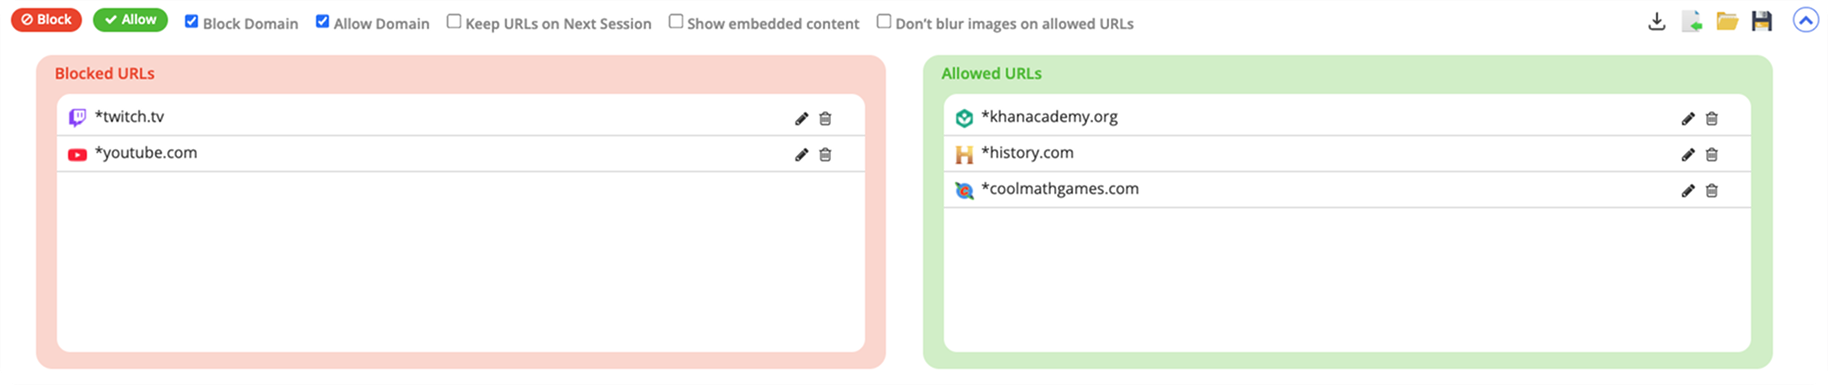
You can modify your Block/Allow Lists as needed. This includes editing or removing entries from your list when they are no longer required or when you need to update a specific URL.
Click the
button at the far right of the Block/Allow bar to view the URLs you blocked and allowed.Click the
 button at the far right of the URL you wish to edit.
Make the desired changes to the entry, then click Save.
Click the
button at the far right of the Block/Allow bar to view the URLs you blocked and allowed.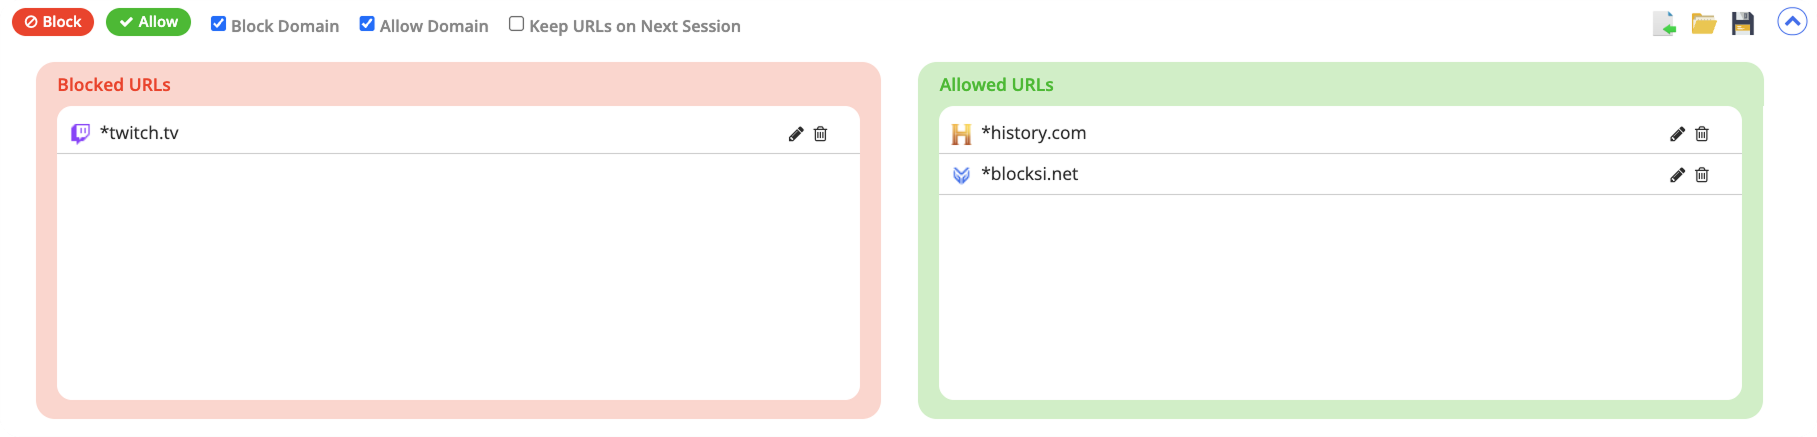
Click the
 button at the far right of the URL you wish to remove.
Warning
Once a URL is removed from your list, it cannot be retrieved.
Blocksi allows teachers to save, load, and import your Block/Allows Lists. This allows teachers to build a list from scratch, reuse a successful setup from a previous semester, and standardize URL filtering across different classes.
Tip
While Blocksi does not currently support direct list sharing between teacher accounts, you can share your Block/Allow Lists manually. Create your list as a .csv file and send it to your colleagues, they can then use the Import Block/Allow List feature to import that file into their own class sessions.
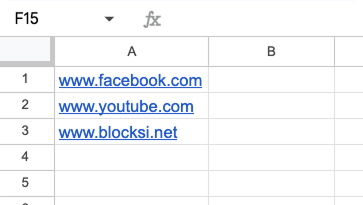
You can import blocked and allowed URLs from a .csv file. Make sure each of the URLs is in a separate row, as shown in the example below.
Click the
button at the far right to expand the section to include the following buttons: 


Click the
 button. The following window opens.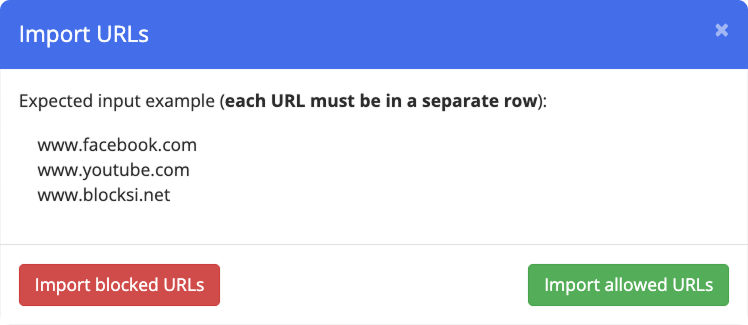
Select the button corresponding to whether you want to import blocked or allowed URLs, navigate to the desired folder, select the file, and click Open to complete the import. The URLs are imported and added to the corresponding list.
Important
The imported file must be in .csv format. You can create .csv files using Google Sheets, Excel, or other spreadsheet software. Enter each URL in a separate row, then save the file as .csv.
Click the
button at the far right to expand the section to include the following buttons: Click the
button. The following window opens.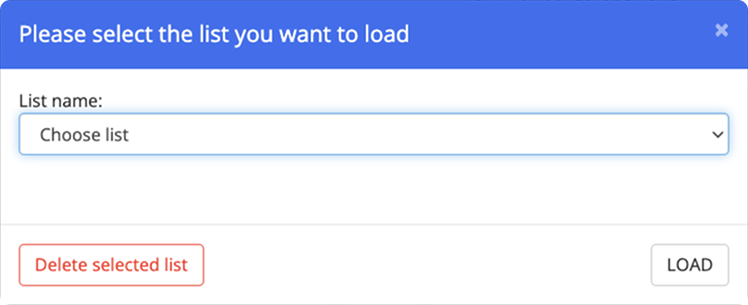
Select the list from the List name drop-down list, and click the LOAD button.
Note
You can delete a list by clicking the Delete selected list button.
Click the
button at the far right to expand the section to include the following buttons: Click the
button. The following window opens.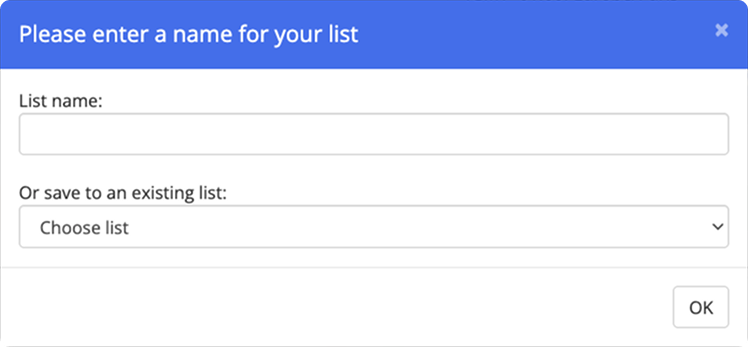
Type the name of the list in the List name text box or save to an existing list by selecting one from the drop-down list just below. Click the OK button.
When a filtering policy blocks a student from a web page, the Access Denied page appears. Students can click Send Access Request on that page to ask for access. When the student is in an active class session, the request is sent to the teacher running that session, so you can review and respond to it from your class without involving your Blocksi administrator.
Important
Access Requests are available only if your Blocksi administrator has activated the feature on the Admin Dashboard.
A counter on the Allow button in the Block/Allow bar shows how many requests are waiting for your response.
To view pending requests, click the  button in the Block/Allow bar. The Allow Pages window opens, showing any requests waiting for your response under Pending Requests.
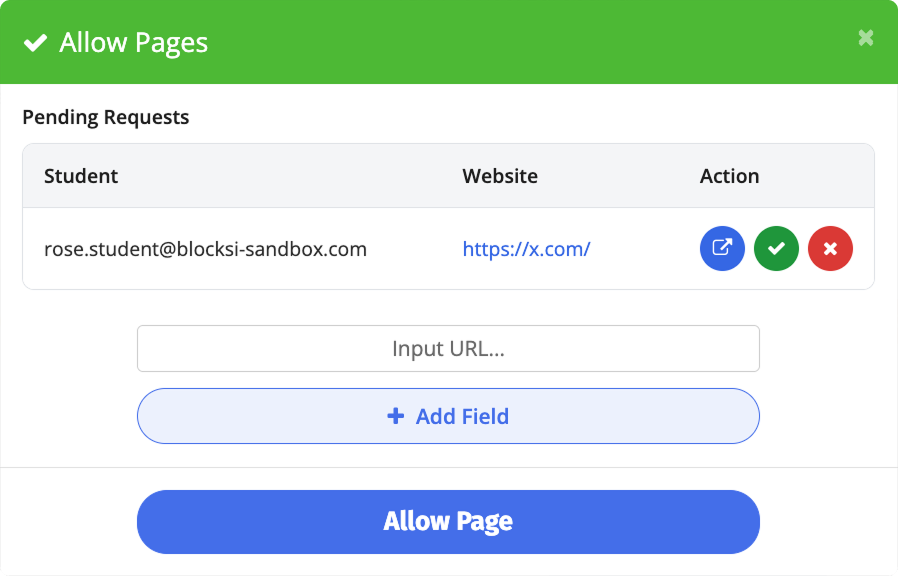
Student - The student who sent the request.
Website - The URL the student tried to access.
Action - The available actions for the request.
Important
After you deny a request, the student cannot send another Access Request for that page.
Locate the request in the Pending Requests table, then click one of the following buttons in the Action column:
Icon | Action | Description |
|---|---|---|
| Open URL | Opens the requested page so you can review its content before deciding. |
| Allow | Approves the request and adds the URL to your Allowed URLs list for the current class session. |
| Deny | Denies the request and removes it from the table. |


Allowed URLs appear in the Allowed URLs section of your Block/Allow list, where you can edit or remove them like any other entry.