Web Filters
Web Filters allow you to manage student access to online content during class by defining which websites are allowed, blocked, or allowed with a warning. These filters help support focused learning, reduce distractions, and ensure students are accessing appropriate online resources during instructional time.
Blocksi web filtering is organized into 85 predefined categories, grouped into six category types. These categories make it easy to apply consistent browsing rules across different types of content while managing student activity in real time. For detailed descriptions of each category, see the Web Filter Categories section.
Web filters are used to set up which sites students will be allowed to visit, which ones will be blocked, and which will be accessible with a warning.
Click Filters from the Main Menu and then click Web Filters from its sub-menu. The Web Filter screen appears.
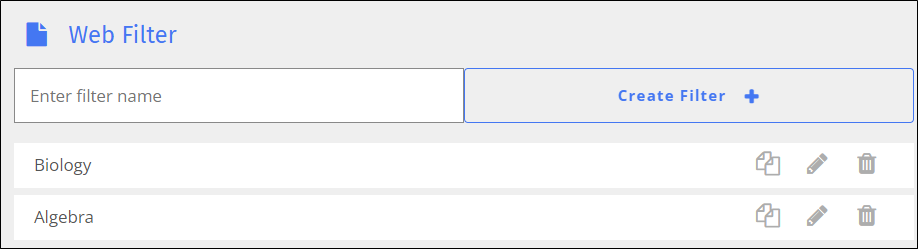
Type the name of the filter in the Enter filter name text field.
Click Create Filter + to add the filter. The Edit screen appears. You are presented with a list of category types to add to the web filter. Each category type may contain one or more web page categories. For instance, if you click the Security Risk type, it expands to show Malicious, Phishing, and Spam URLs category types, as shown below. Choose to allow, block, or allow with a warning to the student for one or more of the category types.
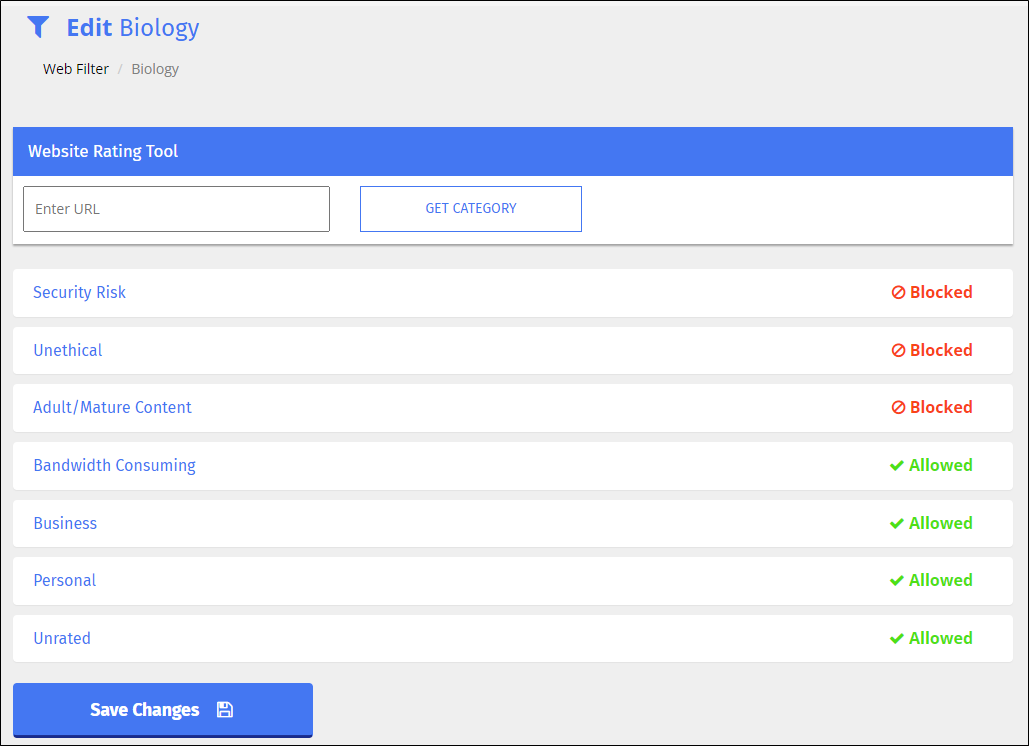
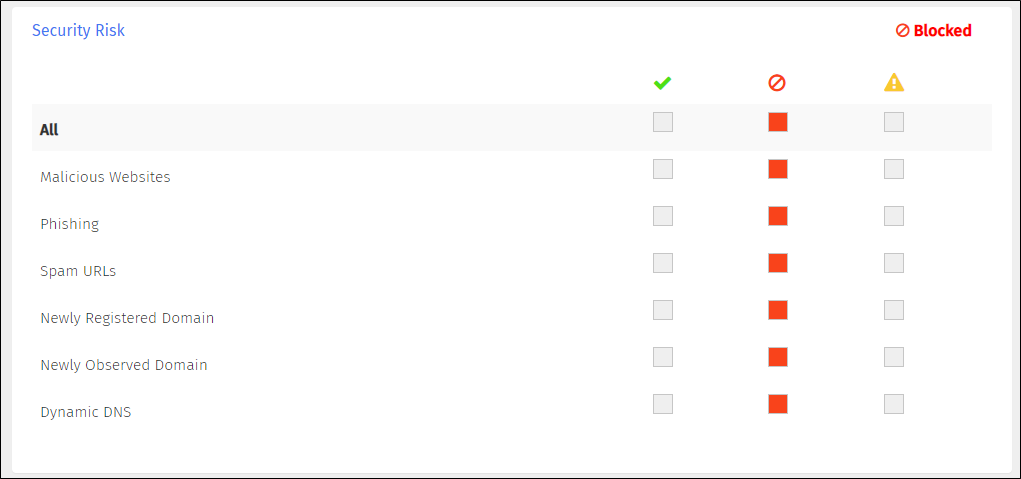
Click each filter type to expand it, and make your selections.
Click Save Changes when you have finished. A confirmation prompt appears indicating the save was successful.
Click Close to remove the prompt.
Click Filters from the Main Menu and then click Web Filters from its sub-menu. The Web Filter screen appears.
Locate the filter to rename, and click the filter name. A box opens to allow you to rename the filter. Note that Blocksi added Save and Cancel buttons to the right of the name, as shown below.
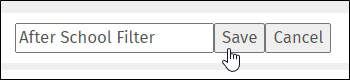
Rename the filter, and click the Save button.
Click Filters from the Main Menu and then click Web Filters from its sub-menu. The Web Filter screen appears.
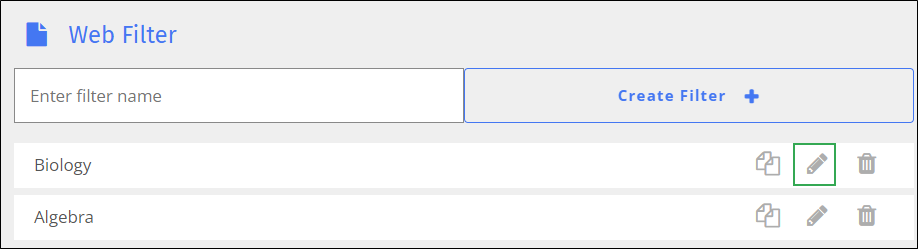
Locate the name of the filter to modify, and click the
 icon to the right of the filter name. The Edit screen appears.
Make the necessary changes to the filter, and click Save Changes.
Click Filters from the Main Menu and then click Web Filters from its sub-menu. The Web Filter screen appears.
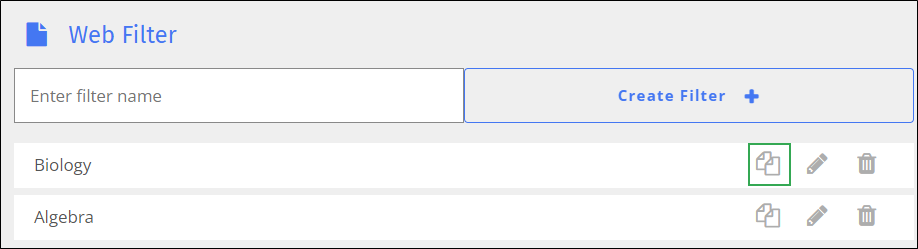
Locate the web filter to duplicate, and click the
 icon. The Duplicate Filter window opens.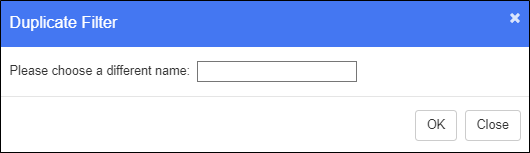
Type the name of the new list in the text box.
Click OK to add the filter. The duplicated list appears at the bottom of the list. It contains the same blocked, allowed, and warning sites as the original filter.
Make any desired changes to the new list and save it.
Click Filters from the Main Menu and then click Web Filters from its sub-menu. The Web Filter screen appears.
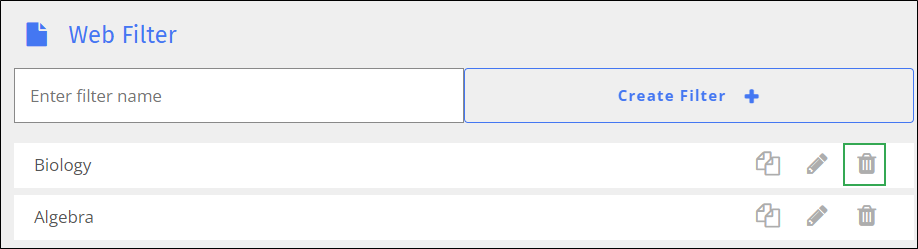
Locate the name of the web filter to delete, and click the
 icon. A confirmation prompt appears.
Click OK to delete the filter.