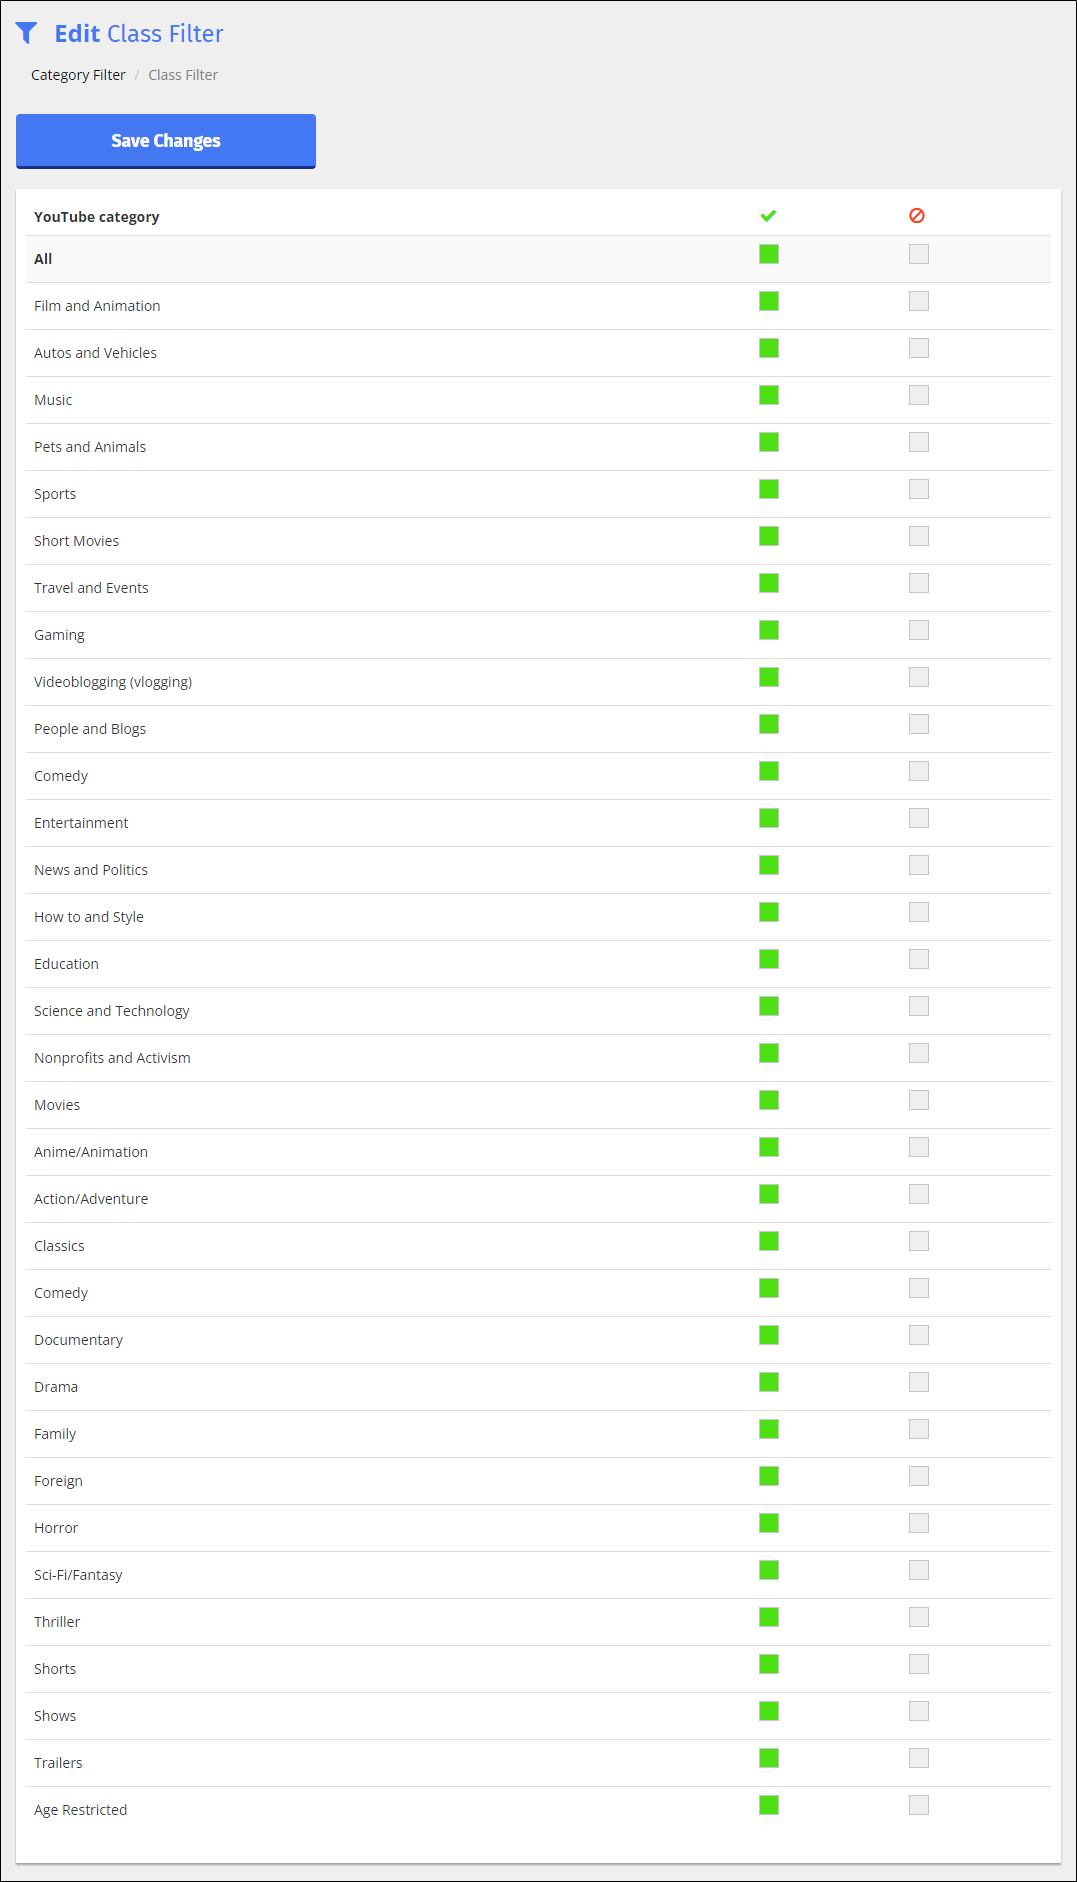
Every video on YouTube is assigned a category that is typically selected when the video is uploaded to YouTube. Categories are Music, Sports, Film & Animation, etc. For a complete list please check YouTube. YouTube category filtering works similarly to web filtering. If a particular category is blocked, users get redirected to a special video that informs them about blocked access.
Create as many YouTube Category filters as you need.
To create a YouTube Category filter
Click Filters from the Main Menu and then click YouTube Filters from its sub-menu.
Click Category Filter from the secondary sub-menu. The YouTube Filter screen appears.

Type the name of the filter in the Enter filter name text field.
Click Create Filter +. The edit page appears. See Blocking and Allowing YouTube Categories.
To block and allow YouTube categories
Click Filters from the Main Menu and then click YouTube Filters from its sub-menu.
Click Category Filter from the secondary sub-menu. The Category Filter screen appears.

Locate the filter for which to block and allow categories, and click the
 icon to the right of the filter name. The Edit screen appears.
Select the checkboxes in the first column for each of the categories to allow a student to access.
Select the checkboxes in the second column for each of the categories to block a student from accessing.
Click Save Changes when you have finished selecting categories.
Rename a YouTube Category as needed.
To rename a YouTube Category filter
Click Filters from the Main Menu and then click YouTube Filters from its sub-menu.
Click Category Filter from the secondary sub-menu. The Category Filter screen appears.

Locate the filter to rename, and click the filter name. A box opens to allow you to rename the filter. Note that Blocksi added Save and Cancel buttons to the right of the name, as shown below.

Rename the filter, and click the Save button.
Modify a YouTube category filter as needed.
To modify a YouTube category filter
Click Filters from the Main Menu and then click YouTube Filters from its sub-menu.
Click Category Filter from the secondary sub-menu. The Category Filter screen appears.

Locate the name of the filter to modify, and click the
 icon to the right of the filter name. The Edit screen appears.
Make the necessary changes to the filter, and click Save Changes.
Use an existing YouTube Category filter to create a new one.
To duplicate a YouTube Category filter
Click Filters from the Main Menu and then click YouTube Filters from its sub-menu.
Click Category Filter from the secondary sub-menu. The YouTube Filter screen appears.

Locate the list to duplicate, and click the
 icon. The Duplicate Filter window opens.
Type the name of the new list in the text box.
Click OK to add the filter. The duplicated filter appears at the bottom of the list. It contains the same categories as the original filter.
Make any desired changes to the new filter and save it.
Delete YouTube Category filters when you no longer need them.
To delete a YouTube Category filter
Click Filters from the Main Menu and then click YouTube Filters from its sub-menu.
Click Category Filter from the secondary sub-menu. The YouTube Filter screen appears.

Locate the list to delete, and click the
 icon to the right of the list. A confirmation prompt appears.
Click OK to delete the filter.