Classroom Features
This section shows you how to start and stop a class, take attendance, message your class, use Heads Up mode, and use Insights.
This section describes the student title, and shows you how to sort and hijack students and how to view a student's screenshot history.
Each student in a class is represented with a tile. Student tiles appear differently depending on whether a class is in session.
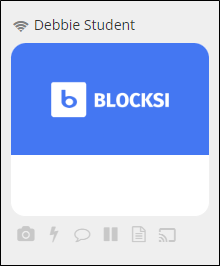
Before you start a class, student tiles appear as shown below.
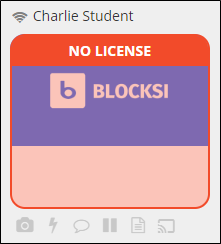
There are two situations when the tile appears differently. If a student does not have a license, the tile appears as shown below.
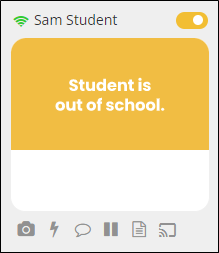
If a student's device is out of the school area, the tile appears as shown below.
When you start a class, the tile changes as shown below.
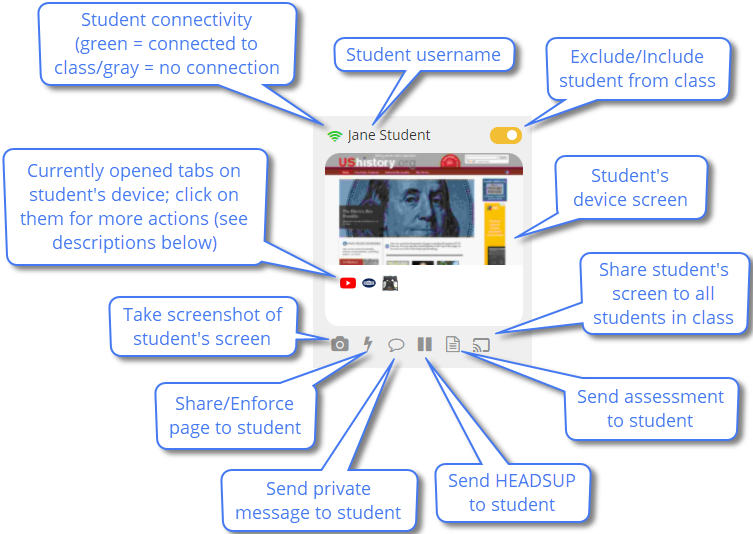
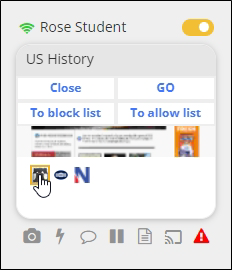
Hover your mouse cursor over a tab in the student's tile to see the following actions:
Close - Close this tab.
GO - Go to this web page.
To block list - Add this page to the block list
To allow list - Add this page to the allow list
The red warning icon at the bottom right of the tabs indicates that a tab was blocked. Hover your mouse cursor over the icon to see the name of the blocked page.
Sort students in your class in alphabetical order or by online status.
Click the A-Z button. A confirmation prompt appears.
Click Re-order. The students now appear in your class in alphabetical order.
Click the Online First button. A confirmation prompt appears.
Click Re-order. All online students now appear, followed by offline students. Students are sorted alphabetically within each grouping.
Since a student attend only one class at a time, there may be times when a student is still in another class due to an assignment that has run past the class end time. In these cases, hijack the student from the other class into your class. The student’s tile appears in red once your class begins and, in this example, shows that the student is in a class called Film.
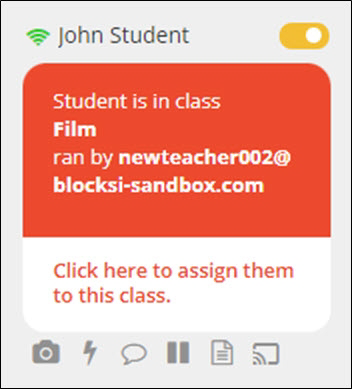
Click the lower portion of the student tile saying “Click here to assign them to this class”.
The student is immediately assigned to your class, and the previous teacher's restrictions are removed from that student. You can now see the student's screens and control the commands of that student's device.
You can maximize and zoom in on what a student is seeing on their screen.
Start a class.
Click inside one of the student tiles. The following screen appears. Note the four icons on the right side of the screen, as shown below.
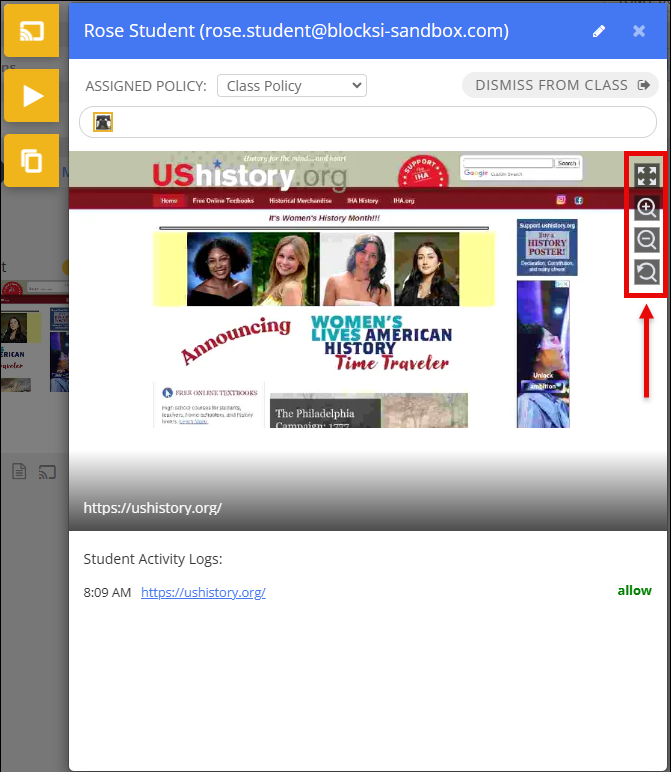
Click the Maximize icon to maximize the screen, as shown below.
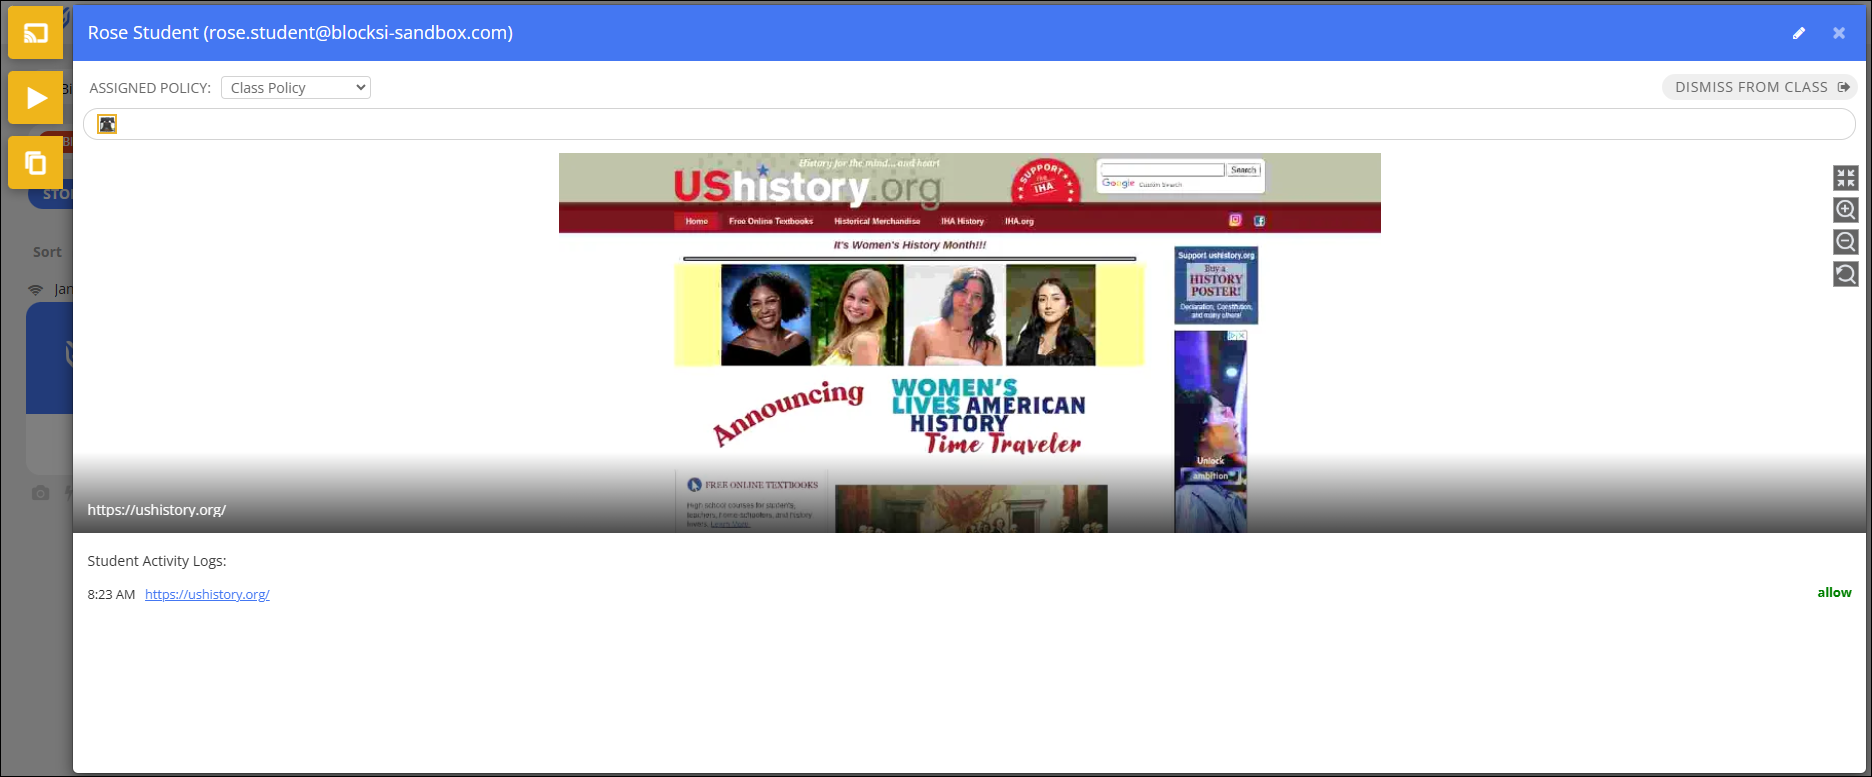
Click the Zoom In and Zoom Out icons to focus on specific areas of the student's screen. Click the Refresh icon to reset the screen.
Blocksi keeps a record of all screens that students viewed during classes that were in session during the last 14 days.
Start a class.
Click inside one of the student tiles. The following screen appears.
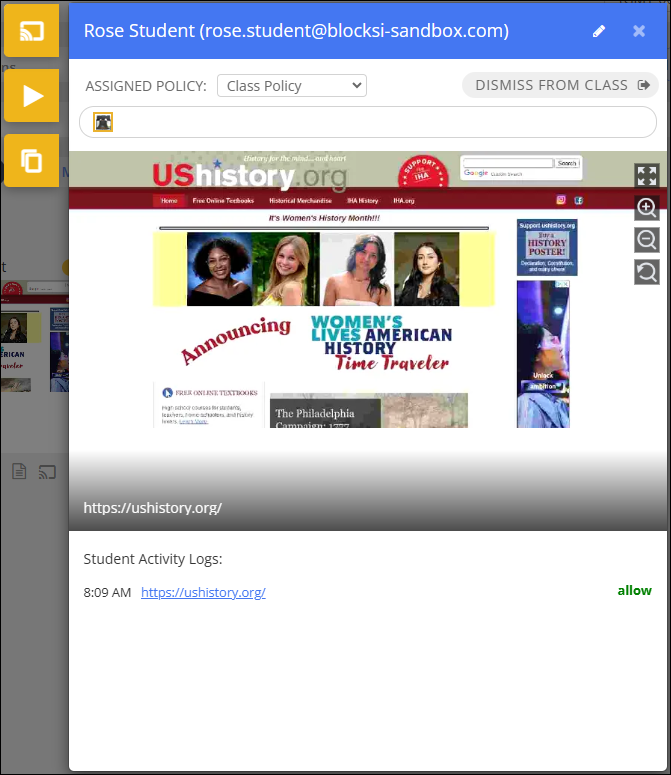
Click the
 button. The screen changes to show the following.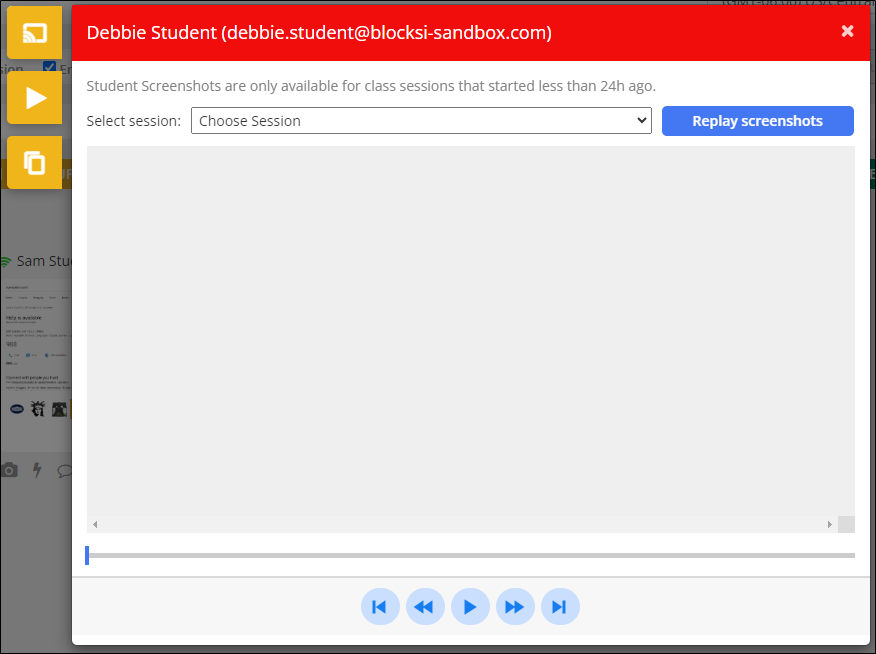
Select the session from the Select Session drop-down list.
Click the Replay Screenshots button.
Click the Play button to start session replay.
Important
You must have at least one student in your class to start a class session.
Locate the class to start.
Click the START | 45:00 button.
Locate the class to stop.
Click the STOP | 44:50 button.
Note
The times displayed will differ based on the length of your class. The class length shown in the example above is 45 minutes.
Tip
Use Insights to retrieve and export attendance logs. Blocksi stores all attendance logs for each class for the entire school year.
Click the Take Attendance button at the bottom of the screen. The Take Attendance window opens.
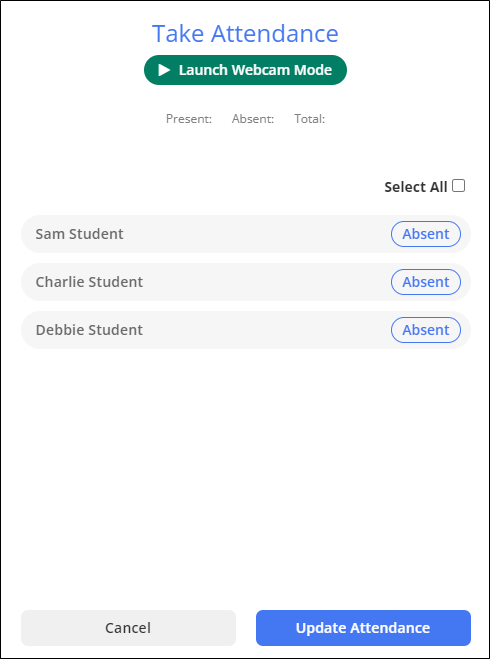
Click the Absent buttons to the right of the students' names to change them to Present.
Tip
Select the Select All checkbox to mark all students present at once.
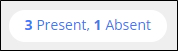
When you have marked all students present, click the Update Attendance button. You are returned to the class screen and the following appears where the Take Attendance button was earlier. In this case, there are three students in the class.
Start a class.
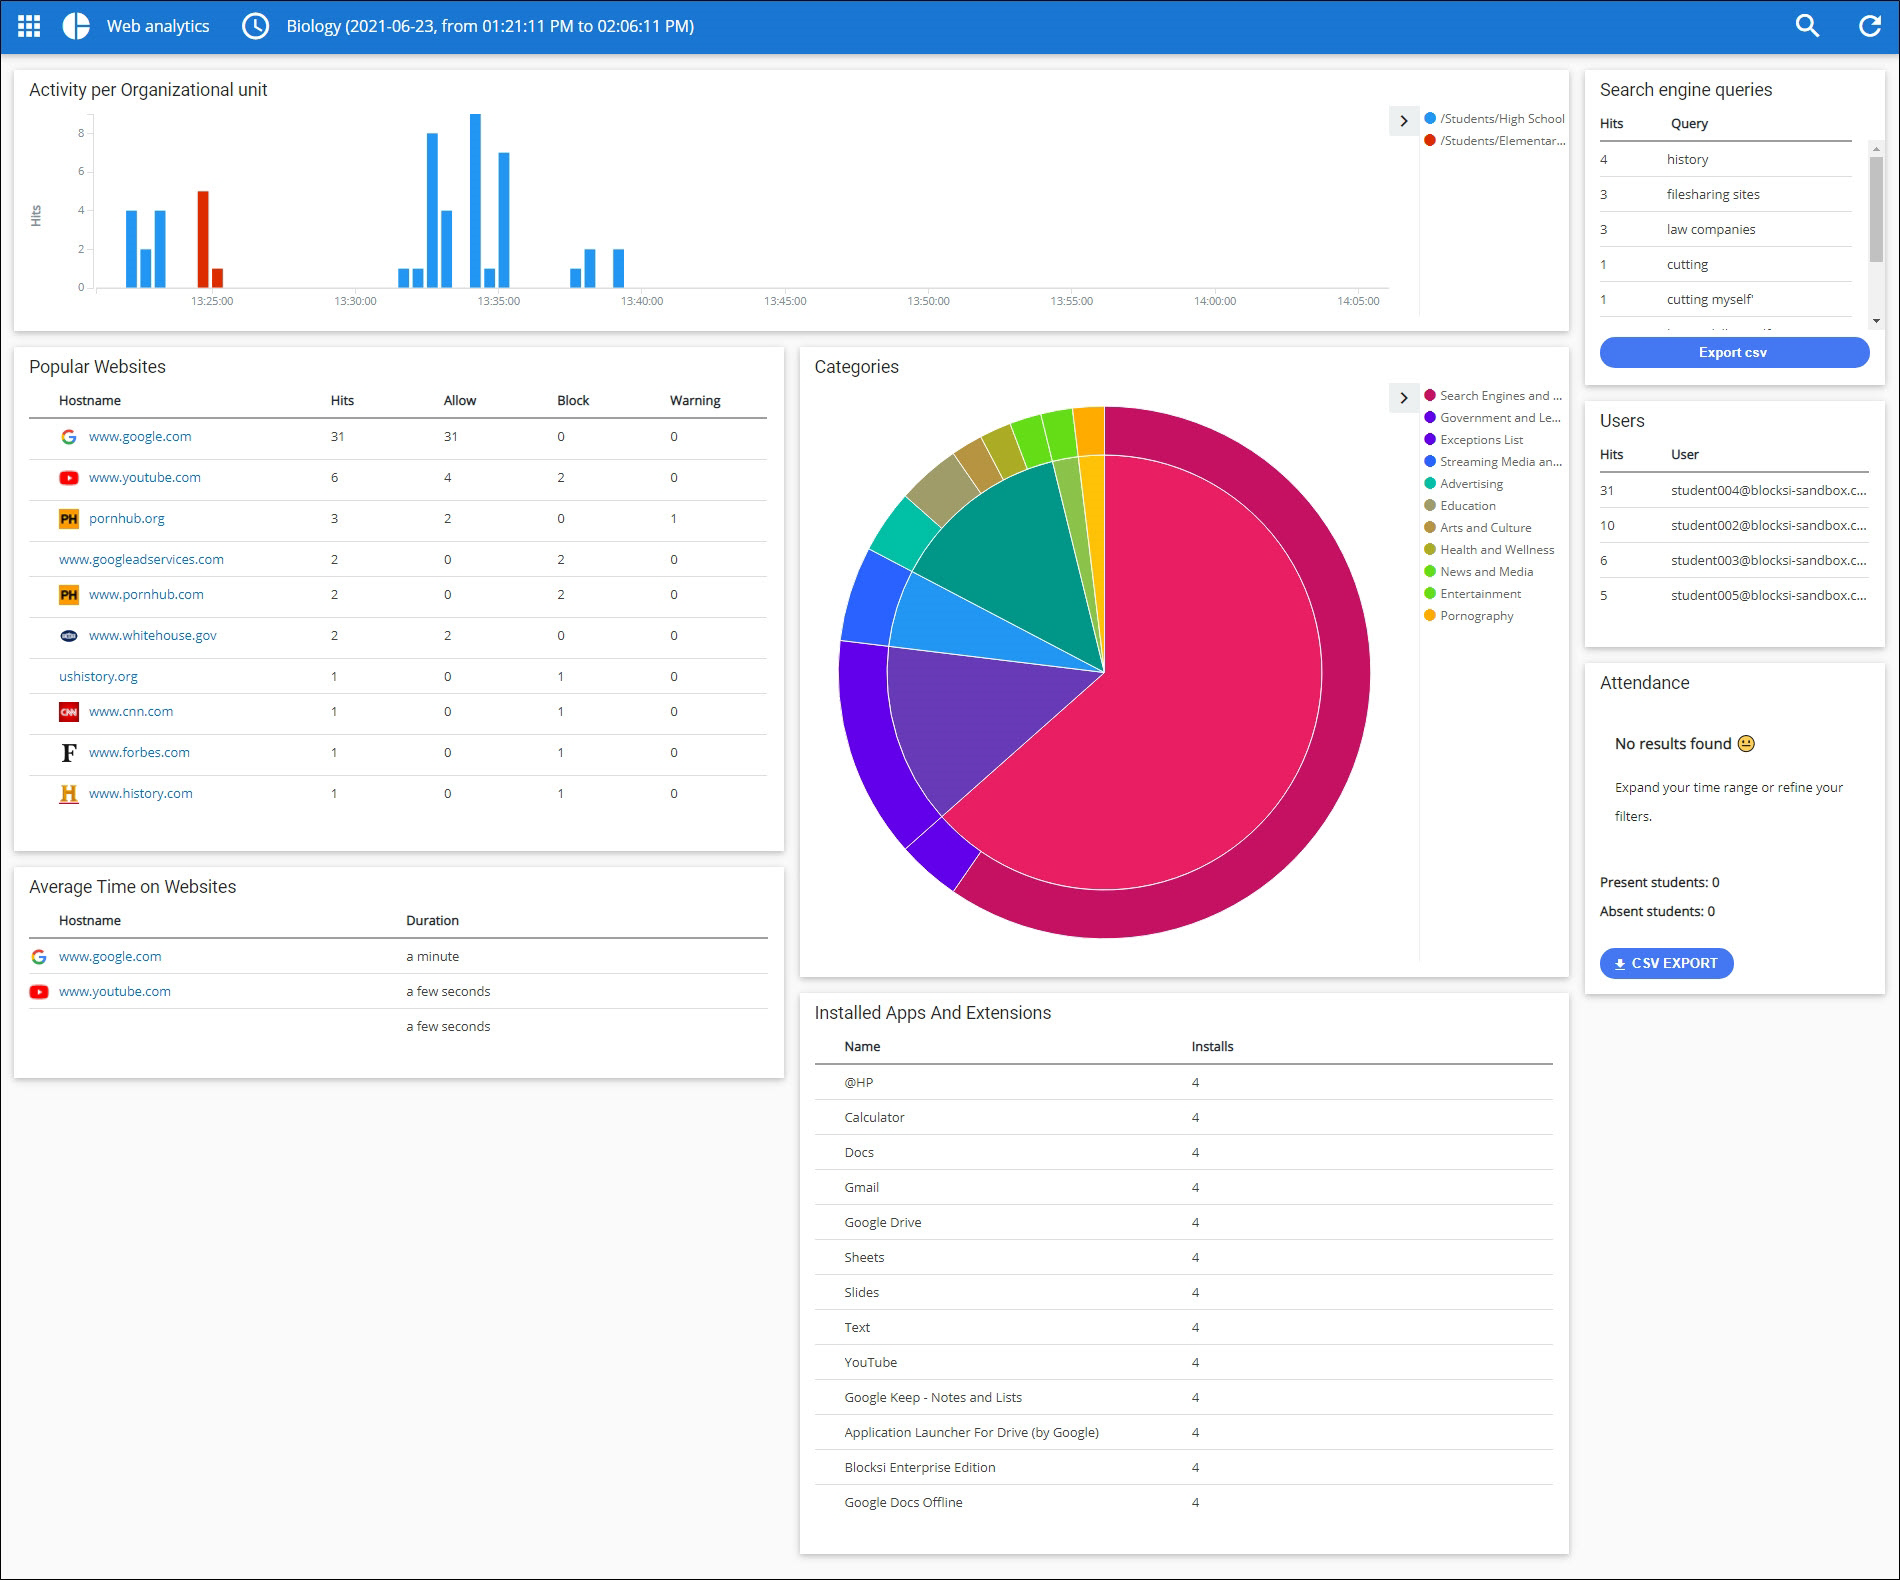
Click the Insights button. The Web Analytics window opens. See Web Analytics for details.