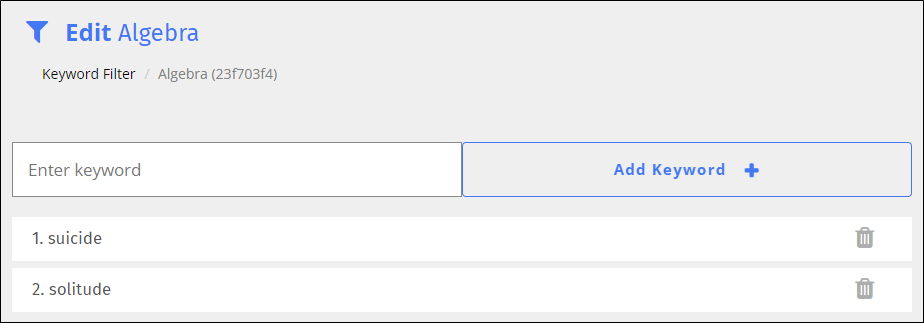
Block access to web pages that contain specific words. This prevents access to pages with questionable material. Words are stored in keyword lists, which are identified by a unique ID number.
When adding words to the keyword list, be careful which words you add as this can create false positives by blocking access to legitimate pages. For instance, the word “porn” can also block access to Wikipedia pages about porn
Create as many keyword filters as you need.
To create a keyword filter
Click Filters from the Main Menu and then click Keyword Filter from its sub-menu. The Keyword Filter screen appears.

Type the name of the filter in the Enter filter name text field.
Click Create Filter + to add the filter. The new filter appears at the bottom of the list.
Add as many keywords as you need to a keyword filter list.
To add a keyword to a keyword filter
Click Filters from the Main Menu and then click Keyword Filter from its sub-menu. The Keyword Filter screen appears.

Locate the filter to which to add keywords, and click the
 icon (or create a new filter). The Edit screen appears.
Type the keyword in the Enter keyword text box.
Click the Add Keyword + button to add the keyword to the filter. The keyword you entered appears at the end of the keyword list.
Note
Each word has a number to the left, which indicates its location in the list. These numbers are used for identifying which keywords are used for denying students access to certain sites.
Delete keywords when you no longer need them.
To delete a keyword from a keyword filter
Click Filters from the Main Menu and then click Keyword Filter from its sub-menu. The Keyword Filter screen appears.

Locate the filter from which to delete a keyword, and click the
 icon. The Edit screen appears.
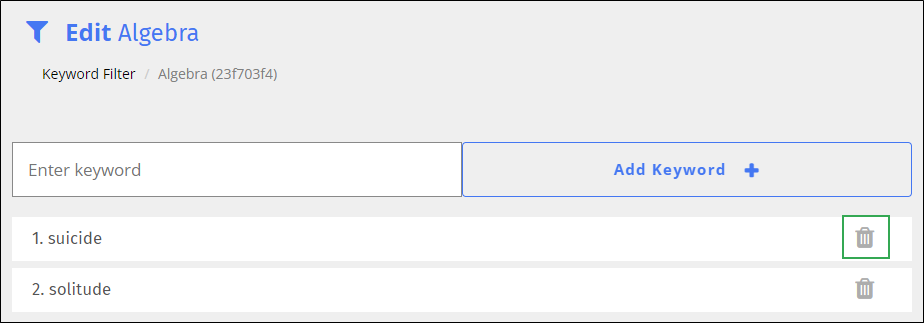
Locate the keyword to delete and click the
 icon to the right. A confirmation prompt appears.
Click OK to delete the keyword from the filter.
Rename a keyword filter as needed.
To rename a keyword filter
Click Filters from the Main Menu and then click Keyword Filter from its sub-menu. The Keyword Filter screen appears.

Locate the filter to rename, and click the filter name. A box opens to allow you to rename the filter. Note that Blocksi added Save and Cancel buttons to the right of the name, as shown below.

Rename the filter, and click the Save button.
Modify a keyword filter as needed.
To modify a keyword filter
Click Filters from the Main Menu and then click Keyword Filter from its sub-menu. The Keyword Filter screen appears.

Locate the name of the filter to modify, and click the
 icon to the right of the filter name. The Edit screen appears.
Make the necessary changes to the filter, and click Save Changes.
Use an existing filter to create a new one.
To duplicate a keyword filter
Click Filters from the Main Menu and then click Keyword Filter from its sub-menu. The Keyword Filter screen appears.

Locate the filter to duplicate, and click the
 icon. The Duplicate Filter window opens.
Type the name of the new filter in the text box.
Click OK. The duplicated filter appears at the bottom of the list. It contains the same keywords as the original filter.
Make any desired changes to the new filter and save it.
Delete keyword filters when you no longer need them.
To delete a keyword filter
Click Filters from the Main Menu and then click Keyword Filter from its sub-menu. The Keyword Filter screen appears.

Locate the filter to delete, and click the
 icon to the right of the filter. A confirmation prompt appears.
Click OK to delete the filter.