Exception Lists
This section shows you how to block and allow URLs in your class.
Block and allow websites and specific URLs in a class.
Note
Add entries only when a class is running and are valid only during the class session. If you need a permanent list, then Blocksi recommends that you create Exception lists in the filtering policy or load the list with the Load List icon.
Note
Parents cannot override Delegate Exception Lists.
To block and allow URLs in a class
Click the Block or Allow button. The corresponding window opens.
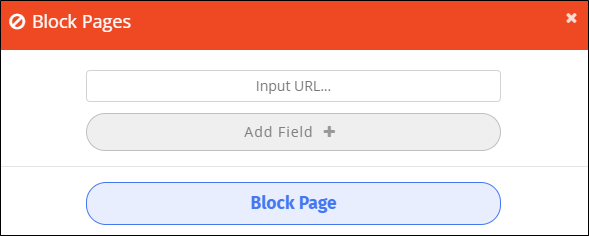
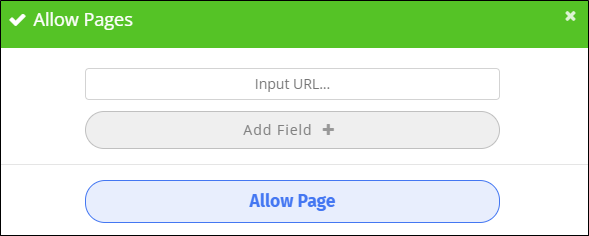
Type the URL of the page to block or allow in the Input URL text box and click Block Page or Allow Page. Be aware that the Block Domain and Allow Domain checkboxes are selected by default. To block or allow the entire domain, leave these checkboxes selected. Clear both to block or allow only the URL you entered.
For instance, if you enter www.facebook.com and leave them selected, the following appears in the Blocked URLs section when you click Block Page: *.facebook.com. This blocks the entire domain.
Conversely, if you enter www.facebook.com and clear them, the following appears in the Blocked URLs section when you click Block Page: www.facebook.com. This blocks only www.facebook.com. Students may still be able to access other pages on facebook.
Use the Block Domain and Allow Domain checkboxes separately to only block or only allow domains.
Note
Be aware that once you add a URL as described above, make sure to select the Block Domain and Allow Domain checkboxes so you do not unintentionally give students access to forbidden URLs in a domain.
Click Add Field + to block or allow additional URLs and repeat step 2 above.
Click the down arrow at the far right of the Block/Allow bar to view the URLs you blocked and allowed.

Keep the URLs you block and allow for the next class session by selecting the Keep URLs on next session checkbox. This checkbox is not selected by default.
If allowed by your school, import exception lists to use in your class.
To import an exception list
Click the down arrow to the far right of the Block/Allow bar. The section expands to include the following:

Click the
 icon. The following window opens.
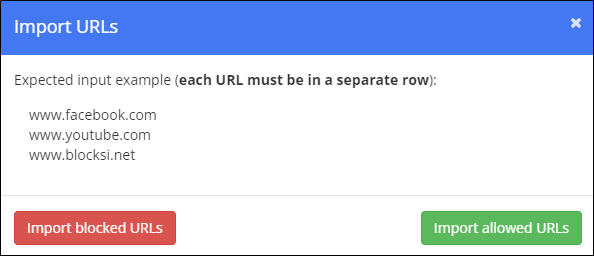
Click Import Blocked URLs or Import Allowed URLs.
Navigate to the desired folder, select the file, and click Open. The URLs are imported and added to the corresponding list.
If allowed by your school, load exception lists to use in your class.
To load an Exception List
Click the down arrow to the far right of the Block/Allow bar. The section expands to include the following:

Click the
 icon. The following window opens.
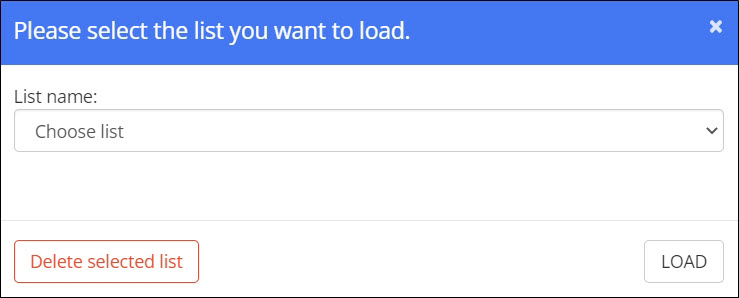
Select the name of the list to load from the List name drop-down list.
Click the LOAD button. You can now use the list in your class.
Note
Click the Delete selected list button to delete a list. Click Yes at the confirmation prompt.
If allowed by your school, save exception lists that you create for a class.
To save an exception list
Click the down arrow to the far right of the Block/Allow bar. The section expands to include the following:

Click the
 icon. The following window opens.
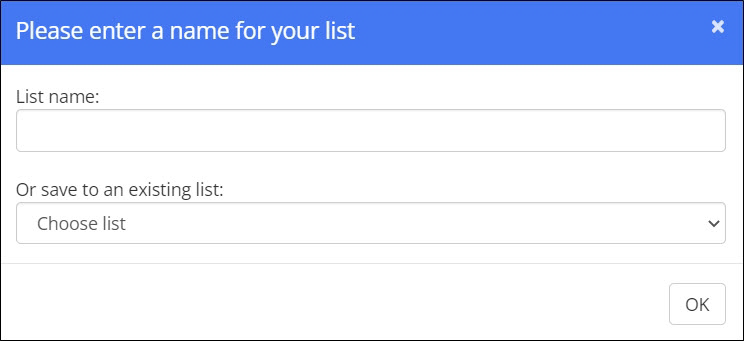
Type the name of the list in the List name text box or select an existing list from the Or save to an existing list drop-down list.
Click the OK button to save the list.