Student Groups
Student groups are handy when you want to share and enforce pages to specific students, and when you want to hold conferences with specific students.
Click the
 icon. The Student Groups window opens.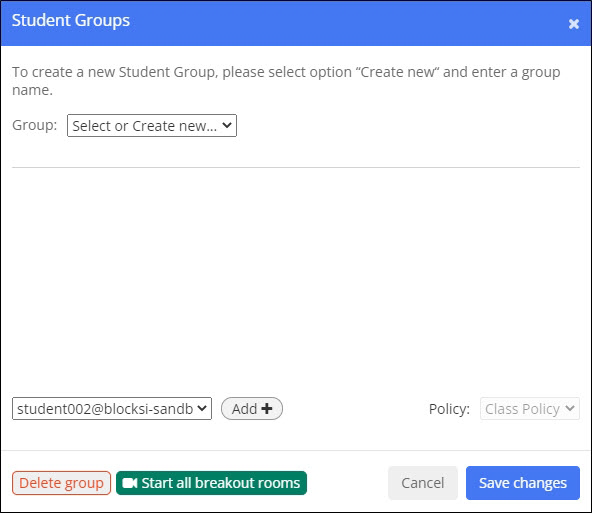
Select Create new from the Group drop-down list. The New Group name... text box appears to the right.
Type the name of the group in the New Group name... text box.
Click Save Changes. The new group is available when you start the class.
Note
A student can be in only one group at a time; they cannot be in multiple groups.
Select the group to which to add a student from the Group drop-down list. The Start Conference for Group button appears to the right, as shown below.
Select the students to add to the group from the drop-down list to the left of the Add + button and click the Add + button.
Repeat for each student to add to the group.
Select the policy to assign to the class from the Policy: drop-down list, if your school allows for multiple policies.
Note
If you have not started the class, the Policy: drop-down list is disabled; you cannot apply a policy to the student group.
Click Save Changes. The selected students are added to the group.
Click the
icon. The Student Groups window opens.Select the group to delete from the Group drop-down list.
Click the Delete Group button. A confirmation prompt appears. Click Yes to delete the group.