Policies
Filters added to the regular policy are always active and have no time constraints.
Click Policies from the Main Menu. The Policies screen appears.
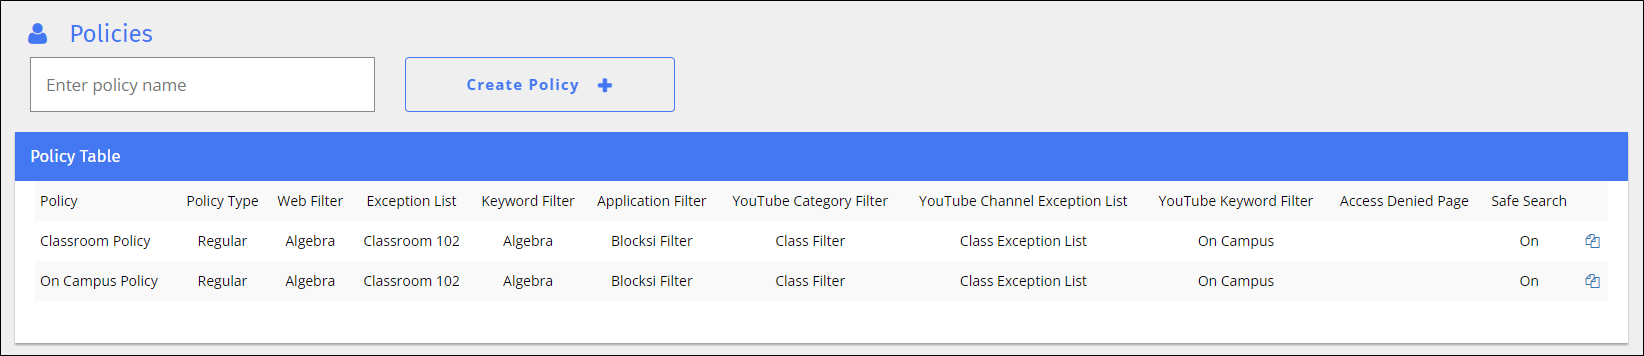
Type the name of the policy in the Enter policy name text field.
Click Create Policy +. The following window opens.
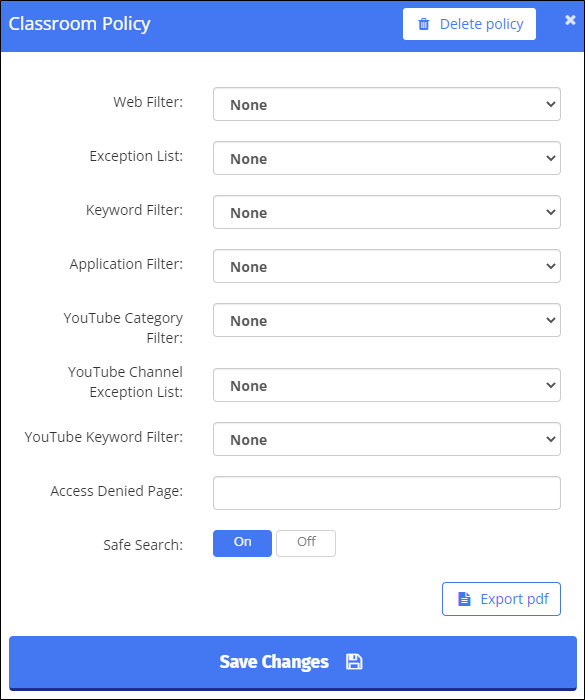
Select the required lists and filters, and type the URL in the Access Denied Page text box.
Indicate whether to turn on SafeSearch for this policy.
Click Save Changes. The new policy appears in the Policy Table.
Note
Click Export PDF to create a PDF of the policy.
Note
This feature requires a minimum extension version of 4.5.1.
You can disable Google AI Search in your class policies. When this setting is turned on, students no longer see Google's AI-generated answers at the top of search results, and AI search mode is turned off on their devices - any attempt to use it sends them to regular Google search instead.
Important
This setting works only in Google Chrome. Students using a different browser can still access Google AI Search. To block it completely, all browsers other than Google Chrome must be blocked by the administrator.
Click Policies from the Main Menu. The Policies screen appears.
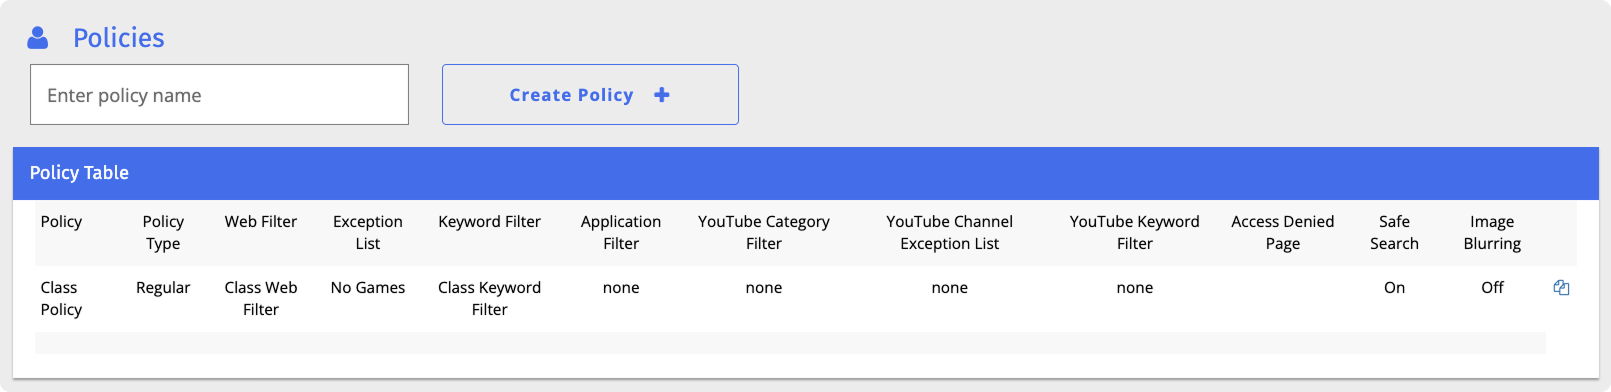
From the Policy Table, click an existing policy, or create a new one by entering a name and clicking Create Policy. The policy configuration window appears.
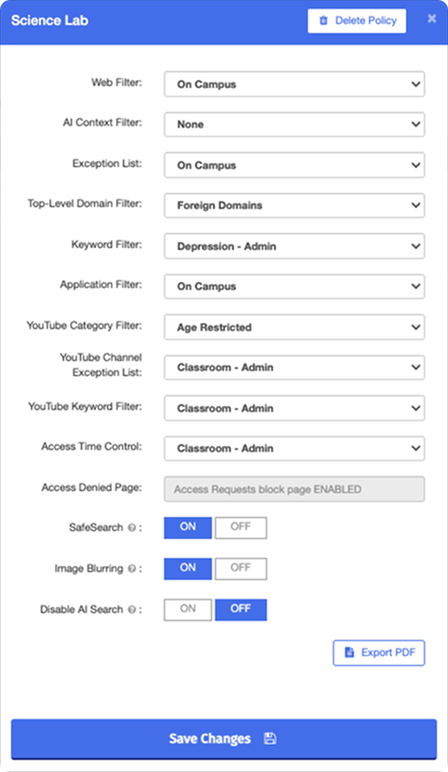
Locate the Disable AI Search toggle and switch it to ON.

Click the Save Changes button to apply the settings.
Click Policies from the Main Menu. The Policies screen appears.
Click the name of the policy to modify from the policy table.
Make the necessary changes, and click Save Changes.
Modify policies whenever you need to make changes to them.
Click Policies from the Main Menu. The Policies screen appears.
Locate the policy to duplicate, and click the
 icon. The Duplicate Policy window opens.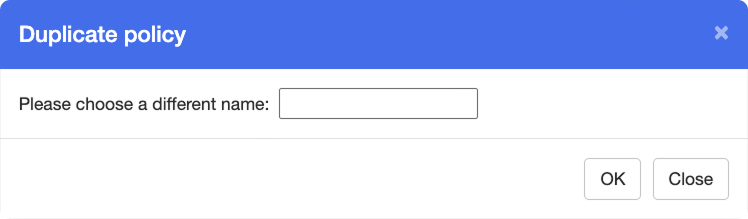
Type the name of the new policy in the text box.
Click OK. The duplicated policy appears at the bottom of the list. It contains the same filters and lists as the original policy.
Make any desired changes to the new policy and save it.
Click Policies from the Main Menu. The Policies screen appears.
Click the name of the policy to export from the policy table. The policy window opens.
Click Export PDF in the lower right-hand corner of the window. The file appears in the lower left-hand corner of your screen in PDF format. Click it to open and save it.
Click Policies from the Main Menu. The Policies screen appears.
Click the name of the policy to delete from the policy table.
Click the Delete Policy button at the top right of the policy window. A confirmation prompt appears.
Click OK to delete the policy from the table.