Managing Aliases
Use student aliases to replace longer student names that do not entirely appear on screen or when you do not want actual student names to appear on screen. Create aliases before or during a class session.
To create an alias before you start the a class session
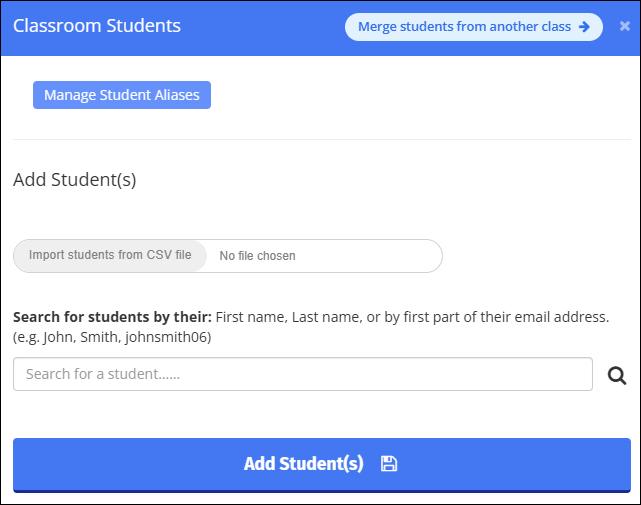
Click the Students button. The Classroom Students window opens.

Click the Manage Student Aliases button. The Student Aliases window opens.

Locate the student for whom to create an alias and click the
 icon to the right of student's name. Type the alias for this student and click the green check mark. Student aliases are limited to 40 characters, and may include only letters, numbers, and spaces; special characters are not allowed. The student tile displays the student's alias when you start the class.
Use student aliases to replace longer student names that do not entirely appear on screen. Create aliases before or during a class session.
To create an alias after you have started the class session
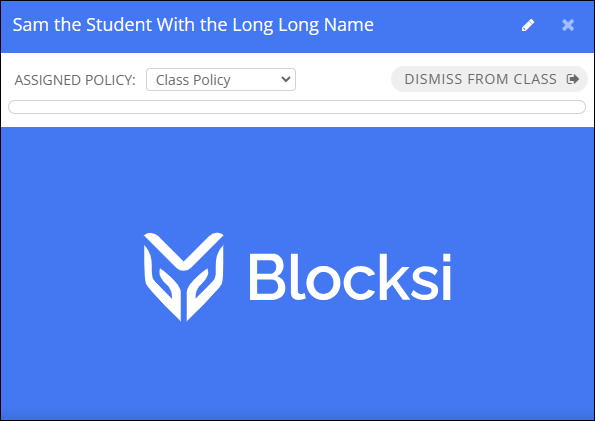
Click the tile for the student for whom to create an alias. The student tile opens and the student's name appears at the top of the tile.

Tip
Hover your mouse cursor over the student name to see the full name of the student, including the student 's email.
Click the
 to the right of the student's name.
Tip
Create the alias here before you start the class.
Replace the long student name with a shorter alias. Student aliases are limited to 40 characters, and may include only letters, numbers, and spaces; special characters are not allowed.
Click the green check mark to change the name.
Close the success prompt and close the student tile. Note that the student tile now displays the student alias