Access Requests
When a filtering policy blocks a student from a web page, the Access Denied page appears. Students can send an Access Request from that page, if enabled by your Blocksi administrator.
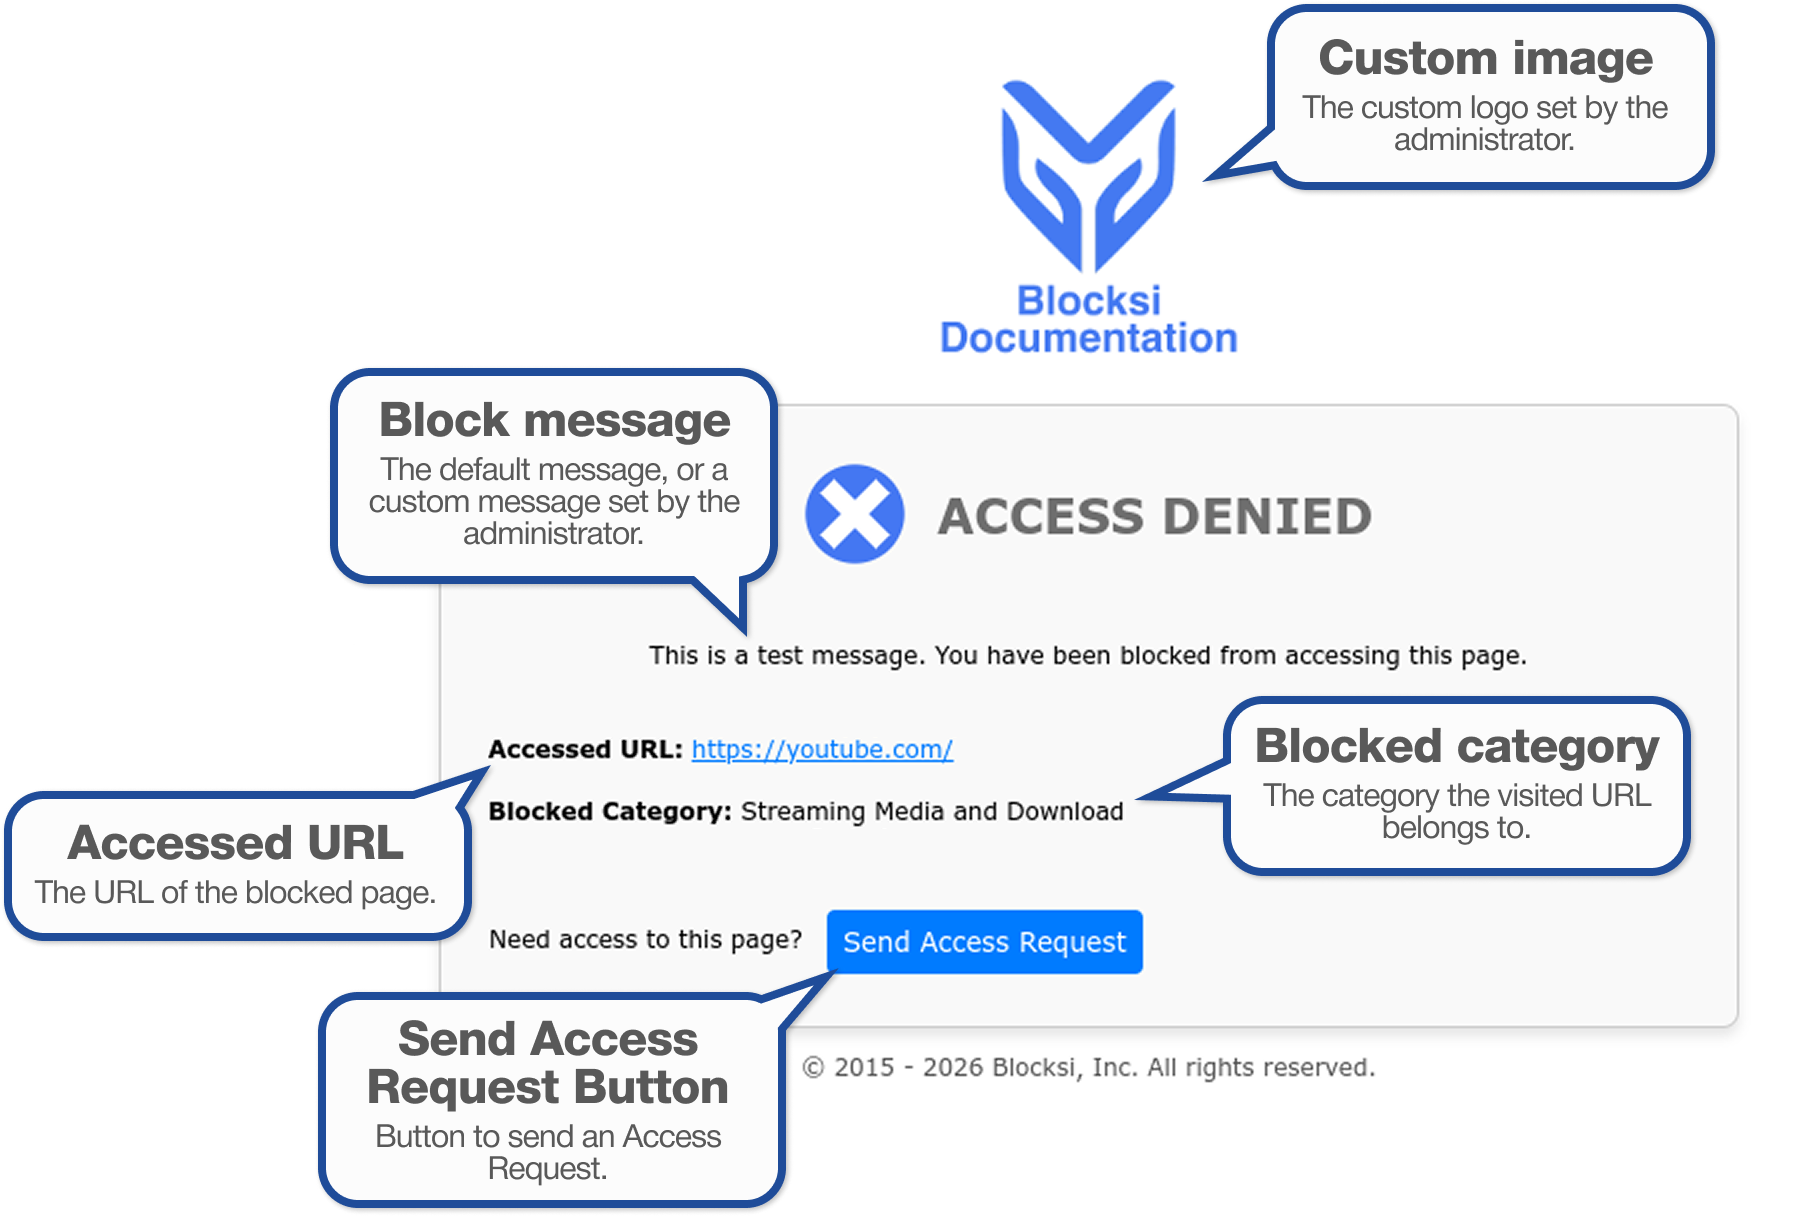
As a delegate, you receive the requests from students in your assigned organizational units. Requests from students in other organizational units do not appear on your dashboard. The administrator sees every request, including yours.
Your queue holds both in-school and out-of-school requests. The Student column shows the student's location next to their email address. Requests from students in an active class session are routed to the teacher running the session.
Important
Access Requests are available only if your Blocksi administrator has activated the feature on the Admin Dashboard. If the administrator deactivates it, the Access Requests page is no longer available on the Delegate Dashboard. Availability also requires that your account has the filtering permission and at least one assigned organizational unit.
To open the Access Requests page, click Filtering from the Main Menu, then click Access Requests from its sub-menu. The page appears, showing all pending requests from students in your delegated organizational units.
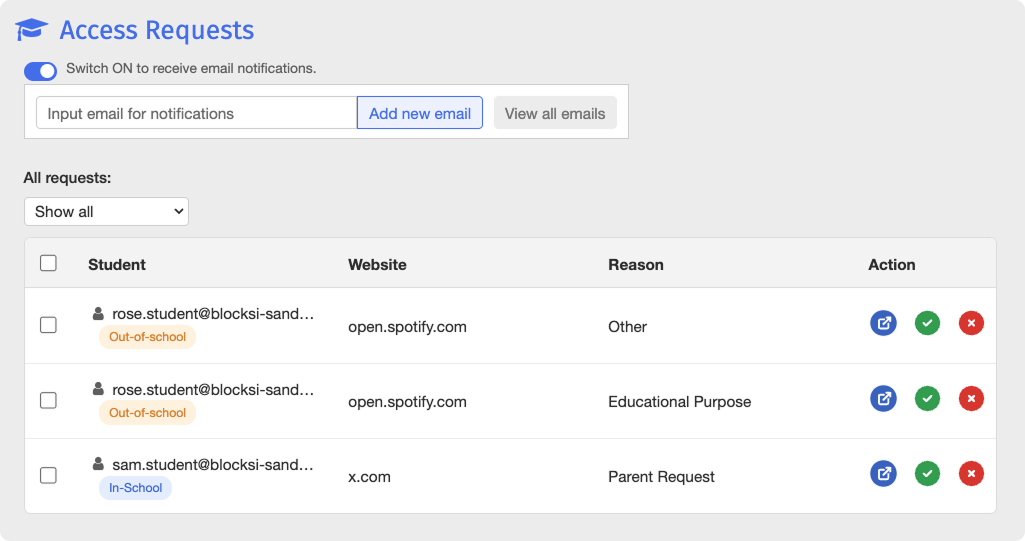
From there, you can also enable email notifications for incoming requests. Click Switch ON to Receive Email Notifications to turn notifications on, and click it again to turn them off. When notifications are on, Blocksi emails every address on the recipient list each time a student in your organizational units submits an Access Request.
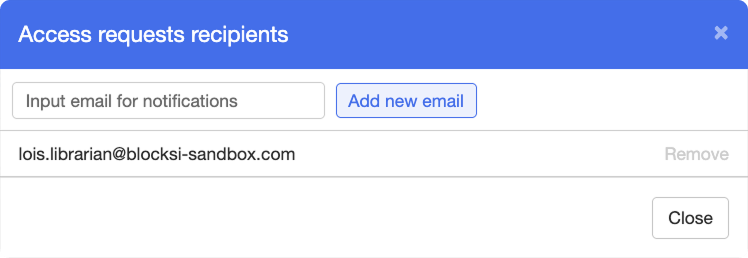
To add a recipient, type their email address in the Input email for notifications text box, then click the  button. To review and manage the full list, click the
  button. The Access Requests Recipients window opens.
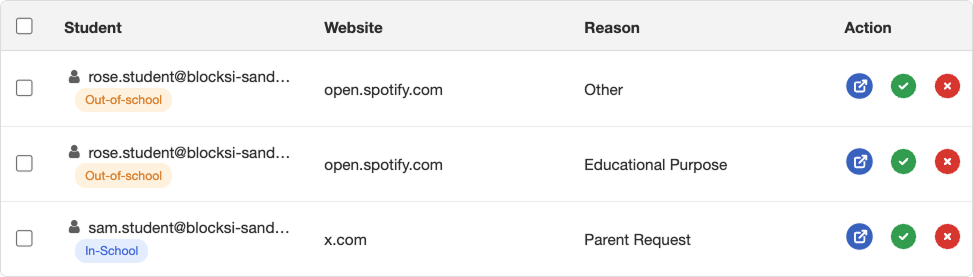
When a student submits an Access Request, it appears in the Access Requests table. Each row shows the following:
Student - The student's email address and their location.
Website - The URL the student tried to access.
Reason - The reason the student selected: Educational Purpose, Teacher Request, Parent Request, or Other.
Action - The available actions for the request.
Important
Allowing a request requires an Exception List assigned to the student's organizational unit. If none is assigned, create and assign one under Organizational Units, then allow the request again.
Locate the request in the Access Requests table, then click one of the following icons in the Action column:
Icon | Action | Description |
|---|---|---|
| Open URL | Opens the requested page so you can review its content before deciding. |
| Allow | Grants the student access to the page and removes the request from the table. |
| Deny | Denies the request and removes it from the table. |


Tip
To allow or deny several requests at once, select the check box next to each request, then click  or
or  based on your desired action.