Searching for Alerts
Create search filters to search for alerts by organizational unit (OU), user, web categories, YouTube categories, location, escalation level, and timeframe. Create preset search filters for searches that you perform regularly.
Click Student Safety from the Main Menu and then click Alerts from its sub-menu. The Alerts screen appears. The default timeframe for displaying alerts on this page is the Last 24 Hours. To change this timeframe, see Searching for an Alert by Timeframe below.
Click the Search button in the upper right corner of the Alerts page. The screen refreshes to include the search fields.
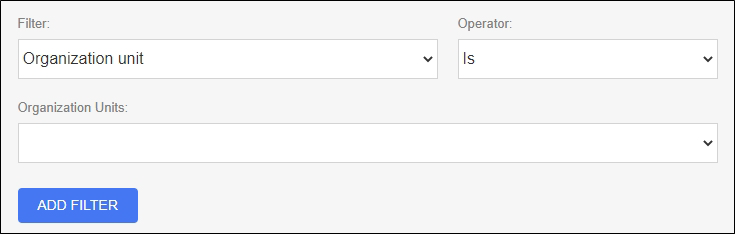
Type or select the criteria to search by. You cannot select more than one choice from a drop-down list or enter more than one student for each search.
Note
Click the LOAD PRESET button in the upper right corner of the search screen to load a preset search filter.
You must click Add Filter after each item you select. As you add each item to the search filter, it appears below the search box, as shown below.

Click Student Safety from the Main Menu and then click Alerts from its sub-menu. The Alerts screen appears. The default timeframe for displaying alerts on this page is the Last 24 Hours.

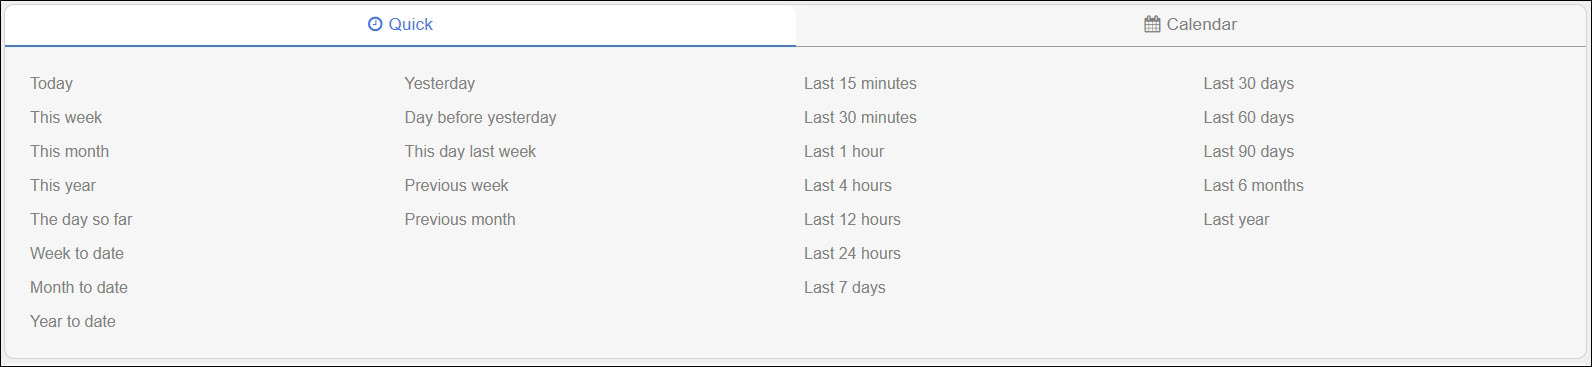
Click the Last 24 Hours button to change the timeframe. The following options appear. The page defaults to Quick options. Click any of the options listed to see the alerts that fall within that timeframe.
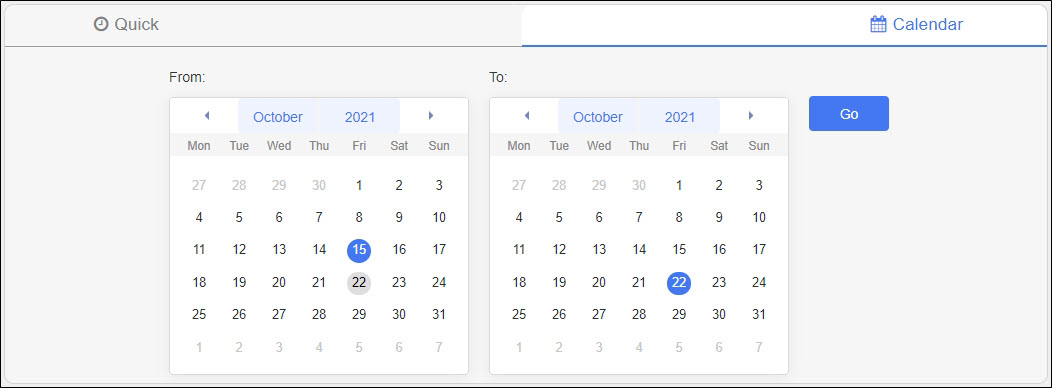
Click the Calendar option to select the from and to dates from a calendar, as shown below. Set the from and to dates and click Go.
Tip
Combine the searches by creating a search filter first and then selecting a timeframe. Please be aware that this works only in this direction. You cannot select a timeframe first and then create a search filter.
Create preset search filters for alert searches that you perform regularly.
Note
You cannot save the timeframe when creating a preset search filter; the preset applies only to those criteria you select from the search filters.
Click Student Safety from the Main Menu and then click Alerts from its sub-menu. The Alerts screen appears.
Click the Search button in the upper right corner of the Alerts page. The screen refreshes to include the search fields.
Type or select the criteria to add to the preset.
Note
You cannot select more than one choice from a drop-down list or enter more than one student for each search.
You must click Add Filter after each item you select. As you add each item to the search filter, it appears below the search box, as shown below.
Click SAVE SEARCH PRESET when you have finished making your selections. The preset is saved for selection.