Exception List
Exception Lists let you define a custom set of rules for blocking or allowing specific websites that your other filtering rules do not cover. Each entry can target a full domain, a subdomain, or part of a URL, and wildcards let a single entry match multiple URLs at once.
You can assign your Exception Lists to your delegated organizational units. Your Exception Lists override the filtering set by your administrator, including their Exception Lists, unless an entry has been locked. Locked entries prevent you from assigning any Exception List that contains them.
To access the Exception List page, click Filtering from the Main Menu, then click Exception List from its sub-menu.
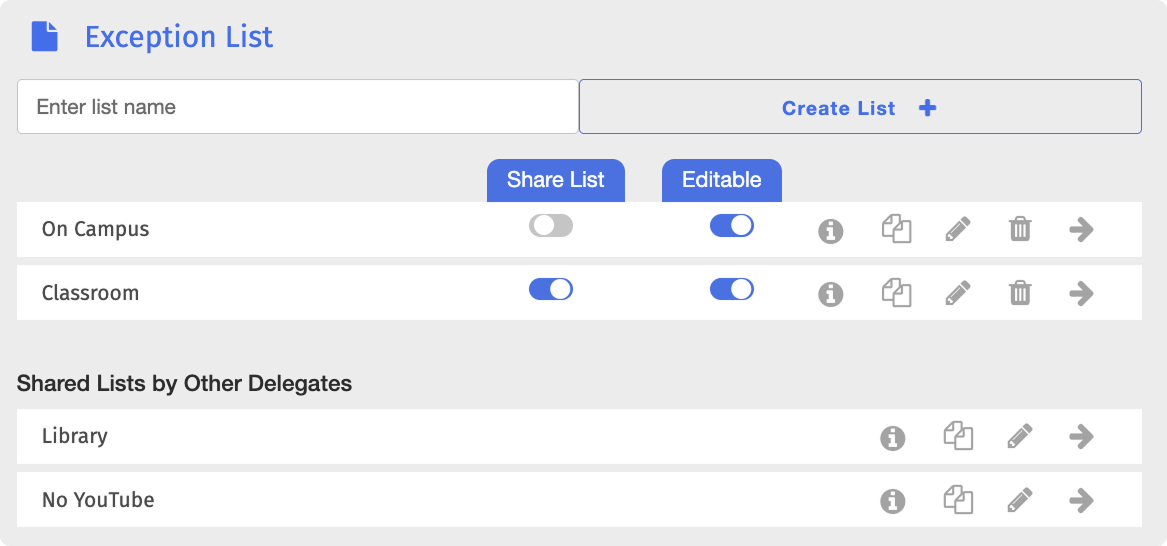
To set up an Exception List, create the list, add the URLs you want blocked or allowed, then configure the settings that apply to it.
Type a name for the list in the Enter list name text box, then click the
 button. The new list appears on the Exception List page.
Click the
 button in the same row as the new list. The Edit Exception List page opens.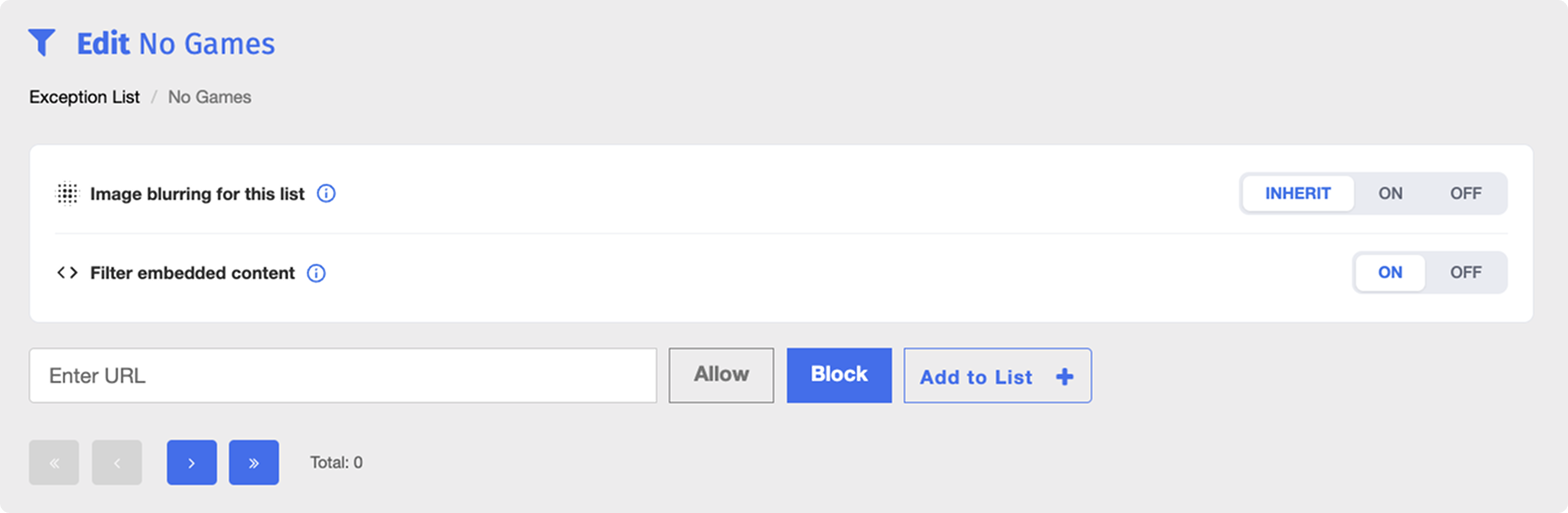
Configure the following settings for this list:
Image Blurring for This List - Sets whether to blur images on the websites in this list. Select INHERIT (default) to follow the image blurring settings of the policy the list is applied to, ON to always blur images, or OFF to never blur them.
Filter Embedded Content - Set whether to apply filtering to embedded content on the websites in this list, such as YouTube videos, iframes, and widgets. Select ON (default) to block embedded content, or OFF to allow it.
Type a URL in the Enter URL text box, click Block or Allow, then click the
 button. The URL is added to the list.
You can manage the entries in an Exception List by adding new ones to an existing list, editing an entry, changing whether it is blocked or allowed, or deleting it.
To manage your Exception List entries, click the button to open the Edit Exception List page.
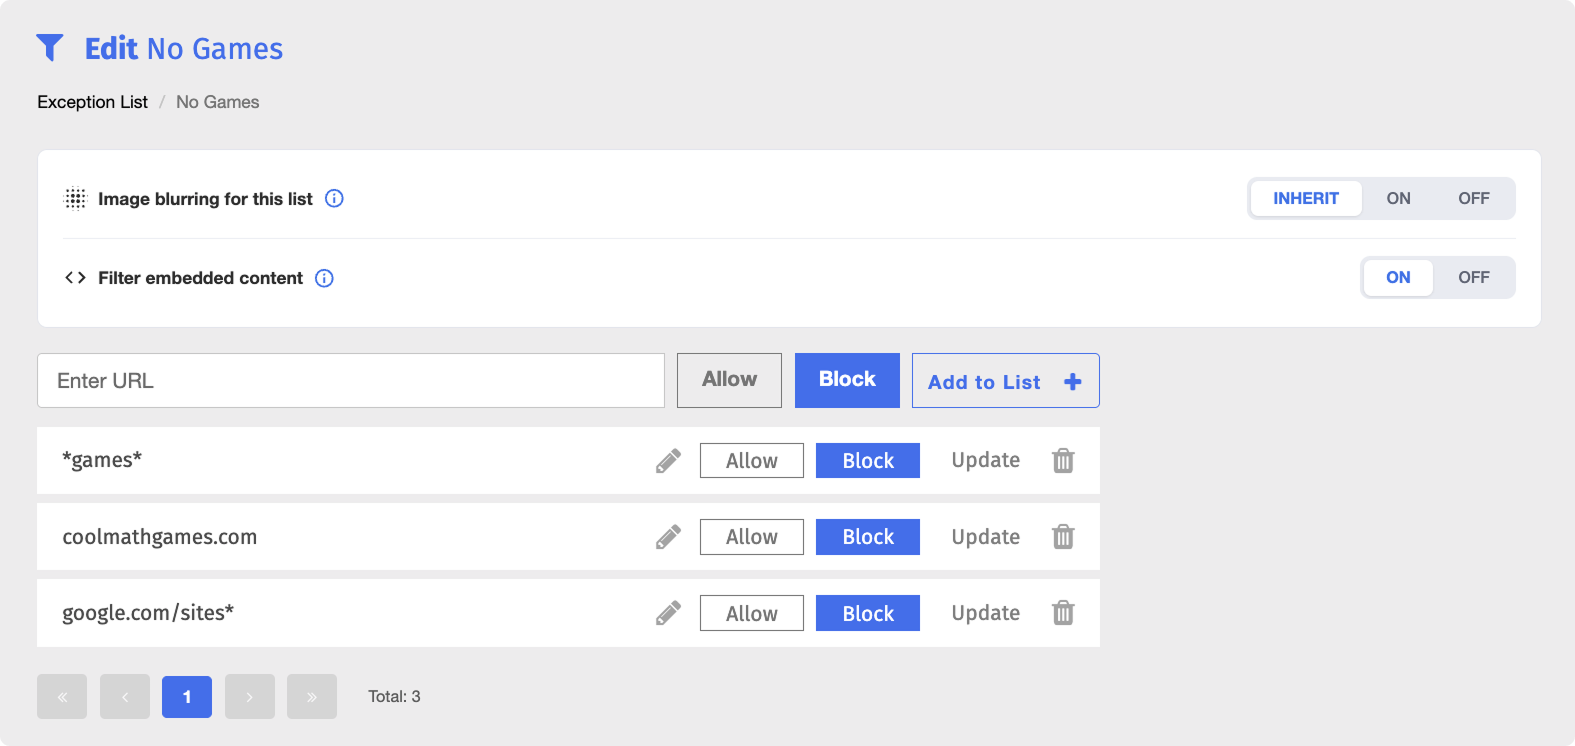
On the Edit Exception List page, type a URL in the Enter URL text box.
Click either the Block or Allow button based on your desired action.
Click the
button. The entry is appended to the bottom of the list.
On the Edit Exception List page, locate the entry to edit and click the
button to the right of it. A text box opens allowing you to edit the entry.
Make your changes, then click the Save button.
To change an entry, locate it on the Edit Exception List page, click either the Block or Allow button to the right of it, then click the Update button to apply the change.

On the Edit Exception List page, locate the entry to delete and click the
 button to the right of it.
Click OK in the confirmation window. The entry is permanently removed from the list.
You can manage your Exception Lists by renaming, duplicating, exporting, or deleting them, and review the history of changes made to a list. All of these actions can be performed directly on the Exception List page.
On the Exception List page, locate the list to rename and click its name. The list name opens in an editable text box.

Make your changes, then click the Save button.
On the Exception List page, locate the list to duplicate and click the
 button. The Duplicate List window opens.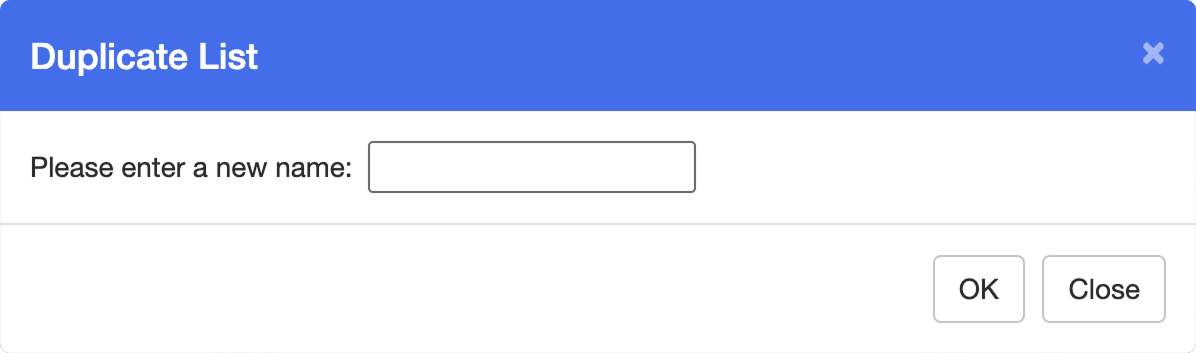
Enter a name for the new list in the text box, then click OK. The new list appears on the Exception List page.
Note
The duplicate contains the same entries as the original, including their order and block or allow state. The original Exception List is not removed upon duplicating.
You can export the entries of an Exception List to a CSV file. The file does not include the list name, and each entry is written in its own line in the following format: URL, 1 or 0, YYYY-MM-DD HH:MM
URL - The entry as it was added to the list, including any wildcards.
1 or 0 - Whether the entry is blocked or allowed.
1blocks the URL,0allows it.YYYY-MM-DD HH:MM - The date and time the entry was added.
Note
The last two values in the export are reserved for features that are only available on the Admin Dashboard, so they always read null and false.

To export an Exception List, locate the list to export on the Exception List page, then click the  button to the right of it. The file is downloaded to your device.
Warning
Deleting an Exception List is a permanent action. Deleted lists along with their entries cannot be recovered.
On the Exception List page, locate the list to delete and click the
button to the right of it.Click OK in the confirmation window. The Exception List is permanently deleted.
You can share your Exception Lists with other delegates, and modify, duplicate, or export the lists that other delegates have shared with you. Exception Lists shared with you appear in the Shared Lists by Other Delegates section at the bottom of the Exception List page.

You see the shared lists of any delegate whose organizational unit is one of your delegated organizational units. Only an administrator can assign delegated organizational units, so contact your administrator if a colleague's shared lists do not appear.
Note
Visibility works in one direction at a time. If a colleague's organizational unit is delegated to you but yours is not delegated to them, you see their shared lists and they do not see yours.
To share an Exception List, locate the list on the Exception List page and turn on the Share List toggle. Delegates who have your organizational unit delegated to them can now see and use the list. To let them edit it, also turn on the Editable toggle. They can then add and remove entries, but they cannot rename the list.
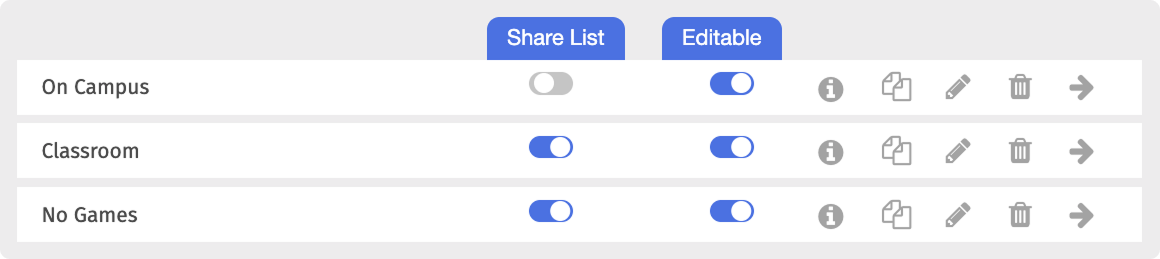
A shared list works the same as one of your own. You can duplicate or export it from its row in the Shared Lists by Other Delegates section, and edit it if the owner has turned on the Editable toggle. To see who owns the list, hover over the  button to the right of its name. Shared lists cannot be deleted. A duplicate of a shared list becomes your own list and moves to your Exception Lists, so you can rename, edit, and share it freely.