Access Time Control Filters
Using access time control filters, control when your child is allowed to access the internet or popular applications like YouTube and Facebook. Access time control filters are used only with regular policy types and apply only while your child is out of school; during school hours, these settings do not apply.
Bedtime
YouTube
Streaming
Gaming
Social Media
Google Games
Click Access Time Control from the Main Menu. The Access Time Control screen appears.
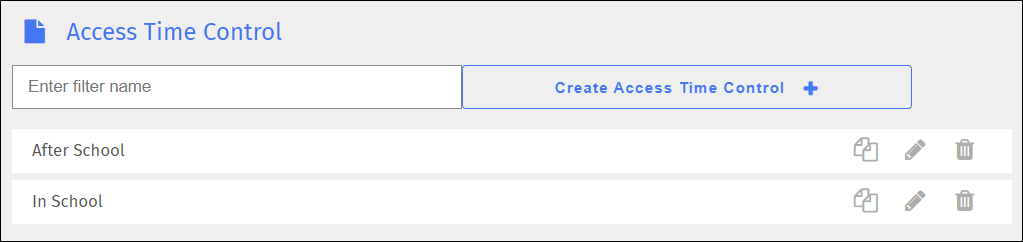
Type the name of the new filter in the Enter name text box.
Click Create Access Time Control +. The filter appears below the list of filters.
Click the
 icon to the right of the filter name. The Edit screen appears. See Setting Access Times for details on setting the access time for students.
Note
To modify an existing filter, click the icon to the right of its name, make your changes, and click Save Changes. To delete a filter, click the  icon to the right of its name, and click OK in the confirmation prompt.
After you create an access time control filter, you set up the times at which your child is allowed to access the internet or popular applications like Social Media and YouTube. Use the chart shown below to configure access times.
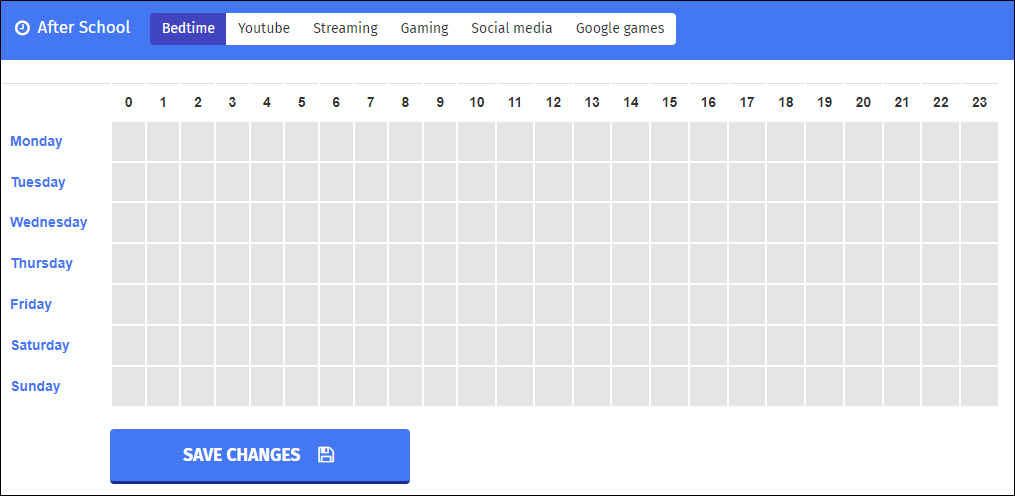
By default, the chart is set to Bedtime and contains no time restrictions.
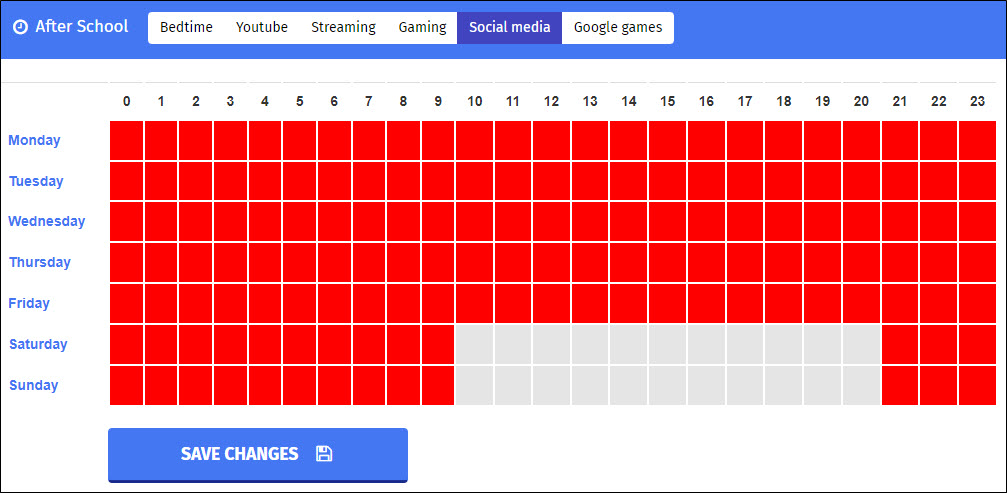
To block out time for Social Media access, click the Social Media category at the top of the chart. In the example below, the child can use Social Media only on Saturday and Sunday between the hours of 10 AM and 9 PM. Set up the other categories in the same manner.
Note
Use the Bedtime setting to enforce bedtime by defining the days of the week and hours when your child can use their Chromebook. Days and times during which your child cannot use their Chromebook are blocked off in red. During these times, the Chromebook is in lockdown browser mode, and your child is unable to use the device to visit websites.
Click Access Time Control from the Main Menu. The Access Time Control screen appears.
Locate the filter to rename, and click the filter name. A box opens to allow you to rename the filter. Note that Blocksi added the Save and Cancel buttons to the right of the name, as shown below.
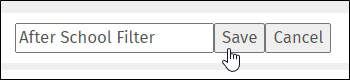
Rename the filter, and click the Save button.
Click Access Time Control from the Main Menu. The Access Time Control screen appears.
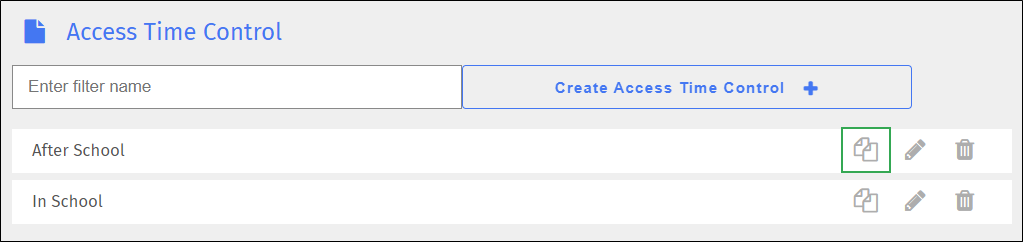
Look for the filter to duplicate, and click the
 icon. The Duplicate Filter window opens.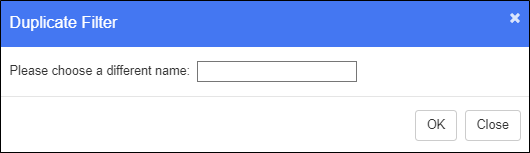
Type the name of the new filter in the text box.
Click OK. The duplicated filter appears at the bottom of the list.